

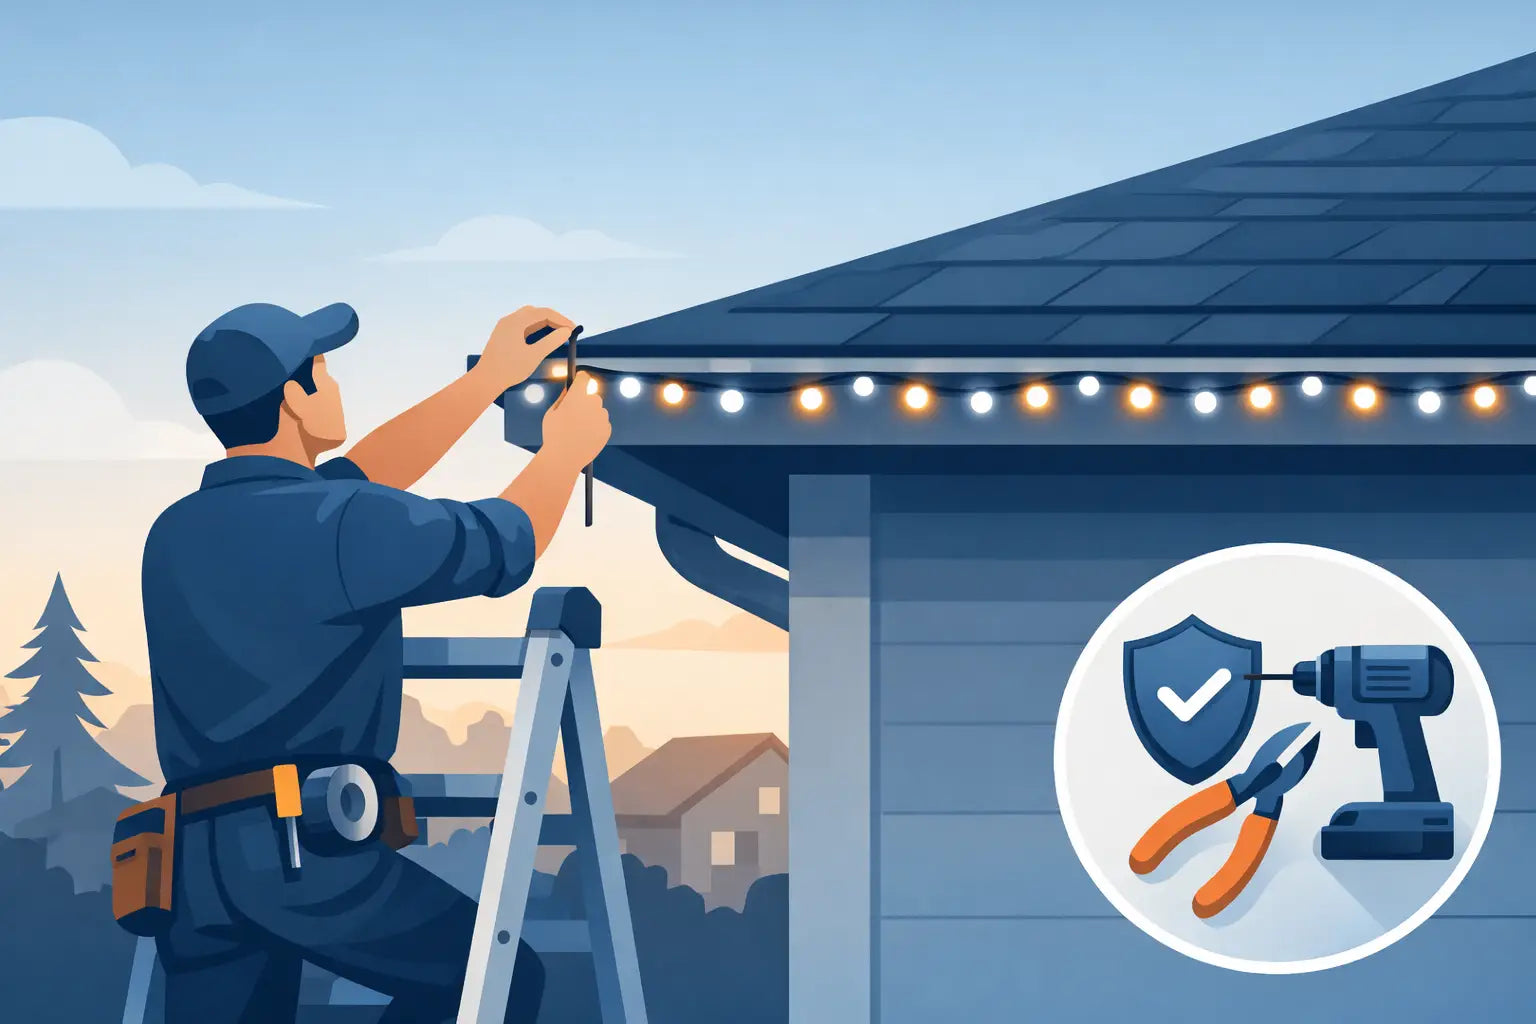
A crooked run under the soffit, a light that landed too far from the fascia, or adhesive that let go after a hot summer can turn a permanent-light installation into a ladder project fast. So, can you remount permanent LED lights? Usually, yes - but whether the result looks clean and holds up depends on how carefully you remove the original installation and what you use to secure the lights the second time.
Permanent outdoor LED systems are designed to stay put, not necessarily to be moved repeatedly. That does not mean one adjustment ruins them. It does mean the remount needs a plan. Rushing to pull down a strand can damage the wire, leave adhesive behind, or create a layout that is even harder to correct.
Can You Remount Permanent LED Lights Without Damaging Them?
You can remount most permanent LED lights if the individual light pods, wiring, connectors, and control components are still in good condition. The biggest risk is rarely the LEDs themselves. It is the physical removal process, especially when factory adhesive pads have bonded tightly to painted trim, aluminum soffit, vinyl, or textured surfaces.
Start by powering the system off and unplugging it from the power source. Do not pull on the wire to release a light pod. Support the pod with one hand and work slowly at the mounting point with the other. A plastic trim tool, plastic scraper, or gentle hand pressure is safer than metal tools that can gouge siding or cut into wire insulation.
If a light is still firmly attached, mild heat from a hair dryer can soften adhesive. Keep the heat moving and use the lowest effective setting. High heat can affect paint, vinyl, plastic housings, and cable jackets. On a cold day, adhesive may be brittle rather than flexible, so take extra time instead of forcing the release.
Once removed, inspect every section before deciding to reinstall it. Look for cracked housings, flattened or nicked cable, loose connectors, exposed wire, or water intrusion around a pod. If a section has been pinched behind trim or pulled hard during removal, replacing that piece is safer than hoping it will perform through the next storm season.
When Remounting Makes Sense
A remount is a practical fix when the lighting system is functioning properly but the installation needs improvement. Common reasons include correcting uneven spacing, moving lights closer to the outer edge of the soffit for a stronger lighting effect, replacing failed adhesive, or relocating a run after exterior work such as painting, roof replacement, or fascia repair.
It also makes sense when the original mounting method was only partly secure. Factory adhesive can work well on smooth, clean surfaces, but real exterior conditions are demanding. Heat cycles, moisture, dust, textured finishes, and seasonal expansion can all reduce its hold. A light may stay up for months, then begin to sag at the exact point you do not want to revisit on a ladder.
Remounting is less appealing if the cable routing itself is wrong. If the run is too short, stretched tightly around a corner, or poorly placed near a gutter or roof edge, moving a few pods will not solve the underlying issue. In that case, redesign the run before reinstalling anything. A clean layout is easier to create once than to keep correcting one light at a time.
Plan the New Layout Before You Remove the Old One
Before taking down the full run, turn the lights on after dark and take a few photos from the street. This gives you a useful reference for brightness, shadowing, spacing, and areas where the lights disappear behind architectural details. The ideal placement varies by home. A deep soffit may need lights positioned farther outward, while a narrow fascia detail may require more precise alignment to keep every pod visible.
Measure the mounting surface and mark key points such as corners, peaks, downspouts, junctions, and cable transitions. Then dry-fit the lights without removing backing or fastening hardware. Check that the wire has a relaxed path between pods. A cable should not be pulled tight, sharply bent, or left hanging where wind can move it against the house.
Pay attention to sightlines. Stand back at street level, then check from the driveway and sidewalk. A run that looks straight from a ladder can look wavy from the ground. Use the edge of the soffit, fascia, or trim line as your visual reference instead of relying on the roofline, which may not be perfectly level.
Remove Old Adhesive and Prepare the Surface
A remount is only as reliable as the surface beneath it. If old foam adhesive, dirt, chalky paint residue, pollen, or oxidation remains, even a high-quality mounting solution will struggle to hold.
Use a surface-safe adhesive remover appropriate for your siding or trim material, and test it in an inconspicuous spot first. Follow with a clean cloth and isopropyl alcohol to remove remaining oils and residue. Let the surface dry fully before mounting. Moisture trapped under adhesive or hardware creates a weak starting point.
Avoid installing on peeling paint, rotted wood, loose aluminum, or heavily textured surfaces without addressing the problem first. If the surface is deteriorating, the mount may remain intact while the surface itself fails. Repairing that area before remounting saves a second round of removal later.
Temperature matters, too. Adhesive-backed products generally perform best when applied to a clean, dry surface within the manufacturer’s recommended temperature range. If conditions are too cold, the adhesive may not bond properly. If the surface is extremely hot from direct sun, it can make placement harder and reduce your working time.
Choose a Mounting Method Built for the Location
The right remounting method depends on the light model, surface material, and how permanent you want the installation to be. Adhesive-only mounting can be appropriate for smooth, protected soffits when the surface is properly prepared. It is quick and leaves fewer visible fasteners, but it relies heavily on surface condition and weather exposure.
Mechanical support provides more confidence for long runs, exposed rooflines, high-heat areas, and locations that have already experienced adhesive failure. Purpose-built mounts hold each pod in alignment while reducing the chance of sagging, shifting, or a single failed adhesive point affecting the rest of the run.
For Govee permanent outdoor lights, model-specific mounts are especially useful because the light housings, cable paths, and mounting geometry vary between product lines. A mount made for the actual light is more likely to provide a secure fit without putting pressure on the lens, wire, or connector. PrintWorks 3D designs weather-resistant mounting accessories around those real installation details, including retrofit-friendly options for homeowners improving an existing run.
Do not assume one mounting method works everywhere on the house. A protected porch ceiling and an exposed gable peak face very different weather conditions. It is reasonable to use adhesive where the conditions are favorable and added mechanical support where wind, heat, or difficult surface texture makes it necessary.
A Safer Remounting Process
Work in manageable sections rather than removing an entire system at once. This keeps the wiring organized and makes it easier to identify where each section belongs. If you are working near a roof edge or on a high ladder, have a second person available to stabilize the ladder and hand up tools and parts.
As you reinstall, keep these checks in mind:
- Confirm every light pod faces the same direction and sits at a consistent distance from the trim edge.
- Leave gentle slack in the cable between sections, especially around corners and peaks.
- Keep connectors seated fully and positioned where water will not collect around them.
- Use mounting hardware sized for the surface and avoid over-tightening near plastic light housings.
- Test each completed section before moving farther down the run.
Mistakes That Make a Second Installation Worse
The most common remounting mistake is treating the project like a simple peel-and-stick repair. Permanent lights need consistent spacing, clean routing, and secure support. Reusing old adhesive without removing residue is another frequent problem. It may look fine immediately, then fail as soon as the weather changes.
Avoid cutting, splicing, or modifying the lighting cable unless the manufacturer specifically allows it and you understand the electrical requirements. Permanent outdoor systems often use proprietary connectors and designed cable lengths. An unauthorized modification can create reliability issues, compromise weather resistance, or affect warranty coverage.
Also resist the urge to hide every wire at the expense of cable health. A cable tucked too tightly behind a sharp metal edge or compressed under trim can fail over time. A slightly more visible but protected route is better than a perfectly hidden route that damages the system.
A remount is a chance to fix the details you notice every time you pull into the driveway. Take the extra time to prepare the surface, align the run, and use support designed for the conditions. The goal is not simply getting the lights back up - it is building an installation that stays straight, secure, and ready for every season.
Share:
Adhesive Clips vs Screw Mounts for Govee Lights
Before and After Govee Mount Upgrade Results