

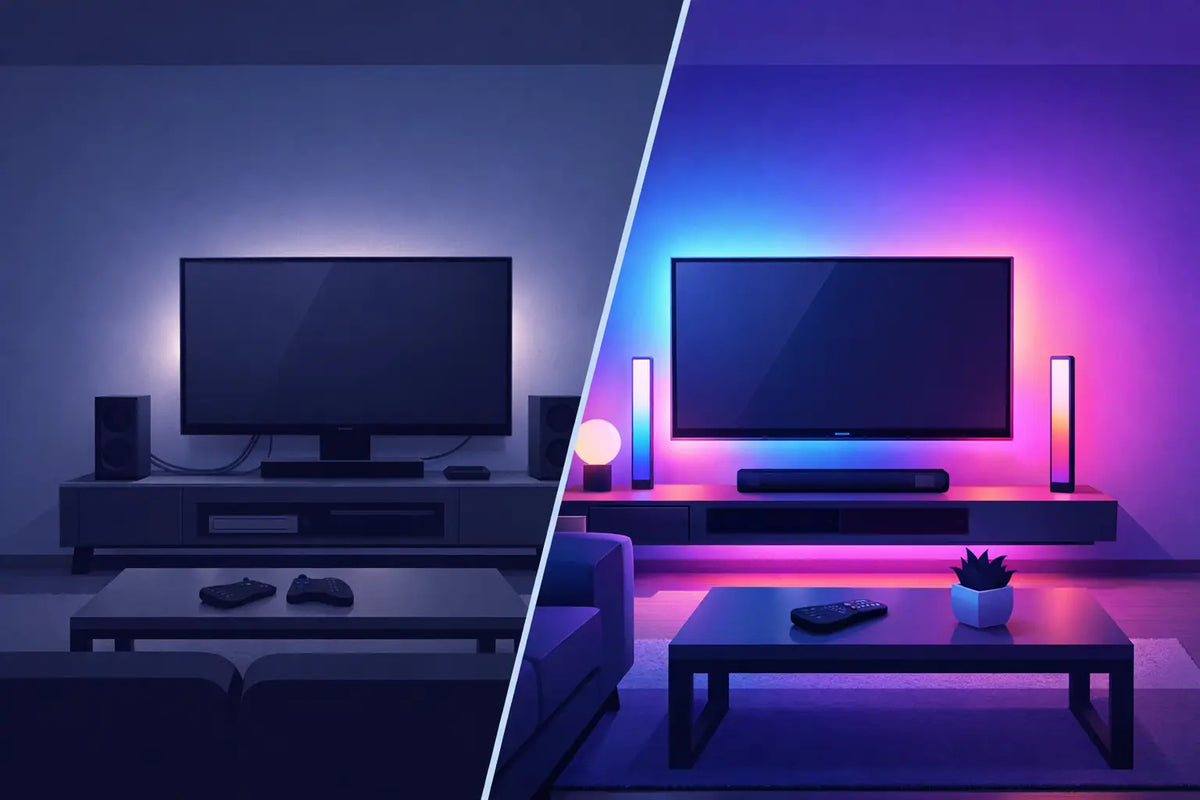
The difference in a before and after Govee mount upgrade is usually obvious from the curb. Before, permanent lights can look slightly uneven, sag at transitions, or depend too heavily on adhesive that was never meant to carry the full load through heat, rain, wind, and seasonal temperature swings. After, the light run follows the roofline with consistent spacing, each puck sits where it should, and the installation looks intentional from every angle.
That difference is not about adding more lights. It comes from giving the lights a secure, purpose-built attachment point. For homeowners who want their Govee permanent outdoor lights to look clean on day one and stay that way, upgraded mounts are a practical part of the installation, not an afterthought.
What a Before and After Govee Mount Upgrade Changes
Factory adhesive can be useful for a quick install on a clean, smooth surface. But exterior trim is rarely a perfect surface. Soffits can have texture, dust, paint variation, seams, small gaps, and years of exposure. Even when the initial bond feels strong, repeated heating and cooling can work against it over time.
The “before” version of an installation often shows up in small details. A few lights may rotate slightly. Spacing can drift near a corner or gable. A cable may sit lower than planned because the lights were placed around obstacles instead of being mechanically supported. These issues do not always appear immediately, which is why an installation can look fine at first and less polished after a season outdoors.
The “after” is about control. A properly fitted mount holds the light in a consistent orientation and helps maintain the planned distance from the mounting surface. It gives installers a repeatable way to work down a long roofline, around peaks, and through sections where adhesive alone is inconvenient or unreliable.
For many homes, the visual change is as valuable as the added security. Uniform light placement creates the clean, floating effect people expect from permanent outdoor lighting. When a few lights are tilted, hanging, or mounted at inconsistent depths, that effect disappears quickly once the system turns on at night.
Why Adhesive-Only Installs Can Fall Short
Govee lighting systems are designed to make exterior lighting more accessible, and the included adhesive is part of that convenience. Still, adhesive-only mounting has limits. Its performance depends on careful surface preparation, suitable installation temperatures, the material of the soffit or trim, and the conditions the home faces year-round.
A shaded porch soffit in a mild climate may have different demands than a sun-facing roofline in Texas, Arizona, Florida, or the Midwest. Direct heat, humidity, freezing temperatures, wind-driven rain, and expanding exterior materials all change the equation. There is no single outcome for every home.
This is where mechanical support makes sense. Mounts provide a physical retention point rather than asking adhesive to do all the work. They can also reduce the pressure to get every adhesive placement perfect while standing on a ladder. You still want a clean, planned installation, but the mount gives each light a more secure home.
There is a trade-off: upgrading mounts adds an extra installation step and requires you to select the correct style for your Govee system and mounting location. For a short, protected run where adhesive has held reliably, the upgrade may be less urgent. For long runs, exposed eaves, peaks, problem areas, or a homeowner who wants a truly permanent-looking finish, it is often time well spent.
Better Alignment Is the Most Visible Upgrade
Alignment is where a purpose-built mount earns its place. Permanent outdoor lights are most impressive when every puck is positioned evenly along the soffit. The light pattern looks deliberate, and the individual fixtures fade into the architecture during the day.
Without a consistent mounting method, small placement differences compound. A light that is only slightly rotated may cast differently than the next one. A puck that sits a little lower can create a visible break in the line. At corners, changes in angle can make the run look improvised instead of clean.
Upgraded mounts help create repeatable placement because each fixture is held in a defined position. This matters especially on long straight runs, gables, and transitions between soffit sections. Rather than correcting the look one light at a time, you establish a consistent mounting approach from the start.
The best results begin with a dry layout. Check the direction of the cable, verify the light spacing, and look ahead for vents, beams, seams, and corners before installing the first mount. A few minutes of planning on the ground can prevent a frustrating adjustment halfway down the roofline.
Peaks, Gables, and Non-Standard Surfaces
Not every exterior is a flat, straightforward soffit. Gables and angled sections can make stock mounting options feel limiting. The same goes for surfaces with trim profiles, narrow fascia areas, or sections where the light needs to sit at a specific angle to maintain the desired effect.
This is where mount selection matters more than simply choosing “a Govee mount.” Pro, Non-Pro, Prism, Light Curtain, and controller or power accessories have different shapes and applications. A mount designed for one product line or surface condition may not provide the fit you need for another.
Confirm your light model before ordering, then consider the actual surface where it will be installed. A good mount should fit the product securely while supporting the orientation your lighting plan requires. If the mount fights the architecture, the finished result will fight it too.
Weather Resistance Is About the Whole Installation
Govee lights are built for outdoor use, but the installation method still has to stand up to the environment. A weather-resistant mount helps support the fixture where wind, moisture, heat, and temperature changes are part of normal life.
The goal is not to make dramatic claims that every installation will face the same conditions. It is to remove a common weak point. When lights are mechanically supported, there is less reliance on adhesive staying perfect through years of exterior exposure. That added retention can be especially reassuring on high or hard-to-reach rooflines where a loose fixture is not a simple fix.
Material quality also matters. Outdoor mounts should be made for exterior use, with the strength and durability needed for repeated weather cycles. PrintWorks 3D designs product-specific mounting accessories with that real-world use in mind, helping homeowners create installations that feel secure instead of temporary.
Installation Details That Make the Upgrade Worth It
A quality mount will not fix a rushed layout or poor fastening technique. The best before-and-after Govee mount upgrade starts with the basics: work from a stable ladder setup, inspect the soffit or trim, and use fasteners appropriate for the mounting surface.
Avoid forcing mounts into place or overtightening fasteners. Exterior materials can crack, deform, or compress if treated too aggressively. The mount should sit flush and hold the light firmly without putting unnecessary stress on the fixture or cable.
Keep cable routing clean as you move along the run. The lights should be the visual feature, not the wiring. At corners and transitions, pause to check the view from the ground before committing. A small adjustment at that stage is easier than revisiting a completed section after dark.
It also helps to test the system before finishing every detail. Turn the lights on, walk to the street, and look for inconsistent spacing, unexpected shadows, or a fixture that needs to be rotated. Daytime alignment matters, but the nighttime effect is the real test.
When Should You Upgrade Existing Govee Mounting?
You do not have to wait for a light to fall before improving the installation. Upgrading is a sensible option when you notice uneven pucks, weakening adhesive, loose fixtures, or a roofline that never looked as clean as you wanted. It is also a smart move before seasonal decorating, when you are already inspecting your exterior lighting.
Retrofit-friendly mounts are particularly useful because they let homeowners improve sections that need attention without rebuilding the entire system. You might start with the sunniest side of the house, a wind-exposed gable, or the most visible front-facing run. If the rest of the installation is performing well, a targeted upgrade can be the right call.
For a new install, mounting upgrades are easiest to add during the original setup. You can plan the spacing, use the right mounts throughout, and avoid relying on a later repair to get the finished appearance you wanted from the beginning.
A permanent lighting system should look settled into the home, not merely attached to it. Take the extra time to support the areas that matter most, check the finished line from the ground, and build an installation you will be happy to see every night of the year.
Share:
Can You Remount Permanent LED Lights Safely?
Best Outdoor LED Light Clips for Govee Lights