

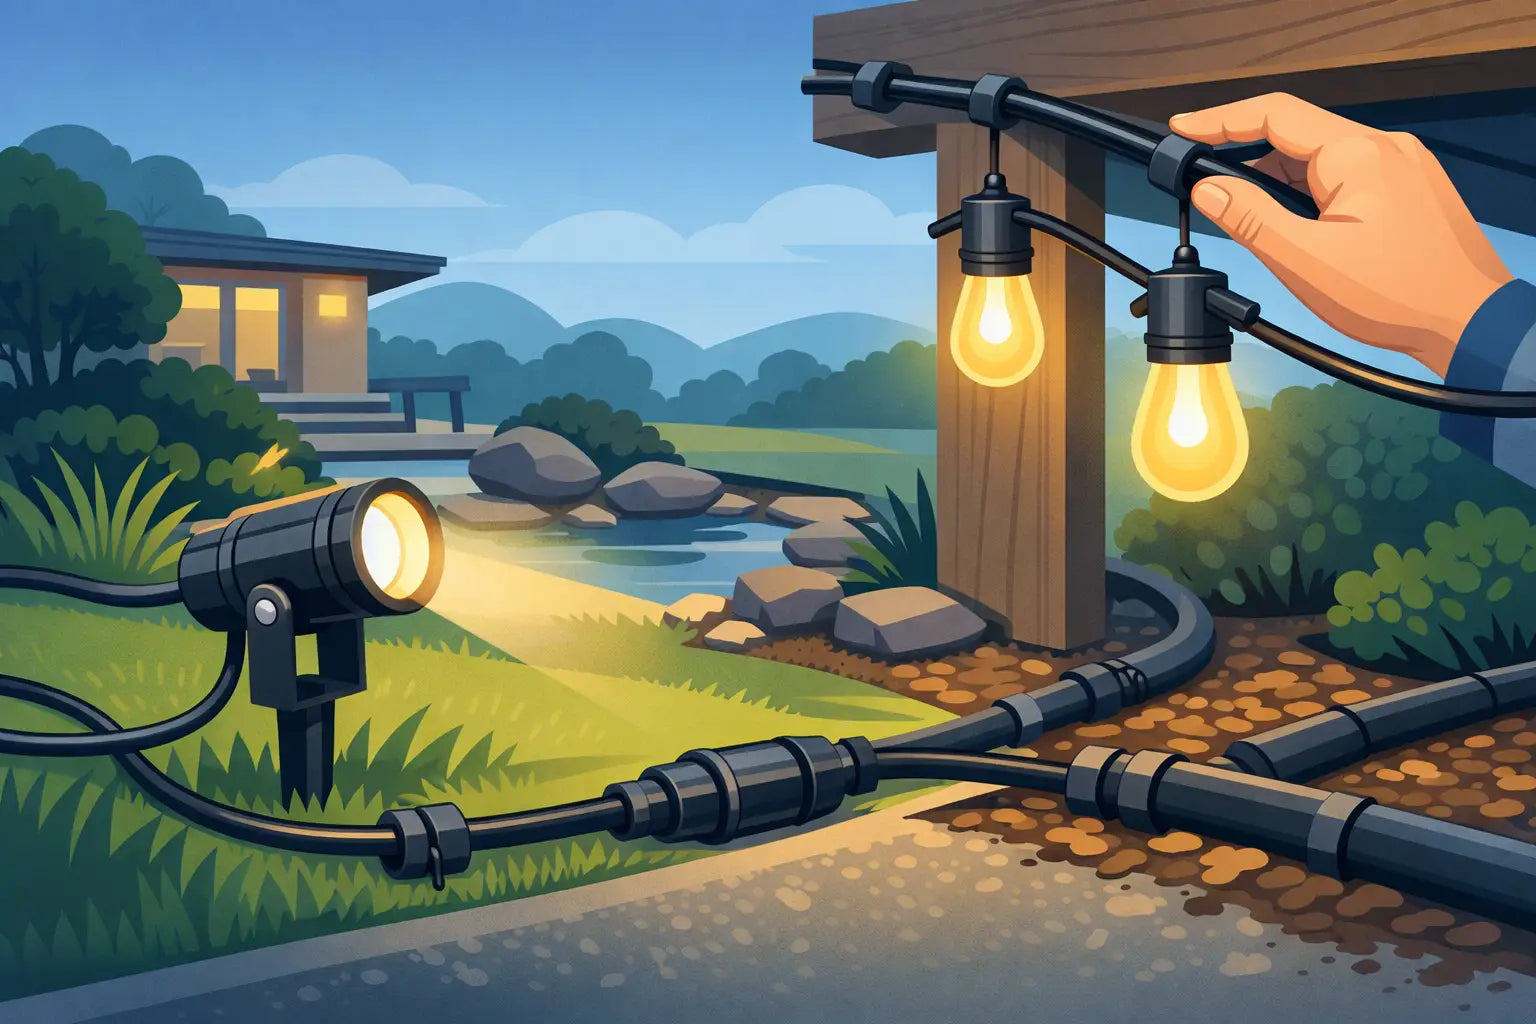
A permanent outdoor lighting install can look polished from the street and still have a mess hiding behind the fascia. Loose cable loops, sagging extensions, and exposed connections are usually what separate a clean Govee installation from one that feels unfinished. This guide to outdoor LED cable management focuses on the details that protect your wiring, preserve your light spacing, and keep the finished roofline looking intentional.
Cable management is not an afterthought. It is part of the mounting plan. When cables are routed well, they are less likely to catch wind, rub against sharp edges, collect water, or pull on a light strand over time. You also make future maintenance much easier when every run is easy to identify and reach.
Start Your Outdoor LED Cable Management Plan Before Mounting
Before applying a single light or clip, walk the full route from the controller and power supply to the final light. Measure the straight runs, corners, peaks, gaps between roof sections, and any path needed to reach a nearby outlet. A little planning on the ground saves a lot of ladder time later.
Decide where each cable will live. In most installations, the best path is tucked along the back side of the fascia, under the soffit, behind trim, or on another protected architectural edge. The goal is to keep the cable out of the main sightline without forcing it into a sharp bend or pinching it between surfaces.
Pay close attention to transitions. A cable that has to cross a gable, move around a downspout, or bridge a gap between rooflines needs a planned support path. Do not rely on the weight of the cable or the nearest light module to carry that load. Every transition should have its own secure attachment point.
It also helps to plan around service access. Controllers, power supplies, and connection points should be protected from direct weather when possible, but not buried where you cannot inspect them. Leave enough room to disconnect and replace a component without removing half of the installation.
Use the Right Mounting Method for the Surface
Outdoor LED cables need support that matches the material beneath them. Vinyl soffit, wood fascia, metal trim, brick, and stucco all call for different approaches. The wrong fastener can crack a surface, loosen after seasonal temperature changes, or leave a cable exposed.
For Govee permanent outdoor lights, purpose-built mounts can do more than hold each light in alignment. A properly designed mount gives the strand a more consistent path, reduces stress on factory adhesive, and helps prevent the cable from drifting away from the structure. PrintWorks 3D mounts are designed for this kind of product-specific fit, giving homeowners a cleaner installation without improvising with generic clips.
Avoid standard metal staples for any LED cable. Even when they appear secure, they can compress the jacket and create a failure point. If you use cable clips, choose clips sized for the cable diameter and install them so the cable is held in place, not squeezed flat. The cable should not slide freely, but it should not be under pressure either.
For long straight runs, support the cable at regular intervals based on its weight, exposure, and the stiffness of the cable. A sheltered soffit run may need less support than a vertical run exposed to wind. If you can see a cable sag from the ground, it needs another support point.
Keep Light Strands and Extension Runs Separate
The cable attached to a light strand has a different job than an extension crossing an unlit section of the house. Treat them differently. The light strand should follow the planned spacing and orientation of the lights, while an extension should take the shortest protected route between sections.
Do not pull an extension tight like a clothesline. Exterior materials expand and contract, and a cable that is tight on a mild afternoon can become stressed after weather changes. Leave a small amount of controlled slack, secured close to the structure, instead of allowing a large loose loop to hang below the roofline.
Protect Connections From Water and Movement
A connection is often the most vulnerable part of an outdoor LED system. Even when a connector is rated for outdoor use, its long-term performance depends on where it is placed, how it is supported, and whether water can sit around it.
Whenever possible, position connections under an eave, behind trim, or in another protected area. Keep them off horizontal ledges where rain, melting snow, and debris can collect. If a cable approaches a connection from above, create a small drip loop below the connector so water follows the cable down and away rather than toward the connection.
Support both sides of every connection. A connector should never be carrying the weight of a hanging cable or a long extension run. Vibration from wind can gradually loosen a connection that looked fine on installation day.
Use only manufacturer-approved extensions and connectors for your lighting system. Cutting, splicing, or mixing incompatible components can create reliability problems and may affect product support or warranty coverage. If the route requires a custom solution, plan the layout around approved cable lengths instead of forcing a connection that was not designed for the system.
Do Not Trap Cables Behind Sharp Edges
Roofing metal, gutters, siding edges, and trim channels can all damage a cable jacket over time. A cable might look fine during installation, then begin rubbing when wind moves it or when the home shifts through seasonal temperature changes.
Look at every point where the cable changes direction. If it touches an edge, use a clip, mount, or protective routing method that keeps the cable slightly clear of the contact point. This matters most at corners, roof peaks, and places where a cable enters a covered area.
Never run a cable where a door, window, garage door, or access panel can close on it. The same rule applies to gutters that may be removed for cleaning. A clean route should not create a future repair problem.
Hide Slack Without Creating a Maintenance Problem
Every outdoor LED installation has some extra cable. The goal is not to eliminate every inch of slack. The goal is to store it neatly so it is protected, inconspicuous, and available if the layout ever needs adjustment.
For a small amount of extra length, form a neat loop behind the fascia or under a soffit and secure it with appropriate cable clips or hook-and-loop straps rated for exterior use. Keep the loop broad. Tight coils can put unnecessary bend stress on the cable and look bulky from below.
For longer extension runs, route the extra length along the structure rather than stuffing it into a single large bundle. A long bundle is harder to troubleshoot, more likely to trap moisture and debris, and more visible than a controlled run following a trim line.
Do not use ordinary indoor zip ties as a permanent outdoor solution. Many become brittle under UV exposure and break when temperatures change. Choose weather-resistant fasteners, and do not cinch them so tightly that they deform the cable jacket.
Manage the Controller and Power Supply Area
The power supply and controller area deserves the same attention as the roofline. This is where cable clutter can build quickly, especially when multiple light sections come together.
Mount components in a location that is dry, accessible, and close enough to the outlet to avoid unsupported cable runs. Keep cables organized with a clear path from power source to controller and from controller to the first light section. If you have extra cable at this location, secure it cleanly against the mounting surface rather than leaving it on the ground or hanging from the equipment.
Check the outlet arrangement before finalizing the route. Outdoor power should be properly protected for the location, and extension cords should not become a permanent substitute for a well-planned power location. If there is any uncertainty about the outlet, circuit capacity, or local electrical requirements, consult a qualified electrician.
Inspect Your Cable Routing Before the Final Test
Before you finish the install, step back and inspect it from the driveway, sidewalk, and directly below the roofline. A cable that is invisible from one angle may stand out from another. Then inspect it up close for strain, pinching, unsupported spans, and connections that could collect water.
Turn the lights on and run through several colors and brightness levels. This confirms the lighting system is working, but it also helps you spot a cable path that casts an unwanted shadow or distracts from the light pattern. Make adjustments now, while your ladder and tools are still out.
A clean cable route lets the lighting do what it was installed to do: highlight the home, not the hardware. Give each run a protected path, secure every transition, and leave just enough access for future service. That extra care is what makes an outdoor LED installation look permanent for years, not just good on the first night.
Share:
How to Route Outdoor Light Power Cleanly
Outdoor Light Controller Mounting Bracket Guide