

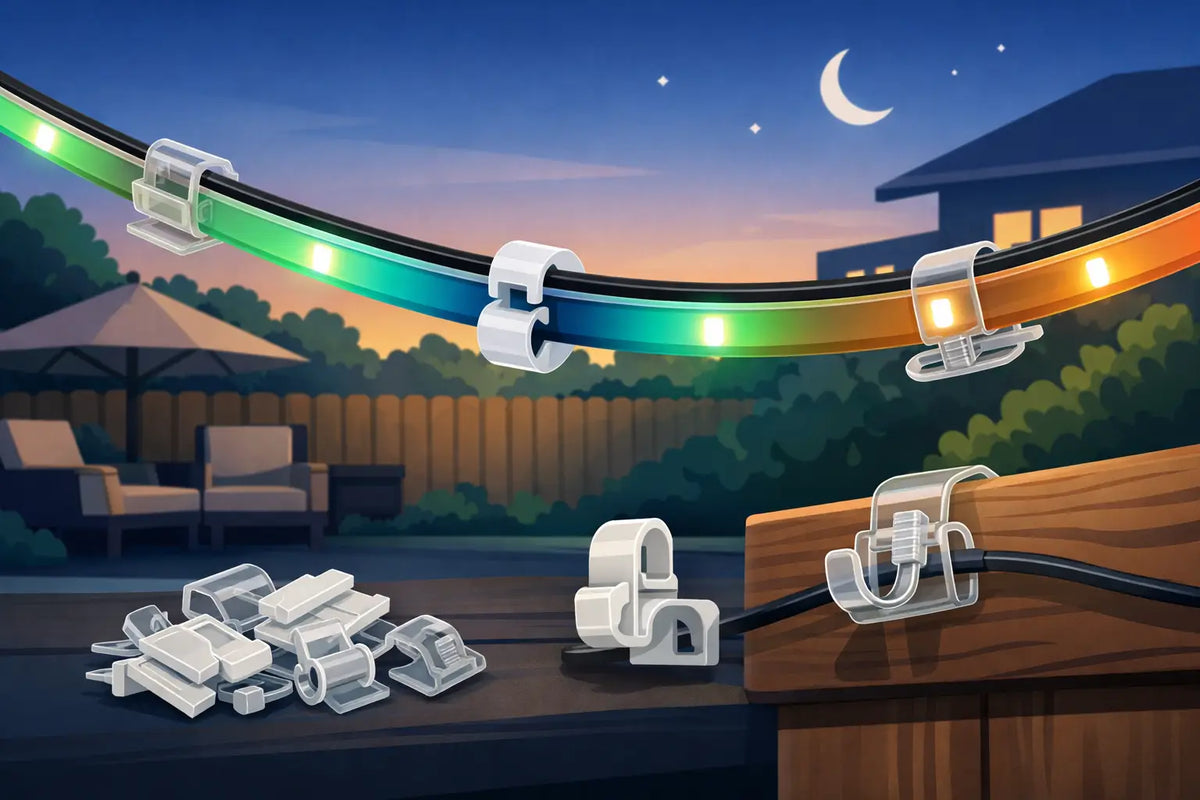
A permanent-light install can look finished or frustrating based on one small detail: how each light is held in place. The best outdoor LED light clips do more than keep a strand off the ground. They control spacing, keep lights pointed where they belong, and help the system stay secure through heat, wind, rain, and seasonal temperature swings.
For Govee permanent outdoor lights, generic clips are rarely the best answer. The lights, cable, mounting surface, and desired effect all matter. A clip that is slightly loose can let a puck shift. One that sits too shallow can change the light throw on the wall. And a mount that relies only on old adhesive may leave you back on the ladder when the weather changes.
What Makes the Best Outdoor LED Light Clips?
The right clip is not simply the strongest piece of plastic available. It is a mounting solution designed around the exact light system and the surface it needs to attach to. For homeowners installing Govee Permanent Outdoor Lights, that means a clip or mount should hold the puck securely, preserve a consistent distance from the wall, and keep the cable route clean.
Fit comes first. Govee light pucks have a particular diameter, cable exit, and beam angle. A purpose-built mount supports the housing without squeezing it, blocking it, or forcing the wire into an awkward bend. That close fit makes installation faster because you are not trying to adapt a universal clip with extra tape, shims, or zip ties.
Weather resistance matters just as much. Outdoor mounting accessories live in direct sun, cold, moisture, and changing temperatures. Materials need to resist becoming brittle, warping, or losing their grip over time. The mounting method also matters. A screw-secured mount provides mechanical support that adhesive alone cannot always provide, especially on challenging rooflines or in areas with high wind exposure.
Clean alignment is the final piece. Permanent lighting is visible every day, even when it is off. Clips should keep pucks level and consistently positioned, while managing the cable so it does not sag between lights or look like an afterthought.
Choose Clips That Match Your Govee System
“Govee outdoor lights” covers several different product families. A mount made for one may not fit another correctly. Before ordering clips, identify the specific system you own and confirm whether it is a Pro, Non-Pro, Prism, or Light Curtain setup.
Pro and Non-Pro permanent light mounts
Govee Pro and Non-Pro systems may look similar from a distance, but their components and installation requirements are not interchangeable in every case. Product-specific mounts are built around the dimensions of the intended puck, creating a stable seat and a more polished finished line.
For a long roofline, consistency is especially valuable. When every light sits at the same depth and angle, the wash of color across siding, brick, or stone looks intentional. A mismatched clip can make one puck aim outward while the next sits flush, producing uneven scallops of light after dark.
Prism mounts for a more defined light effect
Prism-style mounting options are for homeowners who want more than simple retention. Their form can influence how the light presents on the surface below, helping create a distinct architectural look. They are a good fit when the lighting pattern is part of the project goal, not just holiday color on the eaves.
That benefit comes with a trade-off: placement needs more attention. Before committing across an entire run, install a small test section after sunset. Check the beam pattern from the street, driveway, and primary outdoor living areas. A few minutes of testing is much easier than repositioning dozens of lights later.
Light Curtain and accessory mounts
Light Curtain systems, power supplies, and controllers need mounting support too. Leaving a controller loose or relying on temporary adhesive can make an otherwise clean installation feel unfinished. Dedicated mounts help keep these components supported, accessible, and off surfaces where water or debris can collect.
The best setup treats the entire system as one installation. Pucks, cable runs, controller placement, and power routing should all have a plan before the first hole is drilled.
Clip Style Should Match the Mounting Surface
Your soffit or fascia material changes the right approach. Vinyl, aluminum, wood, fiber cement, and painted trim all behave differently when you add fasteners or adhesive. The best outdoor LED light clips for one home may not be the best choice for another.
On wood trim and solid soffits, screw-mounted clips usually offer a dependable long-term hold. They give the installer control over position and can remain secure even when exterior temperatures fluctuate. Use appropriately sized fasteners and avoid overtightening, which can crack a printed part or distort the mounting surface.
For vinyl soffit, confirm what is behind the panel before fastening. Vinyl can flex, and mounting directly into unsupported material may not provide the holding strength you expect. A clip designed for the surface and installed at a supported location is a better path than forcing a generic fastener where it does not belong.
Metal fascia and aluminum surfaces introduce another consideration: heat. Dark surfaces in full sun can become hot, and expansion can affect both adhesive and plastic accessories. Mechanical fastening, when appropriate for the structure, can provide more reliable support than depending entirely on tape.
Adhesive still has a place. It can help hold lights during layout, add support in low-stress areas, or reduce movement between fasteners. But for a true permanent installation, it is wise to view adhesive as one part of the retention strategy rather than the whole strategy.
Spacing and Direction Matter More Than Most Installers Expect
A clip can fit perfectly and still produce a disappointing result if the layout is off. Govee puck spacing is set by the system, but the distance from the wall and the direction of each light are controlled by the mount and installation position.
Start by deciding what you want the lights to do. If the goal is a smooth wall wash, every puck needs a consistent standoff and orientation. If you prefer more defined cones or architectural points of light, a shaped mount may give the pattern more character. There is no single best look, but there is a clear difference between a planned effect and inconsistent placement.
Pay close attention to corners, gables, and transitions between soffit sections. These are the places where cable tension and mounting angles can create visible irregularities. Do not stretch the cable tightly to reach the next clip. Leave enough natural slack for routing, while keeping it controlled and supported.
Before final installation, dry-fit several lights. Stand back from the curb and look down the roofline. A one-inch adjustment at the start of a run can prevent a much more noticeable spacing issue at the far end.
Installation Details That Save Time on the Ladder
Good clips make installation easier, but preparation does most of the heavy lifting. Clean the mounting surface before layout, especially if you are using any adhesive support. Dirt, chalking paint, pollen, and oxidation can weaken the bond and make accurate marking harder.
Measure the full route before you start. Identify the controller location, power access, direction of each cable run, and any areas where extensions or transitions are needed. It is also smart to power up the system and test every section at ground level first. Finding a connection issue before the lights are mounted saves a lot of unnecessary ladder work.
When you begin mounting, work in a consistent direction and check alignment frequently. Install a few clips, seat the lights, and step back. This keeps a small positioning error from repeating across the entire home.
Avoid using a clip as a cable stretcher. The mount should retain the light, not carry excessive pulling force from a tight cable run. Where cable management is needed, use appropriate support points so the light mount can do its intended job.
When a Purpose-Built Mount Is Worth It
Universal clips can be tempting because they are inexpensive and easy to find. They can work for temporary string lights or a short, low-visibility run. But a permanent Govee installation is a different project. You have invested in smart lighting that is meant to stay up, look clean, and perform season after season.
Purpose-built mounts reduce the compromises that create rework: poor puck fit, uneven projection, loose wiring, and mounts that shift after a few months outside. They also make future maintenance easier because each component has a predictable position and secure attachment point.
PrintWorks 3D designs weather-resistant mounting accessories around the specific Govee products homeowners are installing, including retrofit-friendly options for projects where factory adhesive has already become a concern. That specificity is what turns clips from a minor accessory into part of a durable installation system.
A Better Finished Look Starts With the Mount
The best outdoor LED light clips are the ones that fit your exact Govee lights, suit your exterior material, and hold every puck in a consistent position without creating extra work. Choose for fit and long-term support first, then select the mounting style that gives your home the light pattern you actually want to see each night.
A clean roofline is not created by the lights alone. It is built one secure, properly aligned mount at a time.
Share:
Before and After Govee Mount Upgrade Results
Top Permanent Light Controller Mounts for Clean Installs