

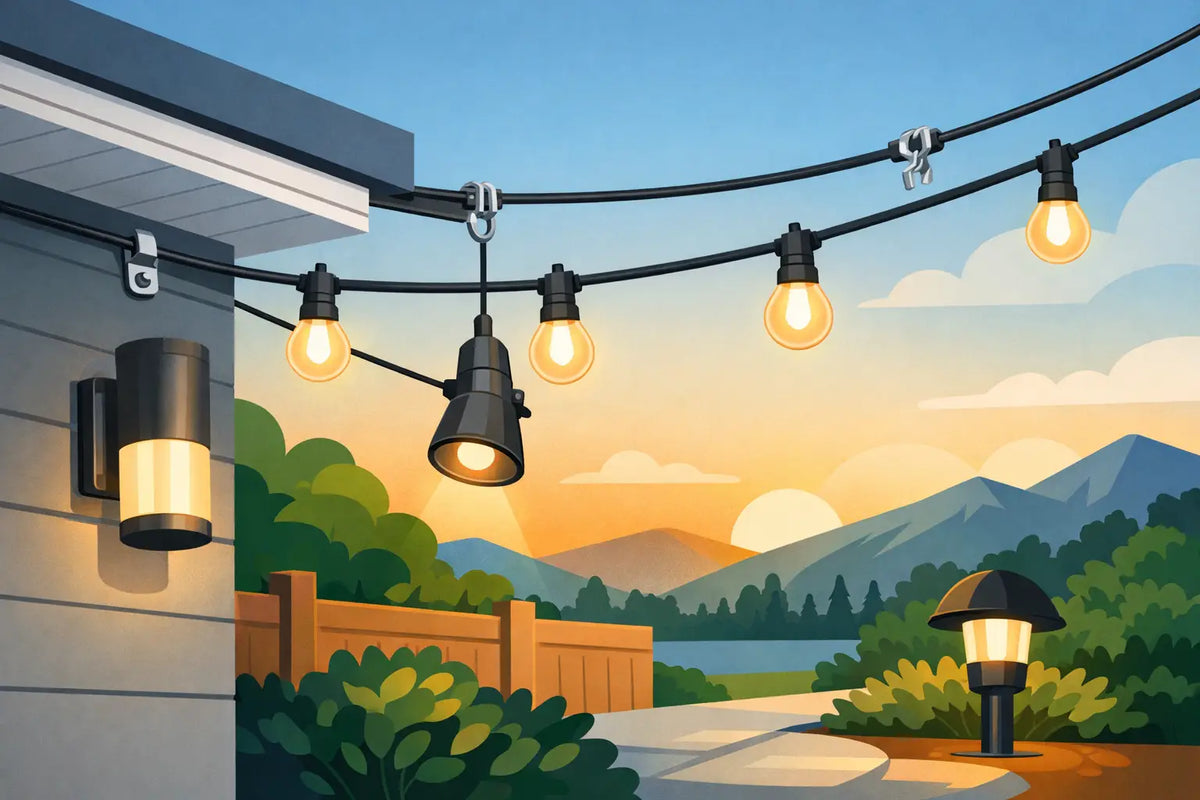
A permanent outdoor lighting project can look finished on day one and start looking improvised by the next season. Sagging strands, crooked light pods, failing adhesive, and loose controller boxes are rarely problems with the lights themselves. They are usually problems with the permanent light hardware holding everything in place.
For Govee outdoor lights, the mounting method matters as much as the layout. The right hardware keeps each light aimed consistently, protects your investment from weather and movement, and gives the roofline a clean, intentional appearance instead of a temporary holiday-light look.
What Permanent Light Hardware Needs to Do
Permanent lighting hardware is not just a clip that keeps a wire off the ground. It has to manage several real-world demands at once: the weight of the light string, vibration from wind, changing temperatures, moisture, and the uneven surfaces found on soffits, fascia, trim, brick, and siding.
A good mount also controls alignment. Govee permanent lights are designed to cast a specific pattern on the home. If a pod twists, droops, or sits at a different distance from the wall than the others, the lighting effect becomes uneven. One loose light can create a visible bright spot, dark gap, or crooked section that stands out every night.
Factory adhesive can be useful during initial placement, especially when you need to confirm spacing before fastening. But adhesive alone is not always a long-term plan. Surface preparation, paint condition, heat exposure, humidity, and the texture of the mounting area all affect how well it holds. A purpose-built mechanical mount adds the security that adhesive cannot always provide by itself.
Choose Hardware for Your Exact Govee Light System
The best permanent light hardware is designed around the specific light system you own. Light pod dimensions, cable routing, mounting angles, and spacing differ between Govee models. A generic clip may technically hold a wire, but it may not center the light, support the pod correctly, or preserve the intended beam direction.
That is why product-specific mounts make a noticeable difference. Pro mounts should fit Pro lights without forcing the cable into a tight bend. Non-Pro mounts should support their matching light body cleanly. Prism mounts need to preserve the distinctive placement and look of Prism lights, while Light Curtain mounts need to organize vertical runs without creating a cluttered exterior.
Controller and power mounts deserve the same attention. These components are easy to overlook because they are not the visible part of the lighting display. Yet a controller hanging by its cord or resting in an exposed, awkward location can make maintenance harder and put unnecessary strain on connections. A dedicated mount gives the installation a cleaner finish and keeps critical hardware where you can reach it when needed.
Where Installations Usually Fail
Most permanent lighting installations do not fail because a homeowner skipped one screw. They fail because the hardware did not match the mounting surface or the installation plan was rushed.
Soffits are common mounting locations because they provide a clean line under the roof edge. However, soffit material varies. Vinyl, aluminum, wood, and fiber-cement surfaces behave differently when fastened. Before installation, identify what is behind the visible surface and choose an appropriate fastening approach. A mount can only perform as well as the surface supporting it.
Fascia and trim can provide solid mounting points, but exposed edges may receive more rain, sun, and wind. Hardware in these locations needs to keep lights stable without creating a crooked run. For gables and peaks, alignment becomes even more important because a small spacing error becomes obvious as the lights climb and descend.
Textured siding and masonry create a different challenge. Adhesive often has less consistent contact on rough surfaces, and generic hardware may not sit flat. In these areas, the right mount helps bridge the gap between a light designed for a flat installation and a home that has character, texture, and uneven exterior details.
A Better Approach to Permanent Light Hardware Installation
Start by planning the full route from power source to final light. Identify where the controller will sit, where extensions may be needed, and where each run will turn at corners, peaks, or transitions. It is much easier to correct a layout on the ground than after you have already spent time on a ladder.
Clean the mounting surface before placing anything. Dust, oxidation, pollen, and chalky paint can weaken adhesive contact and make it harder to position mounts accurately. Let the surface dry fully. If you are working during extreme cold, high humidity, or immediately after rain, give the installation better conditions rather than asking tape or hardware to compensate.
Next, use the lights to confirm spacing and beam placement. A consistent distance from the wall matters. Even small changes in placement can affect the scalloped lighting pattern that makes permanent outdoor lights look polished. Once you are satisfied with the layout, add the appropriate mounts to secure each pod or section.
Fasten hardware carefully and avoid overtightening. A mount should hold the light firmly without pinching cables, distorting the light housing, or damaging the surface beneath it. Keep cable runs supported where needed, particularly near turns and connection points. The goal is a secure installation that still looks clean from the street and is serviceable if you need to inspect it later.
Weather Resistance Is More Than Material Choice
Weather-resistant permanent light hardware starts with durable material, but the design matters just as much. Hardware should hold its shape through hot summers, freezing winters, direct sunlight, rain, and repeated temperature changes. A mount that becomes brittle, warps, or loosens can create problems long before the lights themselves reach the end of their service life.
Water management matters, too. Avoid mounting lights or controller equipment where water regularly pools, runs off a roof edge, or collects behind a trim detail. Keep connections arranged according to the lighting system’s instructions, and do not trap cords where they can be crushed by doors, gutters, or moving exterior components.
There is also a trade-off between hiding every cable and keeping the system accessible. A perfectly concealed run may look great, but it should not require removing large sections of hardware to check a connection. Plan for a clean result that can still be maintained without turning a simple adjustment into a major project.
The Difference Between a Temporary Fix and a Finished Install
Generic clips, zip ties, and improvised fasteners can be tempting because they are inexpensive and easy to find. They can work for short-term support, but they often leave visible gaps, inconsistent positioning, or cable stress. Worse, a solution that looks acceptable from a ladder may look uneven once the lights are on at night.
Purpose-built mounts do more than hold a light in place. They create repeatable spacing, control orientation, and make the installation look designed for the house. That consistency is especially valuable across long rooflines where a small mistake repeated twenty times becomes impossible to ignore.
PrintWorks 3D focuses on this practical difference: mounts engineered for specific Govee products, with retrofit-friendly options that help homeowners improve an existing install without starting over. The right hardware saves time during setup, reduces frustration during seasonal weather changes, and supports the clean finish permanent lighting deserves.
When to Upgrade Your Mounting Hardware
You do not need to wait for a full failure to upgrade. If lights are rotating out of position, adhesive is beginning to lift, cables are pulling at connections, or some sections sit closer to the wall than others, the mounting system is already telling you it needs attention.
An upgrade also makes sense after exterior work. New siding, fresh paint, roof repairs, or soffit replacement can change the surface your lights rely on. Reassessing the hardware at that point helps prevent a fresh exterior from being marked up by a rushed reinstall.
The best permanent light hardware is the kind you stop thinking about after installation. It keeps every Govee light straight, every cable supported, and your home looking ready for any color, season, or occasion you choose.
Share:
Top Permanent Light Installation Mistakes to Avoid
How to Mount Light Curtain Strands Securely