

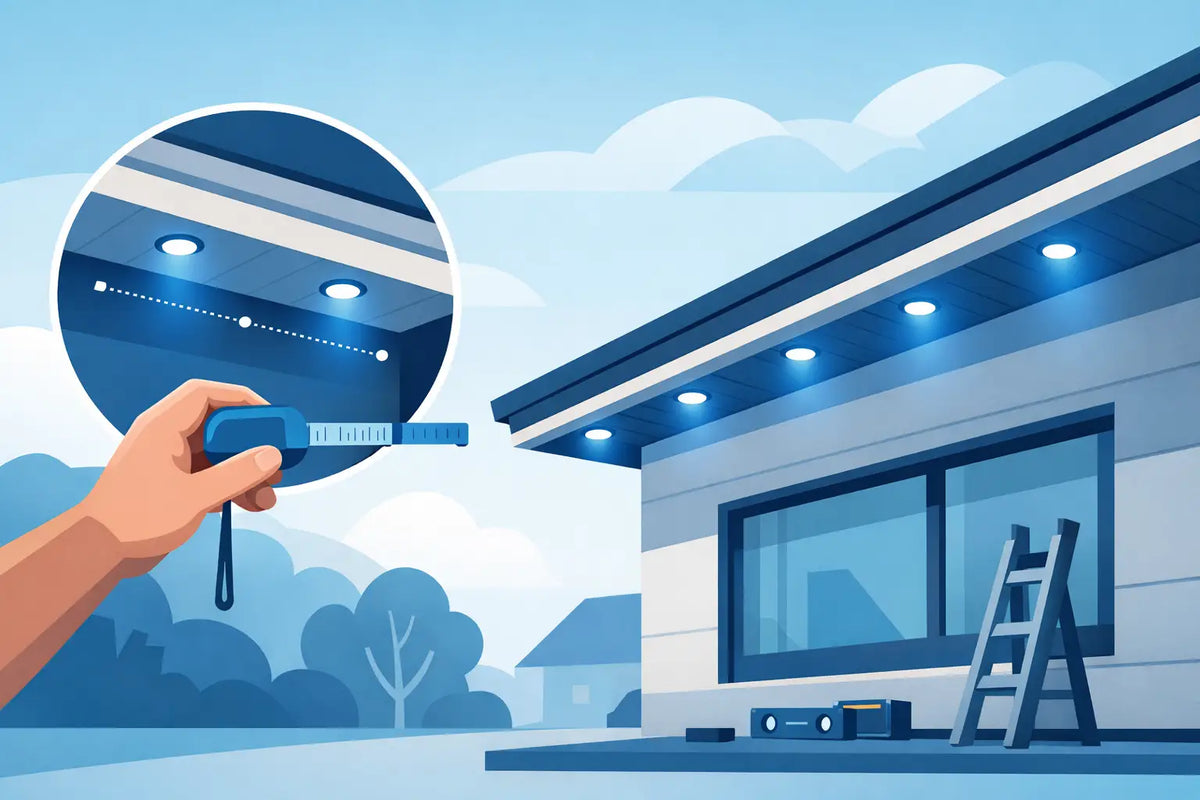
A clean permanent-light installation is decided before the first light goes up. This Govee soffit spacing guide helps you plan the two measurements that matter most: the distance between each light and the house wall, and the way the factory-spaced light string lands across your roofline. Get both right, and the finished look is even, bright, and intentional. Guess at either one, and small inconsistencies can become obvious every night.
Start With the Two Types of Spacing
When homeowners ask about soffit spacing, they often mean one of two different things. The first is fixture spacing: the distance from one Govee light module to the next. On most permanent outdoor light kits, that distance is built into the cable. You generally cannot move individual lights closer together without changing the wiring plan.
The second is setback, sometimes called wall spacing: the distance from the center of each light to the exterior wall or fascia-side edge of the soffit. This is the measurement you can control during installation, and it has the biggest effect on the scalloped pools of color that Govee permanent lights create on the wall.
Treat these as separate decisions. The light string determines where each module naturally falls along the run. Your mounting line determines whether those modules throw consistent, attractive light.
The Best Setback for Govee Soffit Lights
For most Govee permanent outdoor light installations, a setback of roughly 2 to 4 inches from the wall produces the familiar downward cone effect. The right point within that range depends on the depth of your soffit, the height of the wall, and the look you prefer.
A tighter setback, closer to 2 inches, creates brighter and more defined light pockets. It can look excellent on taller homes where the light needs a little extra intensity to read from the street. The trade-off is that slight placement errors become more noticeable. A light that sits even a fraction of an inch off the line may produce a visibly different shape.
A wider setback, closer to 4 inches, gives the light more room to spread before it reaches the wall. The result is softer and broader, especially on shorter exterior walls. Go too far toward the outer edge of a deep soffit, though, and the wall effect can become faint or uneven. You may see more glow on the ground than on the architectural surface you wanted to highlight.
There is no universal number that beats every house. A 2-inch setback can be perfect beneath a narrow eave, while a 3.5-inch setback may look better under a deep covered porch. The goal is consistency. Pick one mounting line for each continuous roofline and hold it from start to finish.
Measure From the Same Reference Point
Choose a reference edge that stays consistent. In most cases, the exterior wall is the best reference because it directly affects the light pattern. Measure from the wall to the center point of each light, not to the edge of the mount or the edge of the cable.
Before mounting the full run, temporarily hold or tape two or three lights at your planned setback after dark. Turn them on in a bright solid color, then a warm white. This quick test shows how the beam lands on your siding, brick, stone, or stucco. Texture and color can change the appearance more than many homeowners expect.
Plan the Run Before You Peel Adhesive
Factory adhesive is useful for positioning, but it should not be your whole installation strategy. Once a light is pressed in place, removing and repositioning it can weaken the bond and leave you with an avoidable alignment problem. Layout first, then install with confidence.
Start at the controller and work in the direction the system is designed to run. Confirm where power, controller, extensions, and each string section will sit before deciding where the first light begins. A layout that looks ideal at the far gable is not helpful if the controller lead cannot reach its intended location cleanly.
Mark your planned setback with a pencil line, painter's tape, or a simple spacer block. A spacer is especially helpful when you are working on a ladder because it removes repeated measuring from every individual light. Place the spacer against the wall, set the mount against it, and you have the same setback every time.
If your soffit is not straight, follow the wall line rather than trying to force the lights into a perfectly straight line across uneven trim. A consistent relationship to the home usually looks better at night than a mathematically straight cable line that drifts closer to and farther from the wall.
How to Handle Corners, Peaks, and Obstructions
The cleanest installs account for the places where the factory light pitch and the home's architecture do not naturally agree. Corners, gables, porch transitions, downspouts, security cameras, and vents all deserve attention during dry fitting.
At an outside corner, keep the same wall setback as you transition around the turn. Do not pull the cable tight enough to force a module into an awkward position. A small amount of natural cable routing is better than a light that points off-angle or a mount that stays under tension.
Gable peaks need a little patience. Lay out from both lower ends toward the peak so you can see where the final modules will land. Ideally, the peak is framed evenly, but symmetry is not always possible with fixed light spacing. When the choice is between perfectly centered geometry and a properly supported, well-aimed light, prioritize secure mounting and consistent setback. From the street, a one-light difference near a peak is usually less noticeable than an obviously crooked module.
Around vents and other obstacles, do not let a light module hang unsupported just to preserve the pattern. Use the available cable length to route cleanly around the obstruction, keep wires from rubbing against sharp edges, and add support where the cable changes direction. The result should look deliberate in daylight as well as after dark.
Why Mounting Hardware Affects Spacing
The stock adhesive can work on a clean, smooth surface, but outdoor soffits rarely stay ideal forever. Heat, humidity, dust, textured material, and seasonal movement can all work against adhesive-only installation. If one light sags or rotates, the spacing line you measured so carefully no longer means much.
Purpose-built mounts provide a fixed position for each module and help maintain its aiming angle over time. That matters most on long straight runs, dark-colored soffits that heat up in the sun, textured surfaces, and homes exposed to wind or frequent temperature swings. A mount should fit the specific Govee light version you own, hold the module square to the soffit, and allow a secure mechanical attachment where appropriate.
PrintWorks 3D designs model-specific mounting accessories for homeowners who want that added security and a cleaner finished line. The practical advantage is simple: once your spacing is set, each light is far less likely to shift away from it.
A Practical Govee Soffit Spacing Checklist
Before climbing back up with the final hardware, verify these installation details:
- Confirm your exact Govee model and its factory light-to-light spacing. Do not plan from a different kit's measurements.
- Test two or three lights at night at your proposed wall setback before committing to the full line.
- Mark one continuous reference line for every straight soffit section.
- Dry fit around corners, peaks, downspouts, and transitions before removing adhesive backing.
- Clean the mounting surface thoroughly and let it dry completely before installation.
- Add secure mounts or fasteners appropriate for the soffit material, particularly where cable tension or weather exposure is higher.
Common Spacing Mistakes That Change the Finished Look
The most common mistake is measuring only the first few lights. A line can drift gradually when every module is placed by eye, especially on a ladder. By the end of a 40- or 100-foot run, a small inconsistency can turn into a visibly wavy pattern. Use your spacer or reference line throughout the full section.
Another mistake is centering lights on the soffit rather than setting them back from the wall. Centering can be right for certain architectural effects, but it is not automatically the best placement for wall washing. On a deep soffit, centered lights may sit too far out to create the crisp Govee pattern many homeowners expect.
Finally, avoid stretching cables to make fixture spacing fit a visual plan. The cable should rest naturally between modules with enough support to prevent sagging. Forcing a run tight can pull mounts out of alignment and put unnecessary strain on the wire.
A permanent-light system should look as good in year three as it does on installation day. Take a few extra minutes to test your setback, mark the line, and secure every light consistently. That preparation is what turns a string of smart lights into a roofline that looks built for the home.
Share:
Top Accessories for Govee Light Curtains
How to Install Govee Pro Mounts That Stay Put