

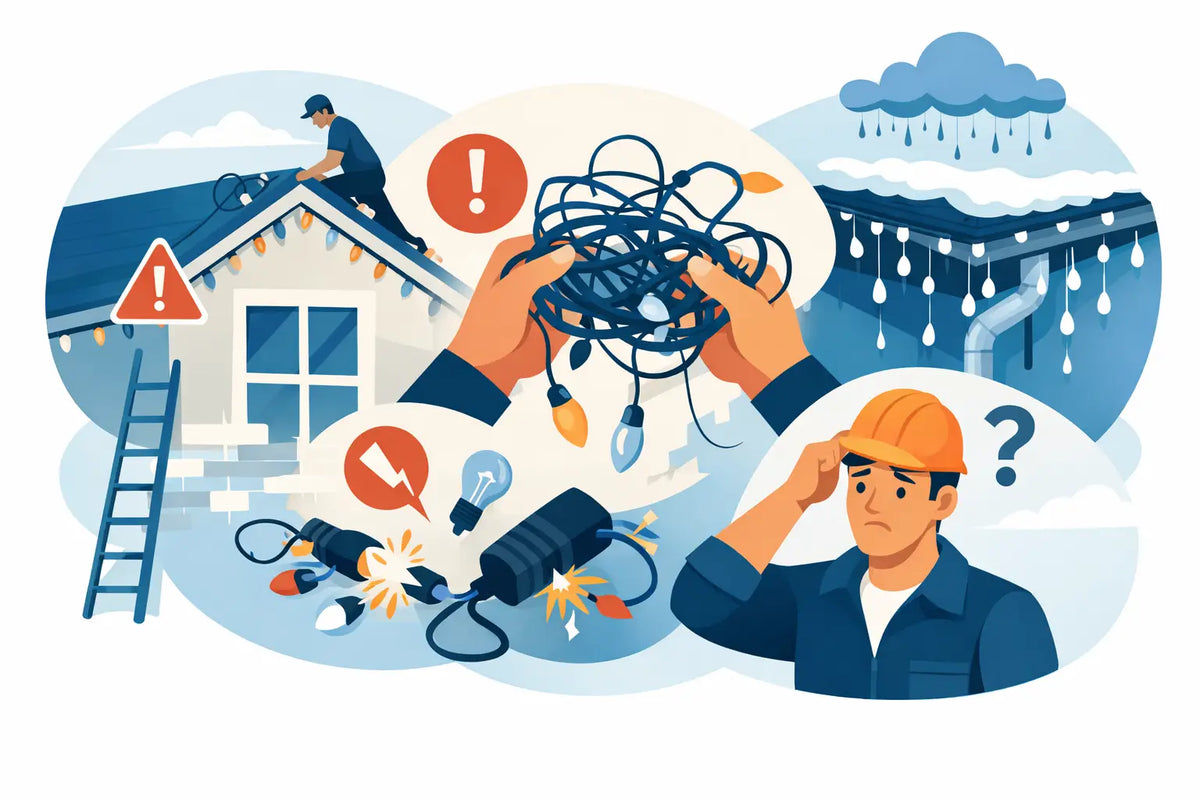
A permanent outdoor lighting project can look incredible on day one and frustrating six months later if the mounting plan is treated as an afterthought. The top permanent light installation mistakes usually come down to fit, surface preparation, cable management, and using hardware that was never designed for the shape of your roofline. Avoiding them gives your Govee lights the clean, secure, finished appearance that makes a permanent installation worth doing.
1. Relying on factory adhesive alone
Adhesive pads are convenient, but convenience is not the same as long-term holding power. Exterior surfaces expand and contract with temperature swings, collect dust and pollen, and can become damp after rain or morning condensation. Over time, those conditions can weaken adhesive and leave individual lights hanging, crooked, or completely detached.
This is especially common under eaves and along soffits where the surface may be textured, painted, or exposed to wind. A light that begins to peel does more than look bad. It puts extra stress on the wire between lights and can pull neighboring sections out of alignment.
For a truly permanent result, secure each light with purpose-built mechanical mounts matched to your specific Govee light model. A properly fitted mount supports the light body instead of asking a small adhesive pad to carry the entire load through every season.
2. Installing on a dirty, wet, or unstable surface
Even the best mounting hardware cannot compensate for a poor installation surface. Dirt, chalking paint, oxidation, mildew, and loose trim all create weak points. If you apply adhesive or fasten a mount to a surface that is already failing, the installation is only as strong as that failing layer.
Start by inspecting the full route in daylight. Clean soffits and fascia thoroughly, allow them to dry fully, and look for peeling paint, soft wood, loose vinyl, or cracked trim. Repairing a small problem before the lights go up is far easier than removing a full run later to fix it.
Surface material matters, too. Wood, aluminum, vinyl, fiber cement, and textured soffit panels can require different fastening approaches. Do not assume one screw length or one mount style works everywhere on the house. The goal is a secure connection without piercing, cracking, or deforming the material beneath it.
3. Skipping the layout before climbing the ladder
A permanent light run should be planned from the ground before the first mount goes up. One of the most visible permanent light installation mistakes is starting at one end, following the cable as you go, and discovering too late that the final lights land in an awkward location or the controller is nowhere near practical power.
Measure the roofline, map corners and transitions, and identify the location of the power supply and controller. Lay out the lights on the ground when possible to confirm cable lengths and spacing. This also gives you a chance to test every section before it is overhead.
Pay close attention to where runs begin and end. A centered design may look best on a short gable, while a long soffit may need lights positioned consistently from one architectural break to the next. There is no single spacing rule that fits every home. What matters is that the pattern looks intentional from the street.
4. Using the wrong mount geometry for the roofline
Not every eave, peak, or gable presents the same mounting angle. A mount that works well on a flat soffit may point lights too far inward or outward on a sloped fascia. That can reduce the wall-wash effect, create uneven scallops of light, or make the fixtures themselves more visible than the lighting pattern.
Before committing to an entire run, install a short test section and turn it on after dark. Look at the light output from the driveway and across the street, not just from directly below. The ideal placement depends on your trim depth, mounting surface, desired lighting effect, and the model of Govee lights you own.
Product-specific mounts are useful because they hold the light at a repeatable position and angle. That consistency is what keeps a long roofline from looking wavy. PrintWorks 3D designs mounting options around real Govee fixtures and common exterior installation challenges, including peaks, soffits, curtains, controllers, and power supplies.
5. Pulling cables tight between every light
A straight cable run looks tidy, but a cable pulled drum-tight can become a problem as temperatures change. Outdoor wiring shifts slightly with heat and cold. Tight runs also transfer stress directly to the light housings and mounts, particularly at corners, transitions, and the last light before an extension.
Leave a small amount of natural relief rather than forcing every wire into a perfectly rigid line. The cable should be supported and controlled, not stretched. Where a wire changes direction, use mounting points that guide it cleanly instead of bending it sharply around a trim edge.
Avoid letting excess cable dangle in visible loops. If a section has extra length, plan where that slack will be managed before installation. A tidy, supported route protects the cable and keeps the finished system looking like part of the home rather than a temporary holiday setup.
6. Ignoring corners, peaks, and transition points
Straight soffit runs are usually the easy part. Corners, roof peaks, gables, and changes in trim depth are where installations often lose their clean look. Trying to force a standard flat mount into these areas can leave lights tilted, unsupported, or unevenly spaced.
Treat each transition as its own small design decision. Ask where the light needs to face, where the wire needs to travel, and how the mounting hardware will sit against the surface. In some cases, a specialized peak or prism-style mount is the better option. In others, a small adjustment to the run's starting position prevents a crowded corner entirely.
This is also where testing matters most. A setup that looks centered from a ladder can appear noticeably off when viewed from the ground at night. Step back frequently and check the visual rhythm of the lights before moving on.
7. Putting the power supply or controller in the wrong place
The lights get most of the attention, but the controller and power supply need a secure, accessible home. Leaving them loosely placed on a ledge, tucked behind a downspout, or hanging by their cables creates avoidable trouble. Water exposure, vibration, accidental bumps, and cable strain can all shorten the life of the system.
Plan for a location that respects the manufacturer's environmental guidance while still allowing access for troubleshooting, resets, and seasonal adjustments. The power path should be protected, and cables should not bear the weight of the controller or power brick.
A dedicated controller or power mount helps keep these components elevated, supported, and organized. It also makes the installation easier to service later, which matters when you are working from a ladder or dealing with a hard-to-reach exterior outlet.
8. Choosing hardware that is not built for outdoor use
A mount can look fine indoors and still fail outside. Thin plastics can become brittle in sun and cold. Generic clips may loosen in heat. Hardware that does not fit the fixture closely can allow movement that gradually widens holes, stresses wires, or throws off alignment.
Choose weather-resistant mounting accessories made for long-term exterior exposure and for the exact light system you are installing. A close fit reduces wobble, speeds up placement, and gives every fixture a uniform appearance. It is a small detail that pays off every time the lights turn on.
Also consider the service side of permanence. A good mounting approach should hold securely while still allowing a failed light or damaged section to be replaced without tearing apart the entire run. Permanent does not need to mean impossible to maintain.
A polished lighting installation is built one deliberate decision at a time. Take the extra few minutes to test placement, support the wiring, and use mounts that fit the fixture and the surface. Your roofline will look better on the first night, and it will be far more likely to stay that way after the weather has had its say.
Share:
Govee Pro Mounts Comparison for a Better Fit
Permanent Light Hardware That Holds Up Outside