

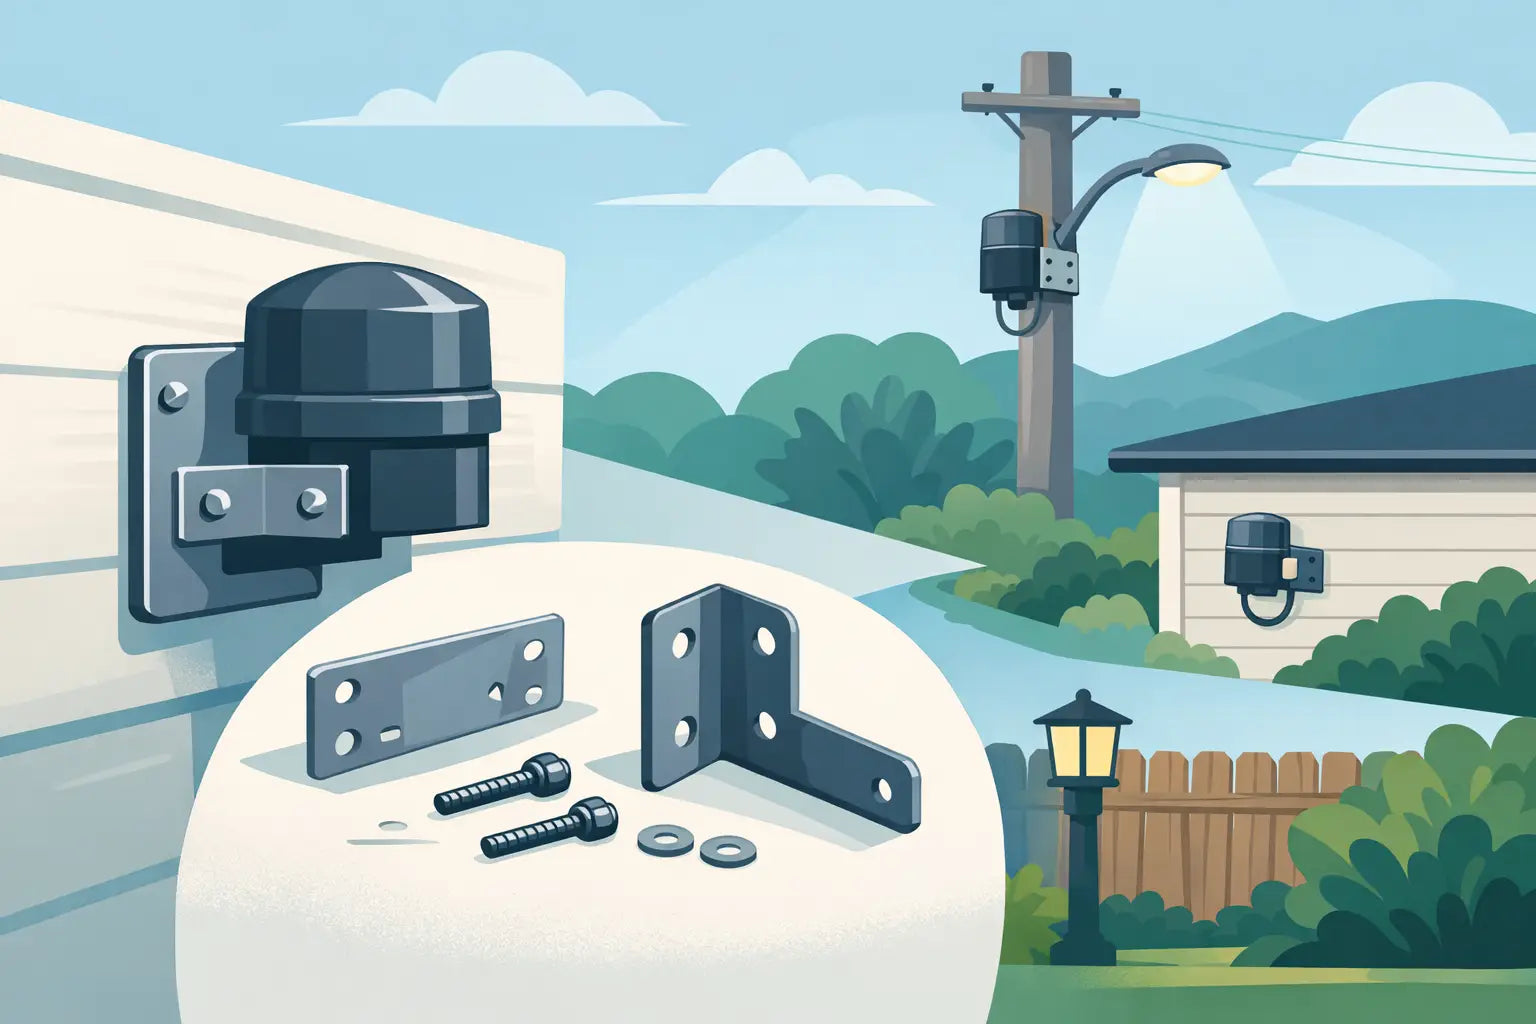
A permanent outdoor lighting installation can look finished from the street while hiding one weak point behind the scenes: the controller. An outdoor light controller mounting bracket gives that component a secure, intentional home instead of leaving it loose, taped in place, or resting where water and cable movement can create problems.
For Govee permanent outdoor lights, the controller is more than another piece of hardware. It is the connection point between power, lighting runs, and the smart controls you use every day. Mounting it correctly keeps the installation cleaner, protects the cable connections, and makes future troubleshooting far easier.
Why the Controller Needs Its Own Mounting Solution
Lights get most of the attention during installation, especially when you are working along a roofline, peak, or gable. But the controller deserves the same planning. Factory hardware is often designed to get a system running, not necessarily to create a clean long-term installation on real exterior surfaces.
A dedicated controller bracket holds the unit in a consistent position and prevents it from shifting as temperatures change or cables are bumped. That matters because hanging weight and repeated cable movement can put unnecessary stress on controller ports. A controller that stays put is less likely to have strained connections, sagging wires, or an awkward service loop that catches the eye.
The visual difference is meaningful, too. A controller mounted squarely against a soffit, fascia board, trim piece, or other protected location looks like part of the installation. One suspended by cords or attached with temporary hardware makes even well-aligned lights feel unfinished.
What an Outdoor Light Controller Mounting Bracket Should Do
The right outdoor light controller mounting bracket is not simply a shelf or clip. It should be shaped around the controller it is intended to hold, provide secure screw-mounting points, and allow cables to exit without sharp bends or pinching.
Fit comes first. A generic bracket may technically hold a controller, but excess space can allow the unit to rattle or tilt. A too-tight design can make installation frustrating and can place pressure on the housing or connections. Product-specific mounting accessories are built to hold the controller securely while keeping it accessible when you need to inspect a plug, reset the system, or make an adjustment.
Material matters just as much. Exterior hardware deals with heat, cold, rain, humidity, and UV exposure. A mount should be made from a weather-resistant material that is suited to long-term outdoor use, not a brittle indoor plastic that may crack after a season of sun and temperature swings.
The bracket also needs practical cable clearance. Your setup may include a power lead, extension cable, light run, or all three. A good design keeps those cables organized without forcing them into tight angles. That small detail can save time when you are working from a ladder and reduce frustration if you need to service the system later.
Choose the Mount Location Before Installing Lights
The best time to plan controller placement is before the first light is installed. Start with the controller’s cable reach and work backward from the lighting run. You want a location that keeps cable paths sensible without creating excess slack that needs to be hidden.
A protected area under an eave is often a practical choice. It can keep the controller out of direct weather while placing it near the roofline where the lights begin. Depending on your home and system layout, a covered porch, soffit return, utility-side trim, or a sheltered section near the power source may also work well.
Avoid locations that create a permanent water trap or leave the controller in a low spot where snow, runoff, or debris can collect. Do not mount it where a door, gate, or outdoor furniture regularly hits the cables. Accessibility is worth considering as well. The controller should be secure, but not so hidden that a simple reset requires disassembling part of the installation.
Before committing, hold the controller and bracket in place. Confirm that the light cable reaches naturally, the power connection is manageable, and the controller will sit straight. This quick check is much easier than relocating hardware after holes have been drilled.
Keep Connections Supported, Not Suspended
Cable management is part of mounting, not an afterthought. The controller bracket supports the controller itself, but the nearby cables should also be routed and secured so their weight is not pulling on the ports.
Leave enough slack for a gentle service loop, particularly near connection points. The goal is not to pull every cable tight. A small amount of intentional slack allows for expansion, minor adjustments, and easier access. Too much loose cable, on the other hand, can look messy and may move in the wind.
Route wires along trim lines whenever possible. This keeps the installation discreet and protects cables from snags. Use outdoor-rated cable management hardware appropriate for the surface, and avoid compressing the cable jacket with fasteners.
Installation Steps That Prevent Rework
Once you have selected the location, installation is straightforward. The details make the difference between a controller mount that lasts and one that needs attention later.
First, test the lighting system on the ground. Confirm that the controller, power supply, extensions, and light segments are working before mounting anything permanently. If there is a connection issue, it is far easier to find while every component is accessible.
Next, position the bracket and mark the mounting holes. For wood trim or fascia, use screws that are appropriate for exterior use and long enough to achieve a secure hold without penetrating where they should not. If you are mounting to masonry, metal, vinyl, or another surface, choose the correct anchors or mounting method for that material.
Install the bracket level and snug, but do not overtighten fasteners to the point that they damage the bracket or the mounting surface. Place the controller into its designed position, then connect the cables with enough room to avoid tension at each port. Secure the cable route after you know the controller is fully seated and the system is functioning.
Finally, test the lights again. Run several effects, check the controller response, and inspect the cable paths from a few feet away. This is the moment to correct a crooked run or an overly visible loop before the project is truly done.
Common Mounting Mistakes to Avoid
The most common mistake is relying on adhesive alone for a component that needs to stay in place through changing weather. Adhesive can be useful in limited situations, but exterior surfaces may be dusty, textured, cold, hot, or damp during installation. Those conditions can compromise long-term hold.
Another issue is placing the controller wherever there is leftover cable length. This often leads to a controller mounted too low, too exposed, or too far from the beginning of the lighting run. Plan around both cable reach and protection from the elements.
Homeowners also sometimes hide the controller so completely that they cannot reach the reset button or inspect connections. A clean installation should be discreet, not impossible to maintain. The best location balances appearance, protection, and access.
Finally, do not assume every Govee lighting system uses the same controller shape or mounting needs. Permanent Outdoor Lights, Pro systems, non-Pro systems, Light Curtain products, and other Govee setups can differ. Confirm compatibility before selecting a bracket so the fit and cable routing match your equipment.
A Small Part That Improves the Entire Installation
A controller bracket may be one of the smallest parts of a permanent outdoor lighting project, but it solves several visible and practical problems at once. It helps protect your equipment, reduces cable strain, improves service access, and gives the installation a more finished appearance.
PrintWorks 3D designs product-specific mounting accessories for homeowners who want their Govee lights to look intentional from the first night through years of seasonal use. The right mount turns a controller from an exposed loose end into a secure part of the system.
When you step back after installation, the lights should be what people notice. A properly mounted controller helps make that possible.
Share:
Your Guide to Outdoor LED Cable Management
How to Secure Soffit LED Tracks That Stay Put