

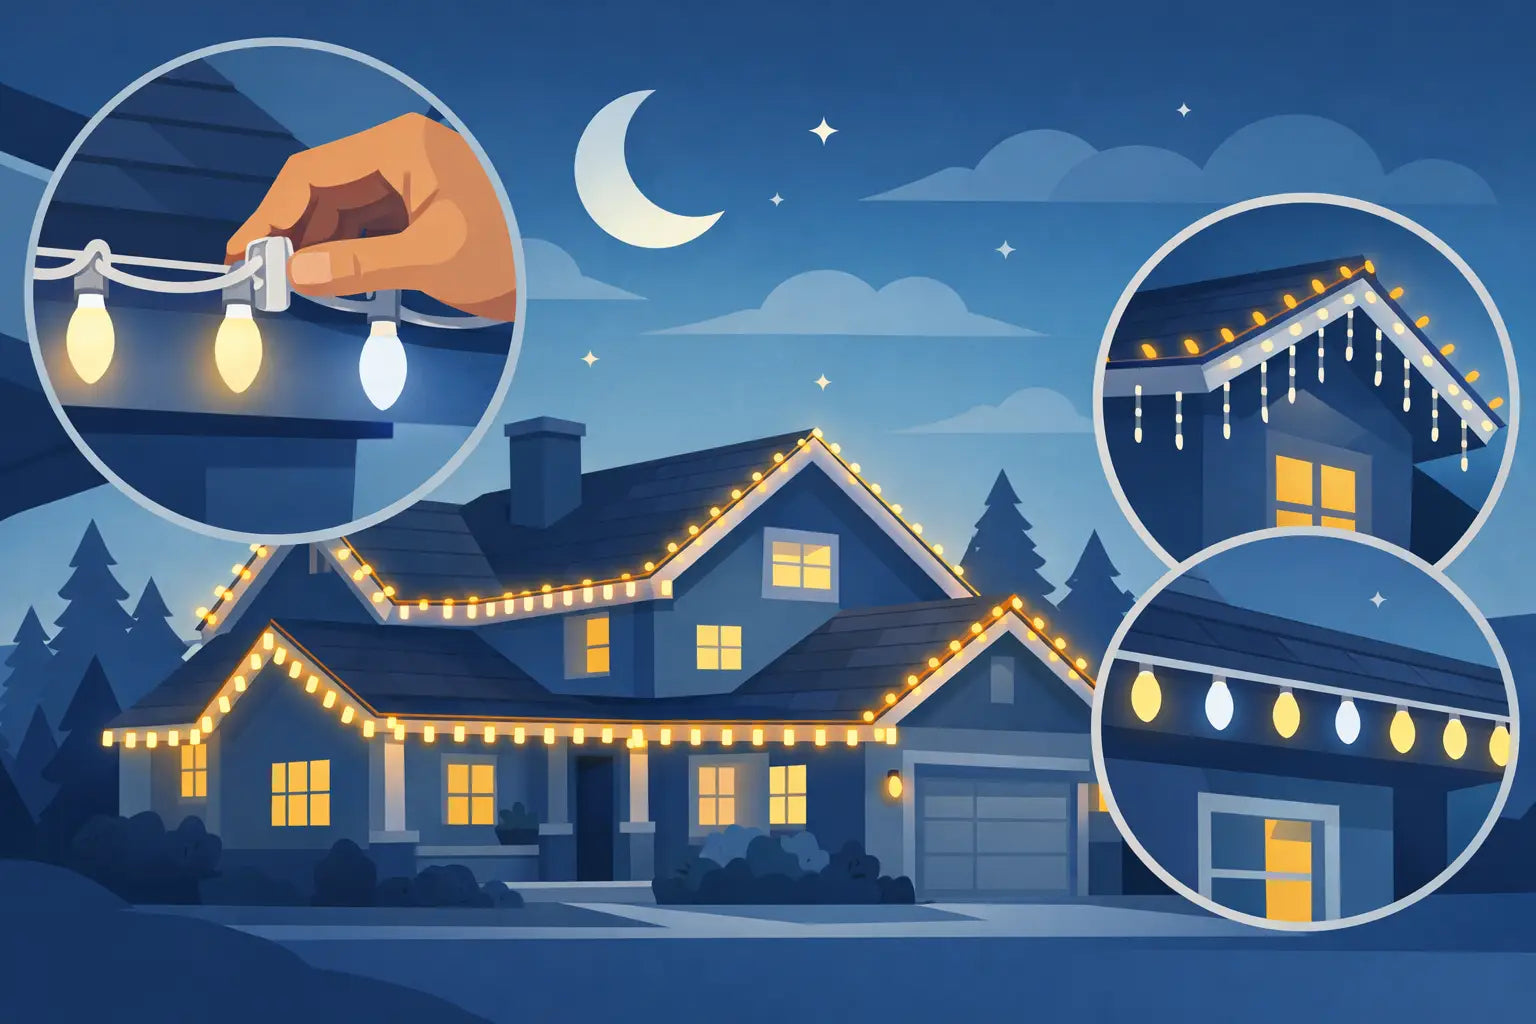
A roofline lighting install can have great lights and still look off. Usually the problem is not brightness or app settings. It is layout. Uneven spacing, wandering sightlines, sloppy corner transitions, and sagging mounts are what make a permanent lighting job look temporary. This guide to clean roofline light layouts is built for homeowners who want a crisp, intentional finish the first time.
If you are installing Govee permanent outdoor lights, layout is the part that decides whether your house looks professionally outlined or patched together one section at a time. The goal is simple - straight runs, balanced spacing, clean transitions, and a final look that matches the architecture instead of fighting it.
What clean roofline light layouts actually look like
A clean layout does not mean every section of the house is treated exactly the same. It means the whole installation feels consistent when viewed from the street. Lights follow the roofline with steady spacing, peaks are centered, corners do not drift, and no section looks like it was forced to fit leftover length.
That last point matters more than most people expect. Many DIY installs go wrong when the installer starts at one end and keeps moving without a full plan. By the time they reach a gable, dormer, or return corner, spacing has to be adjusted on the fly. That is where symmetry breaks down.
Good layout starts before the first mount goes up. You are not just attaching lights. You are setting visual rhythm across the front of the home.
Start with the viewing angle, not just the measurements
The tape measure matters, but so does curb view. A roofline can be technically accurate and still feel visually uneven if the layout does not account for what people actually see from the street. Front-facing gables, garage peaks, and long fascia runs draw attention first. Side sections and less visible returns usually matter less.
That means your most visible lines deserve the highest level of symmetry. If the front gable is the focal point, center that run carefully. If the garage dominates the elevation, make sure the spacing there is exact before you worry about a short side section.
Walk across the street and study the house before installation. Identify the lines your eye follows naturally. Those are the sections where layout mistakes will stand out the most.
Measure each run as its own section
One of the easiest ways to get a cleaner result is to stop thinking of the roofline as one continuous path. Treat each fascia run, peak, eave return, and gable edge as its own layout section. Measure them separately and note where corners, joints, soffit changes, and obstructions show up.
This gives you room to plan spacing instead of accepting whatever happens at the end of a strand. It also helps when you need to decide where to hide a small adjustment. A minor spacing compromise tucked into a low-visibility side return is far better than an obvious drift across the front peak.
For homes with multiple roof elevations, sketching the front of the house can save a lot of ladder time. It does not need to be fancy. A simple drawing with run lengths and corner notes is usually enough to prevent costly guesswork.
Spacing should match the architecture
The best-looking installs usually respect the scale of the house. Long, low ranch-style rooflines can handle a smooth, steady cadence that emphasizes width. Taller homes with prominent gables often look best when spacing reinforces those vertical transitions and peak centers.
Consistency matters, but so does proportion. If lights are too tight, the roofline can look busy and overworked. If they are too far apart, the outline loses impact and corner alignment becomes more noticeable. There is no single perfect number that works for every home because soffit depth, mounting position, and viewing distance all change the result.
A good rule is to test one visible section before committing to the whole home. Step back. Look at it in daylight and after dark. Ask whether the spacing looks intentional on that specific architecture, not just acceptable in isolation.
Center peaks and focal sections whenever possible
If your home has gables, centering matters. An off-center peak is one of the fastest ways to make a permanent install look rushed. When a run climbs to a ridge and descends on the other side, the layout should feel balanced from left to right.
This sometimes means working outward from the center of the peak instead of starting at the edge. It sometimes means making very small spacing adjustments across both sides so the visual balance stays intact. Those tiny corrections are usually invisible. A peak that lands noticeably off-center is not.
The same principle applies to other focal areas. Over a front porch, garage door, or large centered window, balance is usually more important than preserving identical spacing from a less visible side run.
Corners are where clean installs usually get tested
Straight lines are easy. Corners tell the truth.
Inside and outside corners can create drift if the mounting position changes even slightly. If one run is tucked tighter to the fascia and the next run drops lower under the soffit, the transition will look crooked from the ground. The same happens when cable slack is not managed cleanly through the turn.
Plan corners before mounting. Decide exactly where the light path will sit relative to the trim line, and keep that reference point consistent. On homes with frequent angles or short segmented roof sections, corner planning is often the difference between a custom look and a patchwork one.
This is also where purpose-built mounts help. Stock options may hold the light, but they do not always keep alignment tight through weather, heat, or repeated adjustment. A secure mount designed for the specific light body gives you a better chance of keeping the line straight and the finish clean.
Keep mounting height consistent across the roofline
Even good spacing can look wrong if the lights rise and fall against the fascia. That visual wobble often comes from inconsistent mounting height rather than spacing itself. A run installed half an inch lower than the next can stand out more than most homeowners expect.
Use a repeatable reference point. That could be the bottom edge of the fascia, a measured setback from the soffit edge, or another architectural line that stays consistent across the run. What matters is choosing one standard and sticking to it.
This becomes even more important on longer elevations. Small errors compound over distance, especially when viewed from the street at night.
Work around obstacles without advertising them
Every house has them. Vents, outlets, downspouts, trim breaks, and awkward returns can interrupt a clean line. The mistake is letting those obstacles dictate the whole layout.
Instead, decide where small accommodations will be least visible. You may shift a connector position slightly, hide a modest adjustment near a return, or break a run where the architecture naturally creates separation. The cleanest installs absorb these changes quietly.
What usually looks worst is a visible overcorrection in a main viewing area because an obstacle caught the installer by surprise. Planning those trouble spots early keeps the rest of the roofline looking controlled.
Test the line before final fastening
A dry fit is worth the extra few minutes. Before locking in every section, loosely position a test run and check it from multiple angles. Look for sag, drift, awkward corner spacing, and peak centering. Daylight reveals physical alignment. Night testing reveals how the light pattern actually reads on the home.
This is the stage where small fixes are cheap. Once every mount is fastened and the cable path is set, changes take more time and usually leave extra holes or visible rework behind.
For homeowners who want a cleaner finish with less ladder frustration, this is where product choice matters too. Mounts that are engineered for easier placement and stronger hold reduce the amount of fiddling required to keep lines uniform. That is a big part of why purpose-built accessories have become a practical upgrade for permanent outdoor installs.
A clean layout is part planning, part restraint
The strongest roofline installs do not try to highlight every inch of the house. They outline the features that matter most and do it with discipline. Sometimes that means skipping a minor return, simplifying a side section, or prioritizing the front elevation over less visible areas.
That restraint usually leads to a better result than forcing lights onto every possible surface. Clean layout is not about maximum coverage. It is about clear lines, balanced geometry, and a finished look that still feels sharp a year from now.
If you are putting in the time to install permanent outdoor lighting, the layout deserves as much attention as the lights themselves. Good hardware helps, but the polished look comes from thoughtful spacing, centered focal points, and mounts that hold the line where you intended it. PrintWorks 3D was built around that kind of real-world result.
Before you climb the ladder again, step back and look at the house like a passerby would. The best layout choice is usually the one that looks calm, straight, and obviously intentional.
Share:
Govee Light Curtain Spacers Explained
Do Permanent Light Mounts Survive Winter?