

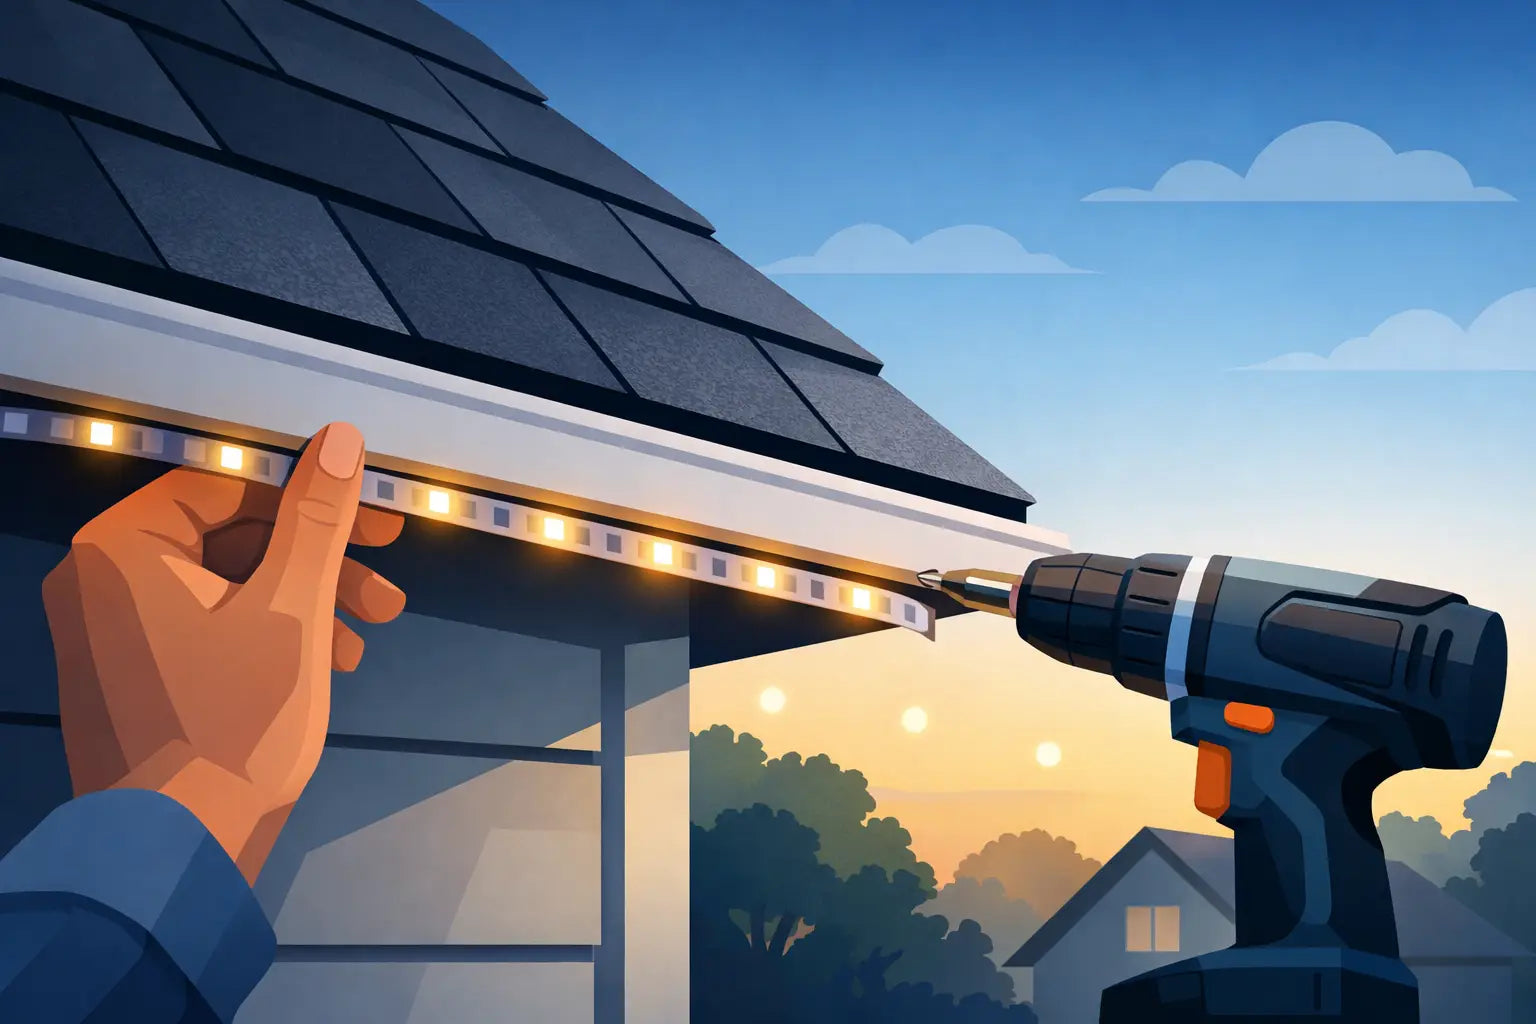
A crisp permanent-light installation should make the roofline look finished, not make the drip edge look like it is doing all the work. Installing lights under drip edge is possible on many homes, but the detail matters: the metal edge needs to shed water freely, the lights need consistent aiming, and the mounting surface must hold through heat, wind, rain, and seasonal temperature swings.
For Govee permanent outdoor lights, the best result usually comes from treating the drip edge as a clearance boundary, not as the primary mounting location. The goal is a straight, secure run that protects both your lighting investment and the roof system above it.
Start With the Purpose of the Drip Edge
Drip edge is the metal flashing installed at the roof's perimeter. Its job is simple but critical: it directs water away from the fascia and into the gutter or away from the structure. It is thin, shaped for drainage, and often tucked beneath roofing materials. That makes it a poor place to force screws, clips, or adhesive mounts that can bend the metal, trap water, or work loose over time.
The better mounting surface is usually the fascia board, soffit, or a trim board immediately below the drip edge. This gives your lights a stable substrate while preserving the water path. On homes with a deep soffit, mounting to the underside may create the cleanest look. On homes with minimal overhang, a fascia-mounted solution may keep the light modules properly positioned without crowding the roof edge.
It depends on the profile of your eave. A wide aluminum fascia wrap, shallow soffit, hidden gutter, or decorative crown molding can all change where a standard mounting method will fit. Measure before ordering mounts or laying out your run.
Why Adhesive Alone Often Falls Short
Most permanent outdoor lighting kits include adhesive-backed mounting options. On a smooth, clean, well-prepped surface, adhesive can help hold each light in place during installation. But under a drip edge, conditions are rarely ideal. The area may collect dust, moisture, insect debris, and temperature extremes. Some fascia surfaces are textured, chalky, painted, vinyl-wrapped, or uneven.
Adhesive also does not solve alignment. A single module that twists slightly or sits too close to the wall can create an uneven scallop pattern after dark. That may not seem significant from a ladder, but it is noticeable from the street.
For a permanent installation, use a mounting method that provides mechanical retention and repeatable positioning. Purpose-built mounts can hold the light body in a consistent orientation while allowing the roofline to remain clean. They are especially useful when the supplied adhesive is not enough for the surface, climate, or angle of the installation.
The Clearance That Makes or Breaks the Look
The most common mistake when installing lights under drip edge is placing the modules wherever they happen to fit. The lights may technically stay up, yet the projection is weak, uneven, or partially blocked by trim.
Before securing anything, hold one powered light in the intended location after sunset. Test a few distances from the wall or exterior surface and compare the effect. You are looking for evenly spaced cones of light that read as a continuous pattern, not tight dots or washed-out blobs. Follow your specific Govee model's installation guidance, since housing dimensions, cable routing, and recommended spacing can differ between Pro, Non-Pro, and other product lines.
Also check the drip edge from the ground. If the metal lip extends far beyond the fascia, it can cast a narrow shadow or limit the angle of the module. In that case, shifting the mount slightly lower on the fascia or onto the soffit may produce a much better result. A clean lighting pattern is worth more than forcing every light directly under the metal edge.
Keep Water Moving Where It Should
Leave a visible gap between the mount and the drip edge whenever possible. Do not sandwich a mount against the flashing, seal over drainage paths, or install hardware that pushes the metal upward. Water needs to run off the roof edge without being redirected behind the fascia.
Avoid putting screws through the drip edge unless a qualified roofing professional has specifically approved the method for your roof assembly. A small penetration can become a larger problem when wind-driven rain, freeze-thaw cycles, and roof movement enter the picture. Secure the mount to wood trim, a suitable soffit substrate, or another solid architectural surface instead.
Plan the Full Run Before You Climb
A roofline installation goes faster when the decisions are made on the ground. Lay out the light string and identify the controller location, power source, corners, peaks, cable transitions, and excess length. Make sure the cable reaches without pulling tight. A cable under tension can shift mounts and put unnecessary load on the light housings.
Mark light positions with painter's tape before permanent mounting. Step back to check symmetry at doors, windows, garage corners, and gables. Rooflines are not always perfectly square, and a small adjustment near a transition can prevent an awkward-looking final module.
For a clean plan, account for these four realities:
- Corners and gables often need a mount shape that keeps each module aimed consistently through the change in direction.
- Fascia channels, vinyl wraps, and trim grooves may require a mount designed around that specific profile.
- Controller and power connections need a protected, accessible location rather than a spot hidden where service will be difficult.
- Cable slack needs to be managed without pinching wires beneath flashing or leaving loose loops exposed to wind.
Prepare the Surface Like It Is a Permanent Job
Even when using screw-secured mounts, surface preparation affects how cleanly everything sits. Wash away dirt and oxidation, then let the area dry completely. If the fascia is peeling, soft, or water-damaged, address that first. A strong mount cannot compensate for compromised wood or loose metal wrap.
Check for hidden obstacles before drilling. Fascia boards may contain gutter fasteners, roof framing, electrical wiring from previous projects, or areas where the substrate is too thin for reliable fastening. Use hardware appropriate for the mounting surface and the mount manufacturer's instructions. Do not overtighten fasteners, especially around vinyl, aluminum wrap, or 3D-printed parts. Over-tightening can distort the surface or create stress that shortens the life of the mount.
If you are mounting beneath a soffit, confirm that you are fastening into a suitable solid surface rather than thin decorative paneling alone. The correct approach varies by home. A mount that is secure in wood may need a different fastener strategy in aluminum or vinyl soffit material.
Install in Small Sections and Check Alignment Often
Start at the controller or power end if that gives you the clearest cable plan. Mount several lights, then step back before continuing. This is easier than discovering a drifting line after the entire run is installed.
Keep every module oriented the same way. Under a drip edge, even a small rotation can affect the light pattern because the nearby trim creates shadows. Use the edge of the fascia or soffit as a visual reference, but do not assume the roof edge itself is perfectly straight. Follow your layout marks and verify the pattern at night before calling the job finished.
Corners deserve extra patience. Do not bend light cable sharply around metal flashing or force a module into a position where the housing contacts the drip edge. Give the cable a natural path and use the right transition hardware where needed. The installation should look intentional in daylight and stay secure when weather arrives.
Know When to Change the Plan
Sometimes the space under the drip edge is simply not the best location. If the edge blocks the beam, the fascia is too narrow, the gutter leaves no working room, or the mounting surface is damaged, moving the installation lower or to the soffit is the smarter call. A few inches of adjustment can protect drainage and improve the finished lighting effect.
Likewise, a steep roof, tall second-story gable, or uncertain electrical setup is not the place to push through for the sake of a DIY finish. Use proper ladder practices, work with a helper, and bring in a qualified professional when the height or roof conditions exceed your comfort level.
The right installation does not fight the drip edge. It gives water a clear path, gives every light a secure home, and gives your roofline the clean, permanent look you wanted when the sun goes down.
Share:
Prism Mounts vs Standard Mounts
How to Route Outdoor Light Power Cleanly