

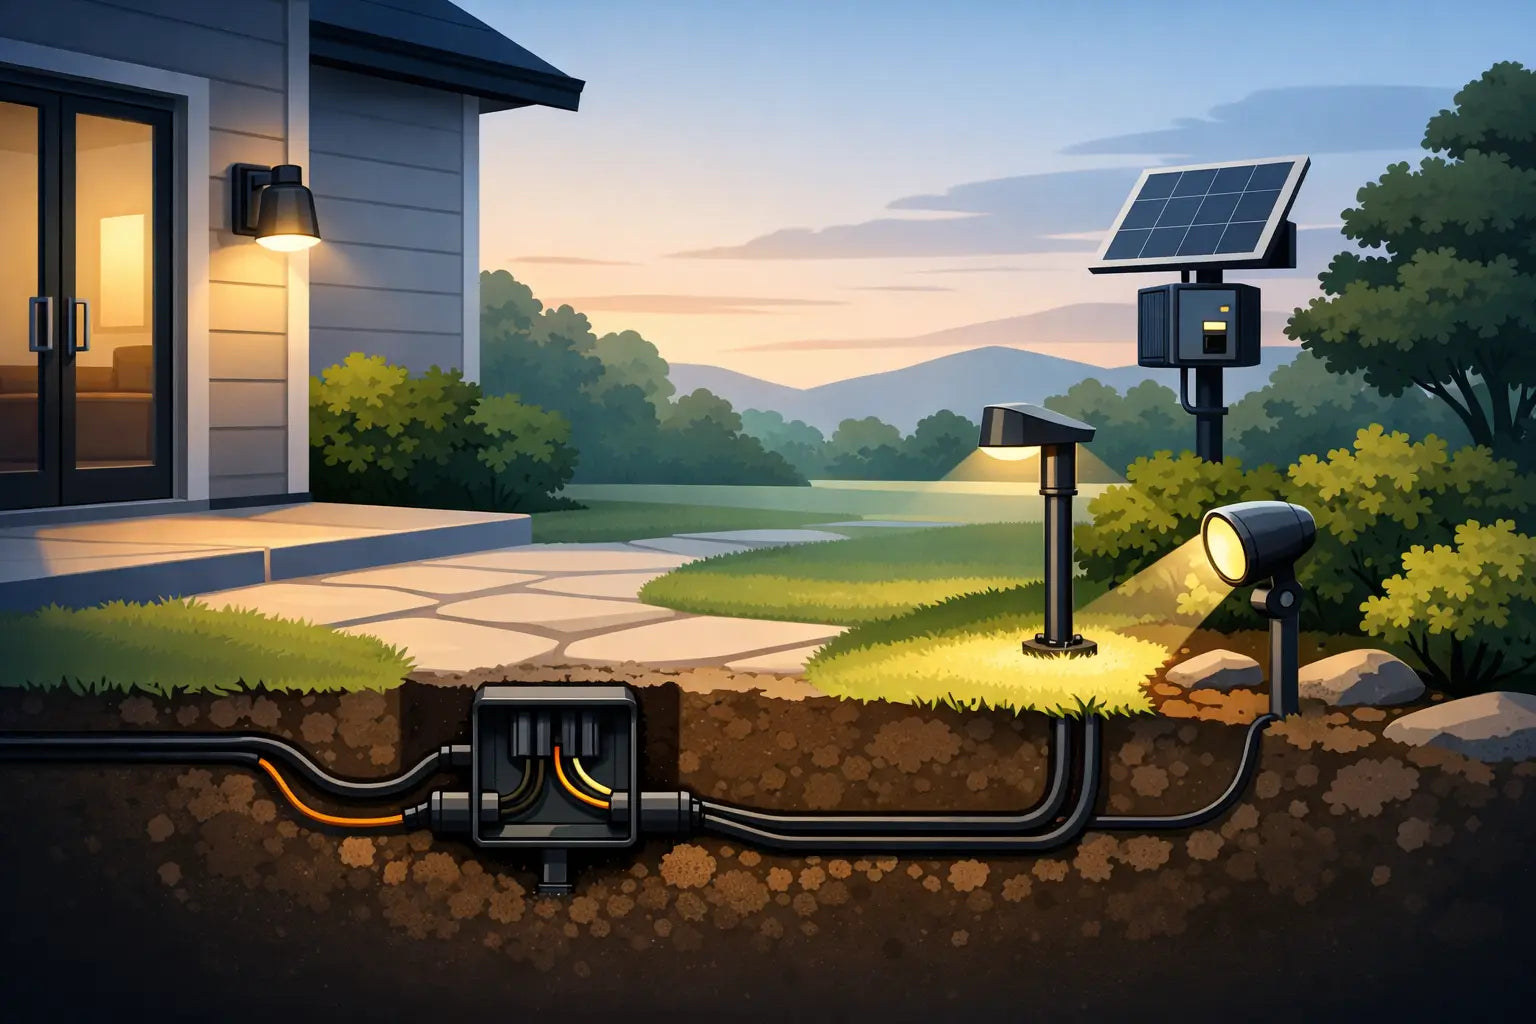
A permanent outdoor lighting install can look finished from the street and still feel unfinished up close if the power cable is draped across siding, pinched under trim, or left hanging beside the outlet. Knowing how to route outdoor light power is what separates a quick setup from a clean installation built to stay in place through holidays, storms, and everyday use.
For Govee permanent outdoor lights, the goal is straightforward: keep the power source protected, keep the controller accessible, follow a clean cable path, and avoid creating tension at any connection point. The best route depends on your home layout, outlet location, roofline design, and the specific Govee lighting system you are installing.
Start at the Outlet, Not the First Light
Before mounting a single light, identify the outdoor receptacle that will power the system. A covered, GFCI-protected outlet is the preferred starting point. It should be easy to reach without running a cable across a walkway, around a door, or through an area where landscaping crews, pets, and weather can damage it.
Then work backward from the outlet to the controller and from the controller to the first light. This prevents a common installation mistake: getting every light mounted along the soffit only to discover the power lead does not comfortably reach the controller location.
Measure the actual path the cable will travel, not the straight-line distance. Follow the siding, trim, soffit, brick edge, or fascia where the wire will be secured. Add enough length for gentle turns and service slack, but do not leave a large loop of loose cable near the outlet. Extra cable is easier to manage when it is planned than when it is bundled as an afterthought.
Choose a protected controller location
The controller needs a location that is secure, accessible, and out of the worst direct weather exposure. Under an eave, inside a weather-protected utility area, or beneath a covered porch are often practical choices. Avoid placing it where standing water, roof runoff, or direct sprinkler spray regularly reaches it.
You also want access after installation. If you ever need to reset the system, check a connection, or troubleshoot a light section, a controller hidden behind a downspout or trapped above a high gable creates unnecessary work. A dedicated power or controller mount can keep the unit off the ground, reduce cable strain, and give the installation a more deliberate appearance.
Plan the Cable Route Before You Mount Lights
A clean outdoor power route usually follows existing architectural lines. Soffits, fascia boards, trim channels, vertical siding seams, and downspouts can all help conceal a cable without forcing it into an awkward path.
Walk the route from the outlet to the controller, then to the first light. Look for three things: where the wire can be secured, where it needs to turn, and where it may rub against a sharp edge. Corners around brick, metal flashing, gutters, and rough stucco deserve extra attention. A cable that looks fine on installation day can wear over time if it moves in the wind or sits against an abrasive surface.
For most homes, a route along the underside of the soffit or up a less-visible vertical trim board creates the cleanest result. If the outlet is near ground level and the lights are installed at the roofline, use an existing visual break - such as a corner board or downspout - to carry the cable upward. The goal is not to make the wire disappear completely. It is to make it look intentional and protected.
Do not run low-voltage lighting cable where it can be snagged by doors, gates, window screens, lawn equipment, or foot traffic. Avoid routing it across shingles or along the top of a roof unless the system instructions specifically support that installation. Heat, UV exposure, wind, and roof maintenance can shorten cable life in those locations.
Use Extensions Only Where They Solve a Real Problem
An extension can make a difficult layout possible, but it is not a substitute for a plan. Use compatible, manufacturer-approved extension cables when the controller must sit farther from the first light or when a roofline break requires extra distance between sections.
Keep extension connections in protected locations whenever possible. A connection tucked under an eave is generally easier to inspect and less exposed than one sitting at the base of a wall. Leave enough room to disconnect it later without pulling on the wire.
Avoid splicing, cutting, or modifying factory cables unless your specific lighting system explicitly permits it and you understand the electrical and weatherproofing requirements. An improvised splice may create a point of failure, affect system performance, and complicate warranty support. For a permanent-looking install, purpose-built extension lengths and properly positioned components are usually the better answer.
Respect cable direction and light spacing
Govee systems have a defined connection order. Follow the manufacturer’s instructions for controller placement, cable direction, maximum run length, and the number of extensions allowed. Routing power is not only about hiding wire. It also affects whether the system receives stable power and communicates correctly from one light section to the next.
As you position lights, resist the urge to pull the cable tight between each module. Tight runs can shift light spacing, place stress on connectors, and make future adjustments harder. A small amount of controlled slack at turns and transitions is better than a cable stretched like a clothesline.
Secure the Cable Without Crushing It
Cable management is where many installations either stay clean or start to fail. Use mounting hardware designed for the surface and the cable size. The wire should be held in place without being flattened, pierced, or forced into a sharp bend.
For Govee permanent outdoor light installations, mounts that are designed for the exact light style can also help guide the wire consistently from one fixture to the next. PrintWorks 3D mounts are made to improve alignment, reduce reliance on factory adhesive, and create a more secure finished layout on common roofline surfaces.
When fastening cable runs, place support points close enough to prevent sagging but not so close that the route looks overworked. On long vertical runs, regular support keeps wind from moving the cable against siding. At a corner, support the wire before and after the turn rather than bending it sharply around the edge.
Be especially careful with staples. Standard construction staples can easily cut into low-voltage cable insulation if driven too far. If you use cable clips or staples, choose a size that leaves room around the wire and install them with a light touch. When in doubt, use a surface-mount cable clip that holds the wire securely without compressing it.
Account for Water, Heat, and Seasonal Movement
Outdoor cable routing has to work in real weather, not just on a dry installation afternoon. Keep electrical components and connections away from roof runoff paths, gutter discharge, and low spots where water collects. A controller mounted directly below a leaking gutter joint is not protected simply because it is outside under an eave.
Also consider heat. Dark trim and metal surfaces can become hot in direct sun, especially in southern climates. Route cables where they are less exposed when possible, and avoid trapping them against surfaces that may get excessively hot. In colder regions, leave a little flexibility at turns because materials can stiffen as temperatures drop.
If your home has vinyl siding, do not fasten a cable so tightly that normal siding movement pulls on it. If you are working around stucco, brick, or stone, use appropriate anchors and avoid drilling without confirming what is behind the surface. For any route that requires new outdoor electrical wiring, a new receptacle, or work inside a wall, bring in a qualified electrician and follow local code requirements.
Make the Outlet Area Look Finished
The outlet is often the last detail homeowners address, even though it is usually the most visible part of the power route. Keep the plug connection off the ground and protected from direct spray. Use an exterior-rated in-use cover when appropriate so the outlet remains shielded while the cord is plugged in.
Route the cord downward from the outlet before guiding it along the wall when the layout allows. This creates a drip loop, which helps keep water from traveling down the cable directly toward the receptacle or connection. Do not force the plug, adapter, or controller into a cramped weather cover that puts pressure on the cord.
If the adapter and controller create a bulky cluster, give them a dedicated mounting location instead of leaving them dangling. A tidy power zone is easier to inspect, easier to reset, and far less likely to be bumped loose during routine exterior cleaning.
Test the Route Before You Finalize It
Before permanently securing every cable clip and mount, connect the system and test it. Confirm that all sections illuminate, the controller responds, extension connections are fully seated, and the app recognizes the lights as expected. This is also the time to confirm that wires have enough slack at every transition.
Stand back from the curb, then walk the route at ground level. Look for visible droops, cables crossing awkwardly over trim, and components that could catch water or take a hit from a ladder. Small corrections are fast now. They are much less convenient after every light and cable support point is installed.
A clean power route gives your outdoor lights the same permanence as the lighting pattern itself. Take the extra time to protect the cable, mount the controller with intention, and follow the lines of your home. The result is a setup that looks better in daylight and stays easier to maintain after dark.
Share:
Installing Lights Under Drip Edge: What Works
Your Guide to Outdoor LED Cable Management