
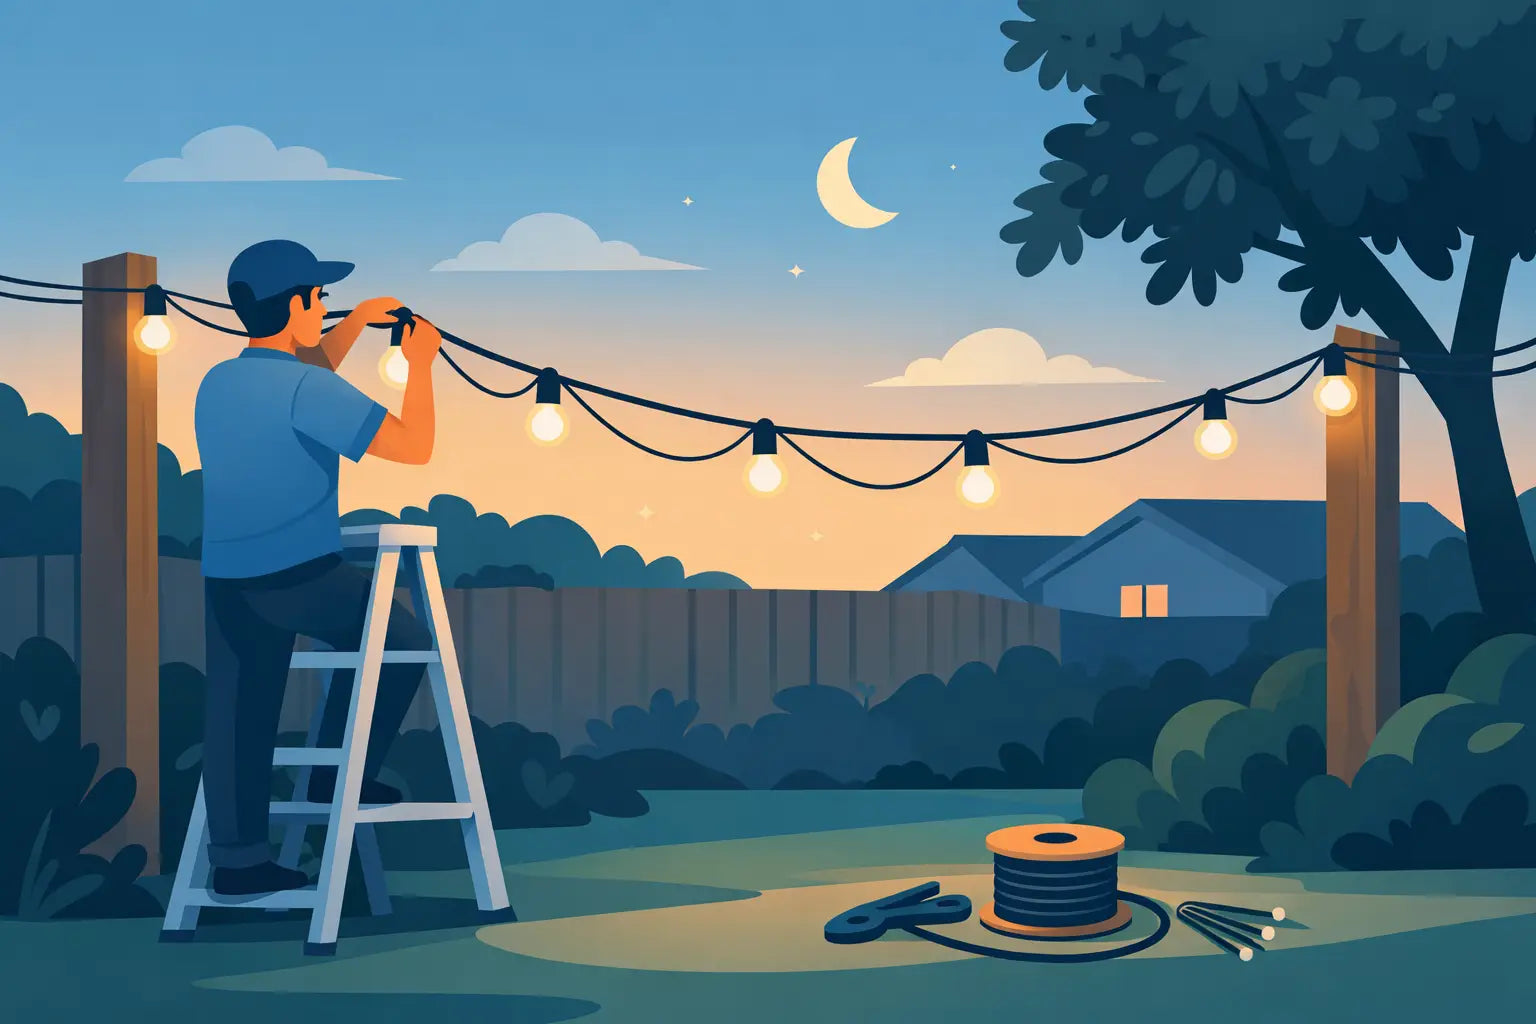
If your roofline lights looked straight on day one but now droop between clips, twist out of alignment, or pull away from the surface, the problem usually is not the light itself. It is the mount, the spacing, or the way the run handles weight and weather. Knowing how to fix sagging outdoor lights starts with identifying what is actually failing, because the right fix for a loose adhesive pad is different from the right fix for a long unsupported span.
Why outdoor lights start sagging
Sagging almost always comes down to support. Outdoor lighting runs deal with heat, cold, rain, wind, and constant expansion and contraction. Over time, factory clips can loosen, adhesive can let go, and plastic hardware that looked fine during installation can stop holding its shape.
The other common issue is spacing. If clips are too far apart, the wire or light body carries too much of the load between mounting points. That creates a clean line for a while, then turns into a noticeable dip, especially along soffits, fascia, gables, and peaks where visibility is high. Permanent lights need permanent support. If the system is relying on a few weak points, sagging is only a matter of time.
How to inspect the problem before you fix it
Before you pull anything down, look closely at the full run in daylight. You want to know whether the sag is isolated to one section or happening across the entire installation. That tells you whether you are dealing with a failed attachment point or a mounting strategy that needs to be upgraded.
Check whether the clip or mount is still attached to the house. If it is, but the light body has slipped inside it, the fit may be wrong or the clip may have flexed over time. If the entire mount has come loose from the surface, the issue is more likely adhesive failure, poor surface prep, or a mounting method that is not suited for long-term outdoor exposure.
Also pay attention to the substrate. Vinyl, painted wood, aluminum trim, and soffits all behave differently. A fix that works on one surface may not hold well on another. That is why a quick patch can sometimes create more rework later.
How to fix sagging outdoor lights the right way
If only one or two points have failed and the rest of the run is solid, you may be able to correct the section without rebuilding everything. Remove the loose light section, clean the surface fully, and replace the failed hardware with a more secure mount. Then recheck the spacing on both sides so the load is not concentrated in the repaired area.
If multiple sections are sagging, the better move is usually to re-support the run with stronger, product-specific mounting points. This is especially true with permanent smart lights installed along visible rooflines. Reusing hardware that has already started to fail often saves a little time now and costs a lot more time on the ladder later.
Tension matters too, but only to a point. You want a straight, controlled line, not a run pulled so tight that clips are stressed or lights are forced out of position. Outdoor lighting expands and contracts. A good installation allows for that while still keeping each section aligned.
Replace weak clips with purpose-built mounts
One of the most reliable fixes is swapping out generic or stock clips for mounts designed specifically for the light model you are installing. A close, secure fit reduces movement and helps each light stay where it was aimed. That matters for both appearance and performance, especially if you want a clean wash of light across the home rather than uneven hot spots.
Purpose-built mounts also help distribute weight more evenly. Instead of asking one adhesive point or loose clip to do all the work, the run gets consistent support. For homeowners using Govee permanent outdoor lighting, this is where model-specific mounting hardware can make the difference between a temporary-looking install and one that actually feels finished.
Tighten up spacing in problem areas
Long spans are where sagging becomes obvious first. Corners, gables, peaks, and transitions between materials often need tighter spacing than straight sections. If your current layout has broad gaps between mounting points, adding support in those sections can correct the dip and prevent it from returning.
This is one of those it-depends situations. A short, lightweight section under a protected soffit may hold fine with wider spacing. A wind-exposed roofline with temperature swings usually needs more support. When in doubt, err on the side of more secure attachment points, not fewer.
Reinstall on a properly prepared surface
Even the best mount can fail if the surface is dirty, chalky, damp, or uneven. Before reinstalling anything, remove dust, residue, and old adhesive. Let the area dry completely. If the previous install left behind foam tape or sticky backing, get it off fully. Mounting over old residue creates weak contact and uneven pressure.
If the surface is damaged or flaking, address that first. Outdoor lights are only as secure as the material underneath them. You do not need a perfect cosmetic surface, but you do need one that can hold hardware consistently through weather changes.
When adhesive alone is not enough
Adhesive-backed clips are popular because they are fast. The trade-off is long-term reliability. Heat can soften adhesives. Cold can make them brittle. Moisture and surface contamination make both problems worse. If your lights are sagging after a season or two, there is a good chance the attachment method simply was not built for a permanent exterior install.
That does not mean adhesive never works. In protected areas and lighter applications, it can. But for rooflines and permanent smart lighting, mechanical retention or a more engineered mounting solution is usually the safer choice. You want the support system to match the investment you made in the lights themselves.
Keeping the lights straight after the repair
Fixing the sag is only half the job. The other half is making sure the lights stay aligned. Once you reinstall the run, step back from multiple angles and check the line. Look from the driveway, from the sidewalk, and from the side of the house. Small alignment issues are easier to correct immediately than after the hardware has fully set.
This is also the time to check light direction. A sagging run often causes individual lights to rotate or tilt, which changes the visual effect at night. A secure mount should hold position, not just hold weight.
For homeowners who want a cleaner permanent result, this is exactly why PrintWorks 3D focuses on product-specific outdoor mounting accessories. Better fit and better support do more than stop droop. They help the whole install look intentional.
Mistakes that make sagging come back
The biggest mistake is treating sagging like a single loose spot when the full run is under-supported. Replacing one failed clip in the middle of a weak layout often leads to another failure a few feet away. The second mistake is reinstalling with the same hardware that already proved unreliable in your conditions.
Another common issue is rushing surface prep. When homeowners are on a ladder, it is tempting to clean quickly and move on. But that shortcut is exactly what causes repeat failures. The final mistake is ignoring environmental stress. Sun exposure, wind, and freeze-thaw cycles matter. A mounting plan that works on a shaded porch may not work on a front-facing peak.
A better standard for permanent outdoor lights
If you are figuring out how to fix sagging outdoor lights, the best answer is usually not to pull them tighter or add another temporary clip. It is to give the run the support it should have had from the start. Stronger mounts, better spacing, and a surface-prep-first approach solve the cause, not just the symptom.
That is what makes the difference between an installation you keep adjusting and one you can trust through the seasons. When your lights stay straight, secure, and properly aimed, the whole system performs better and your home looks better too.
The goal is simple: once you are back on the ground, you should not be wondering when you will need the ladder again.
Share:
Can Govee Outdoor Lights Be Replaced?
How to Align Govee Light Strings Right