
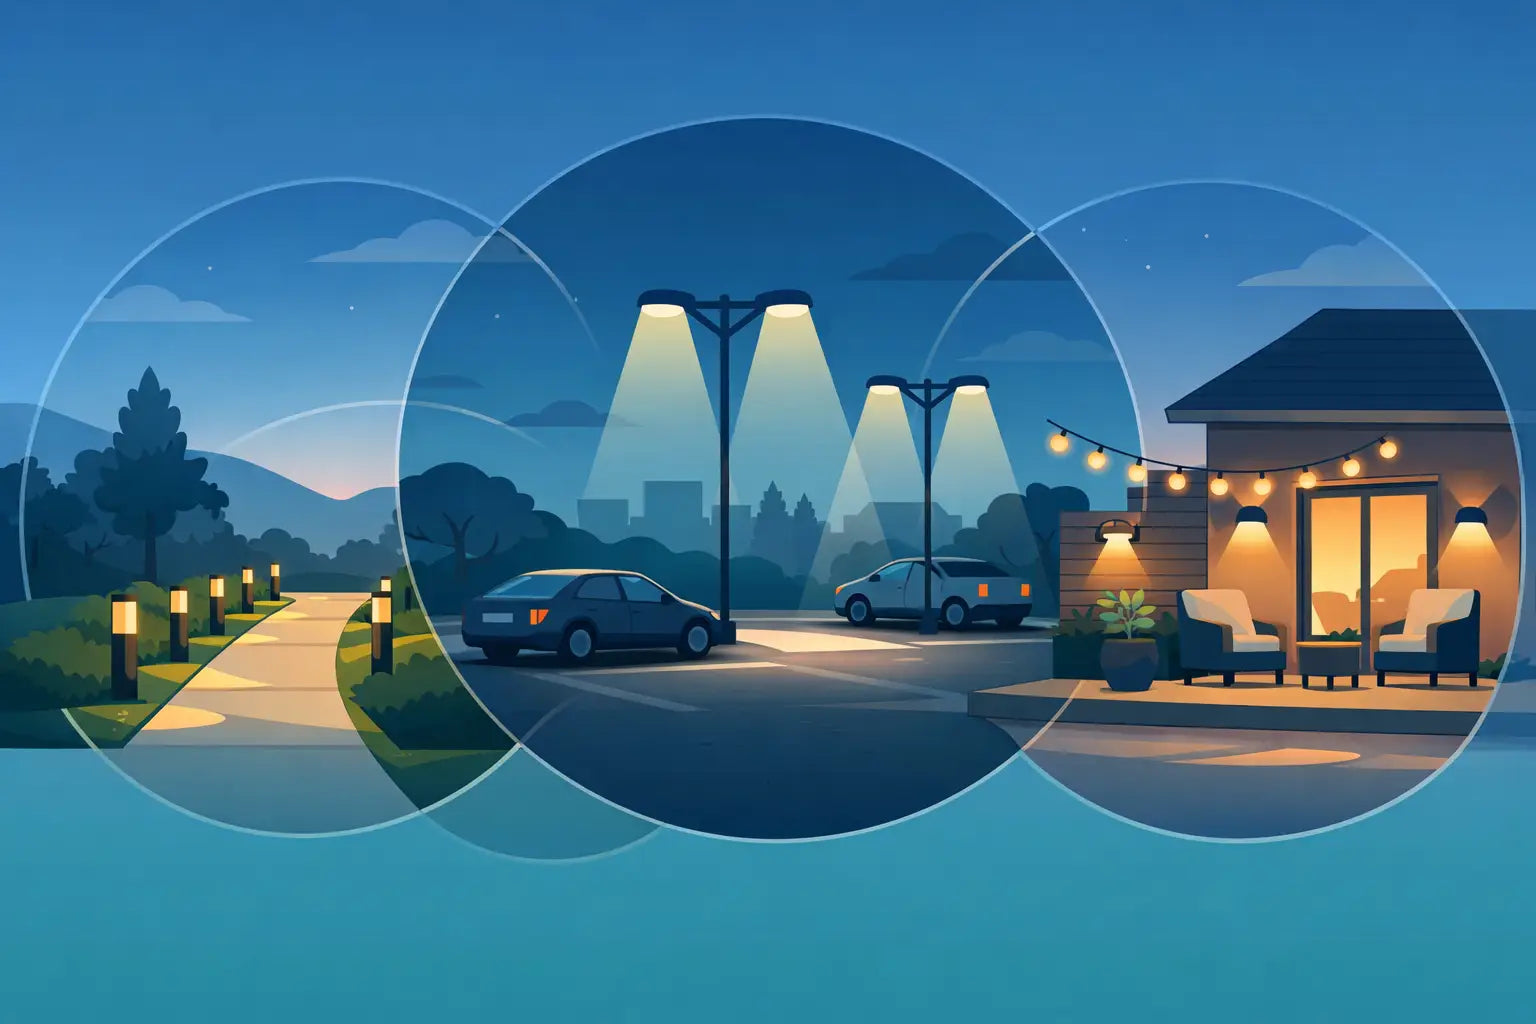
A permanent lighting install can look custom and clean, or it can look like you guessed from the ladder. The difference usually comes down to planning. A good outdoor LED light spacing guide helps you avoid dark gaps, uneven scallops, and that crowded look that makes individual lights stand out more than the home itself.
If you are installing outdoor LED lights along a roofline, fascia, soffit, gable, or porch, spacing is one of the first decisions that affects everything else. Brightness, beam angle, mounting position, and even the color of your exterior all change how far apart lights should sit. There is no single magic number that works on every house, but there are reliable starting points that make the job much easier.
What outdoor LED light spacing really controls
Most homeowners think spacing is just about how many lights to buy. It matters for that, but the bigger issue is the finished look at night. Wider spacing gives you more separation between light points and usually a more pronounced pattern on the wall below. Tighter spacing creates a smoother wash and a more continuous visual line.
That means spacing is partly a style choice and partly a performance choice. If you want each light to feel distinct for holiday scenes and animated effects, you may lean a little wider. If you want a refined architectural glow that feels more built-in, you usually go tighter.
Mounting location matters too. Lights installed under a soffit often throw differently than lights mounted closer to the fascia edge. A recessed placement can soften output. A more exposed placement can make each light point look brighter and more defined. The same spacing can look completely different depending on where and how the lights are mounted.
A practical outdoor LED light spacing guide for rooflines
For most permanent outdoor LED systems, a spacing range of 12 to 18 inches on center is a strong starting point. That range works well for many residential rooflines because it balances coverage and definition without making the installation look too sparse or too crowded.
If you are aiming for a cleaner, more premium architectural look, 12 to 15 inches on center usually gives better consistency. This is especially useful on straight rooflines where uneven shadows are easy to notice. Tighter spacing also helps on darker homes, where siding or trim can absorb more light and reduce the apparent spread.
If your goal is to emphasize individual light nodes for holiday scenes, 15 to 18 inches can work well. The lights feel more distinct, and you may need fewer units across a long run. The trade-off is that wider spacing can reveal dim spots between lights, especially on lower brightness settings or when viewed from an angle.
For peaks and gables, many installers tighten spacing slightly compared to horizontal runs. Angled rooflines tend to draw the eye, and inconsistent gaps become more obvious there. A small adjustment can make the whole front elevation feel more intentional.
When the standard spacing needs to change
Not every house should follow the same rule of thumb. A few factors can push you tighter or wider.
Brightness is a big one. If your LEDs are very bright and throw a wide spread, you may get enough coverage at a wider interval. If you prefer lower brightness for year-round accent lighting, tighter spacing usually looks better because it fills the line more evenly.
Surface color matters more than most people expect. White soffits and light-colored trim reflect a lot of output, which can make lights appear smoother even with slightly wider spacing. Dark fascia, stained wood, brick, or textured finishes absorb and break up light. In those cases, spacing often needs to come in a bit.
Mounting height also changes perception. A two-story roofline is viewed from farther away, so wider spacing may still look balanced from the ground. Lower porch lines and front entry details are seen up close, which makes inconsistent spacing much easier to spot.
Then there is beam direction. If the light points are aimed in a way that creates crisp cones or scallops, every inch matters. If the output is more diffuse, the spacing can be a little more forgiving.
How to measure spacing the right way
The cleanest installs usually start with measuring on center. That means you are measuring from the middle of one light to the middle of the next. It is the most consistent way to lay out a run, and it keeps you from drifting as you move down the roofline.
Start by measuring the full run length of each section rather than the whole house at once. Rooflines often break at corners, peaks, valleys, and transitions, and each section should be treated as its own layout. Once you know the length of a section, divide it by your target spacing to estimate how many light positions you need.
This is where planning beats guesswork. If your math leaves you with an awkward short space at the end, do not just force the last few lights closer together. Adjust the spacing slightly across the full run so the pattern stays even. A small change of half an inch per interval is usually invisible. One obvious compressed gap at the end is not.
It also helps to dry-mark a short section before committing. Painter's tape, pencil marks, or temporary alignment points let you step back and check the look from the driveway. What seems right from six feet away on a ladder can look very different from the street.
Corners, peaks, and transitions
Corners are where many installs lose their rhythm. If spacing is perfect on the straight runs but awkward at the transition, the whole roofline can feel off.
At outside corners, it is usually better to maintain visual consistency rather than strict mathematical spacing. In plain terms, make it look even from the ground. Sometimes that means nudging a light position slightly so the corner does not create a dead zone or a doubled-up cluster.
Peaks and gables deserve extra attention. If the apex is a focal point, center the layout so the top feels balanced. On symmetrical front elevations, an off-center peak can stand out immediately once the lights turn on. It is worth taking an extra few minutes to lay that section out from the middle rather than from one end.
Transitions between soffit depths or trim profiles may also affect spacing. If one section throws more shadow than another, identical spacing may not produce identical results. That is one of those moments where real-world adjustment matters more than sticking rigidly to the plan.
Spacing and mounting work together
Even perfect spacing will not save a weak mounting setup. If lights sag, rotate, or shift over time, the spacing may still measure correctly, but the finished line will look uneven. That is especially true on permanent outdoor systems where heat, cold, rain, and surface movement all add stress over time.
A secure, product-specific mount helps preserve both alignment and spacing because each light stays where it was intended to sit. That becomes even more important on long rooflines where small position changes add up visually. PrintWorks 3D focuses on this exact problem - helping permanent Govee installs look cleaner, hold better, and stay aligned through weather and seasons.
This is also why retrofit installs need a little extra patience. If you are replacing stock adhesive-based placement or correcting a run that never looked quite right, do not assume the old spacing was ideal. Re-measure, re-center key sections, and give the layout a fresh start.
Common spacing mistakes to avoid
The biggest mistake is choosing spacing based only on product count. Saving a few lights can cost you the finished look you wanted in the first place. Permanent lighting is visible every night, not just on install day.
Another common issue is failing to account for the viewing angle. A spacing pattern that looks fine directly below may look uneven from the street, which is where most people will actually see it. Always check from the curb before finalizing a section.
The last mistake is mixing inconsistent intervals across connected runs without a clear reason. If one front-facing section is tight and the adjacent section suddenly opens up, the contrast can feel accidental. Slight adjustments are fine. Random changes usually are not.
Finding the right spacing for your home
If you want the safest starting point, use 14 to 16 inches on center for most main rooflines and evaluate from there. That range gives many homes a balanced result with enough definition for effects and enough consistency for everyday accent lighting.
Go tighter if your home has dark finishes, lower mounting areas, or a more architectural look in mind. Go wider if the lights are very bright, the house is viewed from farther back, or you want more separation between pixels. Just make the adjustment on purpose, not because the end of the run caught you by surprise.
The best spacing is the one that still looks right after the ladder is put away. Measure carefully, test visually, and build the layout around how your home actually reflects light. A little extra planning up front pays off every night the system is on.
Share:
Why a Light Curtain Mount Straightener Matters
How Long Do Permanent Outdoor Lights Last?