

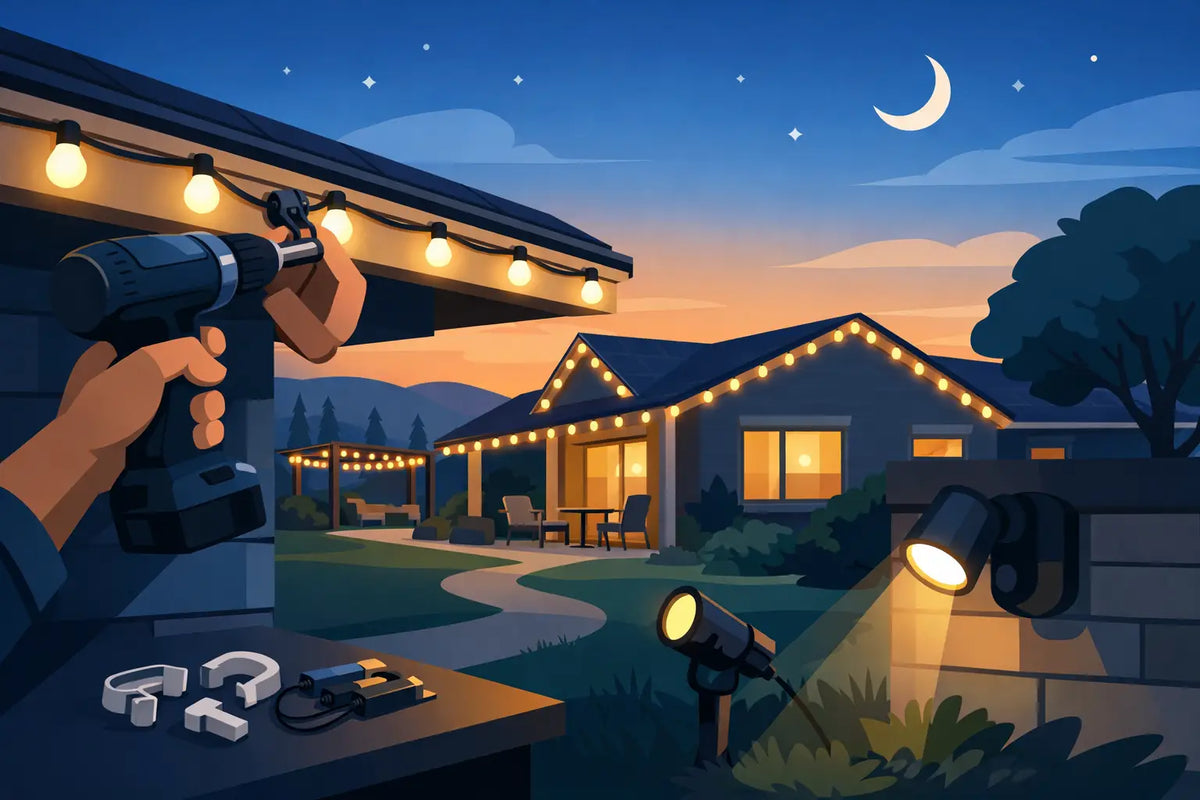
A permanent light install can look polished for one evening and start drifting, sagging, or peeling by the next change in weather. The difference is rarely the lights themselves. It is usually the mounting plan. This guide to permanent outdoor light mounting focuses on the details that keep Govee lights straight, secure, accessible, and ready to perform through every season.
Permanent outdoor lights are designed to become part of your home’s exterior, not another holiday project to reinstall each year. Treat the mounting hardware with the same care you give the light layout, and the finished result will look intentional from the street and hold up when summer heat, wind, rain, and winter cold arrive.
Start With the Roofline, Not the Light String
Before opening the box of lights, walk the installation path from the power source to the last light. Look at the soffit, fascia, trim, peaks, gables, and transitions where the lights will change direction. Every corner and material change affects how you will support the cable and position each light.
Measure the full route, but do not stop at the visible roofline. Include the distance to the controller, power supply, extension cables, and any planned return path. A system that reaches the final gable but leaves the controller exposed or the power cable stretched tight is not a finished plan.
Pay close attention to the mounting surface. Clean, solid vinyl soffit, painted wood, aluminum, and composite trim can all work well, but they do not behave the same way. Textured, chalky, dirty, or weathered surfaces can reduce adhesive performance. Thin vinyl panels may flex. Wood trim may have hidden seams or uneven edges. Knowing what is overhead determines whether adhesive, screws, or a combination of both is the better choice.
Choose a Light Position Before You Mount Anything
The placement of each Govee puck changes the final effect more than most homeowners expect. A light mounted too close to the wall creates a tight, concentrated spot. A light mounted farther out on the soffit usually produces a wider wash of color across the exterior. There is no single correct distance, because the best position depends on your soffit depth, wall texture, ceiling height, and the look you want at night.
Test a short section before committing to the entire run. Temporarily hold or tape a few lights in the intended location, power them on after dark, and view the house from the street. Check for uneven light spacing, harsh hot spots, shadows from trim, and whether the beam reaches the area you want to highlight.
This quick test is especially valuable on peaks and gables. The geometry changes as the roofline rises, and a placement that looks perfect on a straight soffit may need adjustment on an angled section. A consistent visual result matters more than forcing every light to sit at the exact same measurement.
Why Purpose-Built Mounts Make a Difference
Factory adhesive can be useful, but adhesive alone is not always the right long-term answer for an exterior installation. Surface preparation, temperature during installation, moisture, sun exposure, and the weight of the cable all affect how well it holds. When one light loosens, it can pull on the neighboring cable and create a crooked section that is hard to ignore once the lights are on.
Purpose-built mounts add mechanical support and keep every light aimed consistently. They also reduce the chance that the cable tension becomes the only thing holding a puck in place. This matters most on windy exposures, long runs, deep soffits, and areas where the cable must turn around a corner or cross an uneven surface.
The best mount is one designed for your specific Govee light series. Pro, Non-Pro, Prism, and Light Curtain systems use different shapes and mounting needs. A generic clip may hold something in place, but it may not center the light correctly, protect the cable path, or allow a clean retrofit if the lights are already installed.
PrintWorks 3D mounting accessories are designed around those product-specific fit requirements, helping homeowners add secure support without turning a smart-light upgrade into a custom fabrication project. The goal is simple: keep lights aligned, cables managed, and the exterior looking clean.
Prepare the Surface Like It Is Part of the Hardware
Mounting hardware is only as reliable as the surface beneath it. Start by removing dust, pollen, cobwebs, oxidation, and residue from the installation area. A clean microfiber cloth and an appropriate surface cleaner are usually enough, followed by time for the area to dry completely.
If you plan to use adhesive as part of the install, avoid mounting during extreme cold, wet conditions, or immediately after washing the exterior. Adhesive needs clean, dry contact to bond properly. Press each light firmly and give the adhesive time to set before placing the cable under tension.
For screw-mounted supports, inspect the location before drilling. Choose solid material whenever possible and avoid placing screws too close to thin edges, seams, or damaged trim. Use the correct screw length for the surface. A screw that is too short may not hold, while one that is too long can create problems behind the soffit or fascia.
A Practical Order of Operations for Outdoor Light Mounting
Working in a consistent order prevents the two most common installation mistakes: running out of cable at the end and discovering a misaligned section after every mount is already secured.
Begin at the controller and power location. Confirm where the controller will sit, how it will be protected from direct weather, and how you will route cables without pinching them in doors, windows, or sharp trim edges. Mount the controller and power components according to their intended placement, using dedicated mounts where needed instead of leaving them hanging from cables.
Next, dry-fit the first major section of lights. Do not permanently secure every puck right away. Run the string along the route, identify the first and last light in each straight section, and use those as reference points. Once the ends are positioned, fill in the lights between them while checking spacing and orientation.
On long straight runs, step back often. A small shift at every few lights can become an obvious curve by the end of the soffit. On angled rooflines, follow the architectural line rather than relying only on a level. Your eye will notice a row that fights the shape of the home.
Secure cable slack intentionally. Leave enough slack for a gentle transition at corners and between components, but do not leave loops that can move in wind or hang into view. Cable management should look deliberate, not improvised. Avoid sharp bends, tight zip ties, and any pressure point that could damage the wire jacket over time.
Handle Corners, Peaks, and Gables With Extra Care
Straight soffit runs are forgiving. Corners and peaks are where a permanent installation earns its name.
At an outside or inside corner, do not force the cable into a hard bend. Give it a gradual path and add support before and after the turn so the puck mounts are not carrying the strain. If the corner changes the direction of the light beam, test the first light around the turn at night before locking in the placement.
Gable installations require the same discipline, with more ladder planning. Set the angle of each mount to follow the trim line, and use consistent spacing measured along the slope rather than horizontally across the wall. Keep your work area stable, avoid overreaching, and move the ladder as often as necessary. Saving two minutes by reaching too far is not worth a bad mount or a dangerous fall.
If the peak is difficult to access, consider whether a slightly different stopping point will look cleaner and be easier to service later. A permanent installation should still be maintainable. You may eventually need to inspect a connection, replace a component, or clean around a light.
Weather Resistance Is a System, Not a Claim
Outdoor lighting faces more than rain. UV exposure can weaken materials, wind can work cables loose, insects can collect around fixtures, and seasonal temperature swings can affect both trim and mounting surfaces. Weather-ready results come from combining suitable lights, compatible mounts, protected electronics, clean cable routing, and secure fasteners.
Keep connectors off surfaces where standing water can collect. Route cable so water does not run directly into connection points, and do not trap cable beneath a sharp metal edge. Where a cable crosses an exposed area, add support rather than allowing it to flutter.
Inspect the installation after the first major storm and again after a season of temperature changes. Look for shifting lights, loose mounts, cable abrasion, and controller movement. Catching a small issue early is far easier than rebuilding a section after several lights have pulled loose.
Common Mounting Mistakes That Cost Time Later
The most frustrating installs are usually caused by rushing the layout. Mounting before testing the nighttime beam pattern can leave an entire roofline too close to the wall. Relying on adhesive over dirty or cold surfaces can lead to early failures. Pulling cable tight between lights can create stress that shows up months later.
Another common mistake is treating all Govee light systems as interchangeable. Mount shape, puck size, cable routing, and controller requirements vary by model. Confirm compatibility before ordering accessories or drilling holes. A mount that fits correctly saves more time than any shortcut taken on the ladder.
Finally, do not bury the controller, power supply, or key connections where they cannot be reached. Clean exterior lighting should not come at the expense of service access. Plan for a future you who may need to troubleshoot the system on a cold evening.
A well-mounted permanent light system does more than brighten a roofline. It gives your home a finished look you can enjoy any night of the year, without wondering which light will be hanging loose after the next storm.
Share:
How to Mount Light Curtain Strands Securely
Why Are Outdoor Light Mounts Failing So Soon?