

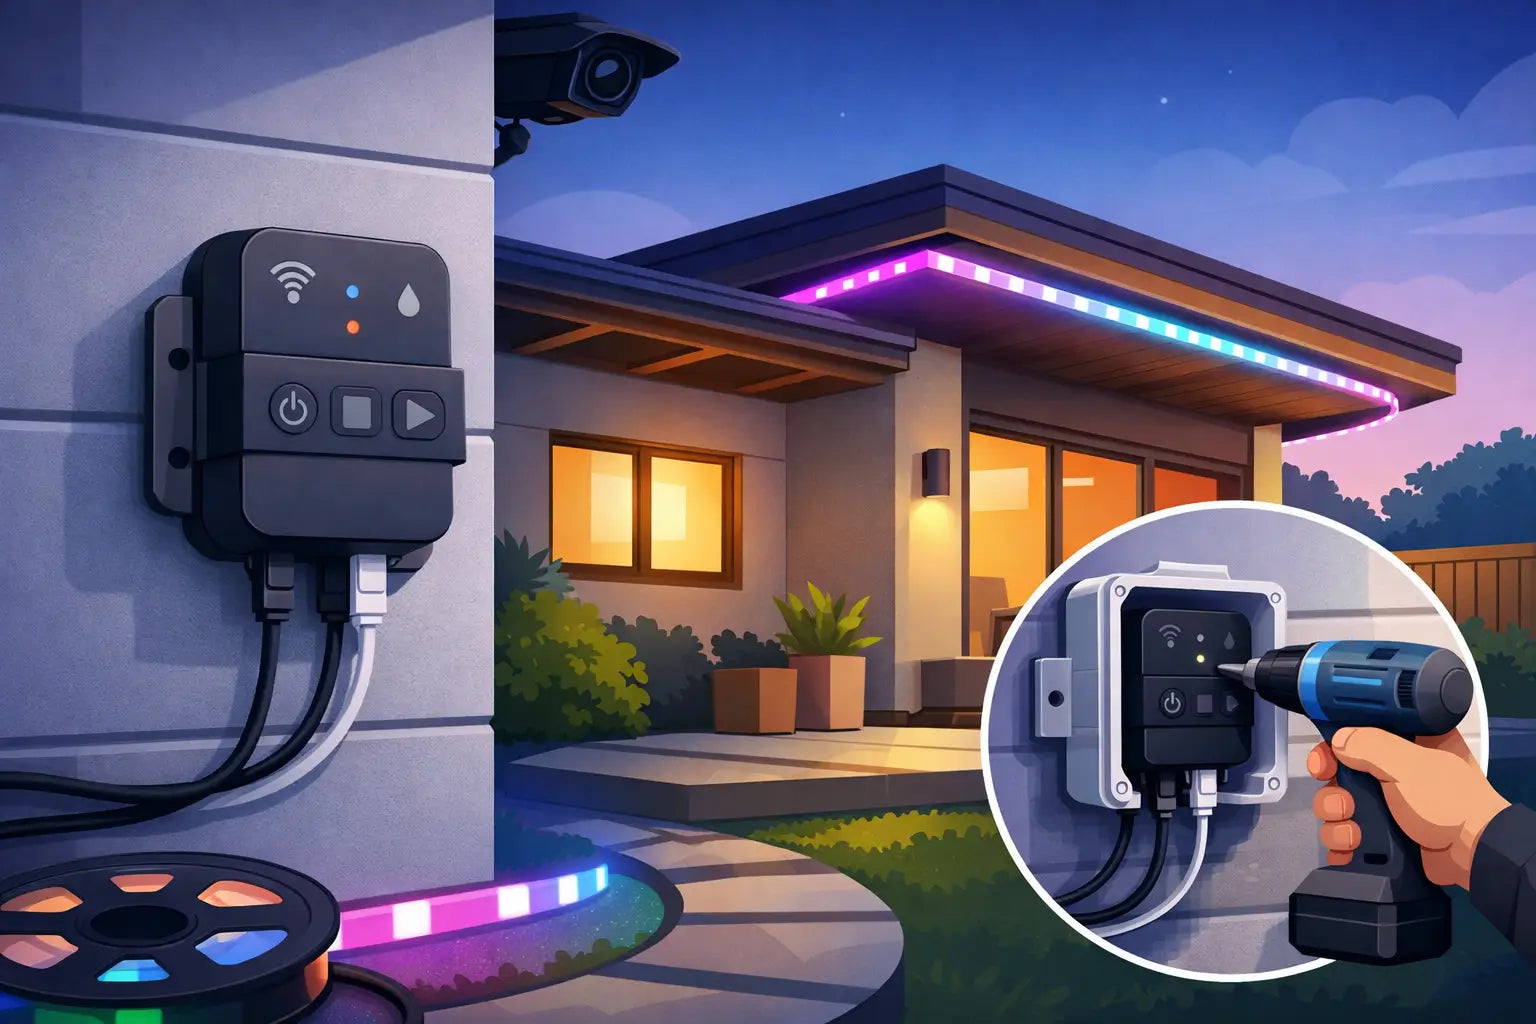
You usually notice the controller problem after the lights are already up. The roofline looks clean, the spacing is right, and then you are left holding a controller box with nowhere good to put it. If you are figuring out how to mount Govee controllers outside, the goal is not just getting it off the ground. You want a placement that stays secure in weather, protects the wiring, and still gives you access when you need it.
Why controller placement matters more than most installers expect
A Govee outdoor lighting setup only feels permanent when every part of the system looks intentional. That includes the controller. When it is zip-tied to a downspout, tucked loosely behind trim, or left hanging near an outlet, it becomes the weak point in an otherwise clean install.
That weak point shows up in a few ways. First, movement is the enemy. Wind, temperature swings, and cable tension all work against a loose mount. Second, poor placement can put stress on the power and light connections, which is where many outdoor lighting problems start. Third, accessibility still matters. If the controller is impossible to reach, even simple troubleshooting becomes a ladder job.
A good mount solves all three. It holds the controller firmly, keeps the cable path controlled, and gives you a predictable place to service the system later.
How to mount Govee controllers outside without creating future problems
The best install starts by choosing location before hardware. Most homeowners look at the controller as an afterthought, but it should be planned the same way you plan light spacing or extension routing.
Start near the power source, but do not treat the outlet as the only decision-maker. The controller should be close enough to keep cable runs tidy without forcing a sharp bend or pulling connectors tight. You also want a spot that is sheltered when possible, such as under an eave, behind fascia, or along a vertical trim board that gets less direct weather exposure.
That said, "hidden" and "protected" are not always the same thing. Stuffing the controller into a cramped cavity may hide it, but it can also trap moisture or make app access, reset access, and serviceability much worse. The better approach is a deliberate mount point with some protection from direct rain and sun, plus enough clearance for the wires to sit naturally.
Pick a stable mounting surface
Flat, solid surfaces win every time. Fascia boards, trim boards, junction board faces, and other rigid architectural surfaces are usually better than gutters, flexible siding edges, or improvised brackets. A stable surface reduces vibration and keeps the controller from shifting over time.
If the only available area is uneven or narrow, the mount matters even more. This is where purpose-built controller mounts make a real difference over generic clips or adhesive pads. A mount designed around the controller shape helps distribute pressure correctly and keeps the body supported instead of pinched.
Keep the controller off the ground and out of splash zones
This sounds obvious, but a surprising number of installs put the controller too low because the outlet is low. Standing water, mulch moisture, hose spray, and snow buildup all create avoidable risk. Even when the electronics are rated for outdoor use, that does not mean every placement is equally smart.
Raise the controller enough that it stays out of puddle range and routine splashback. Under-eave placement is usually safer than low wall placement, provided the wiring reaches cleanly and does not dangle.
Leave room for the cable path
One of the most common mistakes is mounting the controller first and then forcing the cables to fit. The result is tension on connectors, awkward loops, or wires pressed hard against corners. None of that improves durability.
Before you secure anything, mock up the exact route of the power cable and light lead. Let the wires fall into their natural direction. If the controller location requires a hard twist, sharp upward pull, or immediate bend at the connector, pick a different orientation or move the mount.
The mounting methods that work best outdoors
Not every mounting method fails, but some are clearly more dependable for a permanent setup.
Screwed-in mounting is the most secure option for most homes. It gives you a fixed anchor that handles wind, vibration, and seasonal expansion better than peel-and-stick solutions. If your surface allows it, mechanical fastening is usually the right call.
Adhesive mounting can work in very specific conditions, usually on clean, smooth, protected surfaces. But outdoors, heat, cold, moisture, and textured materials make adhesives much less predictable. If you use adhesive alone on an exposed install, you are often betting against time.
Zip ties are fine as cable management, not as the whole strategy. They can help control slack or support a wire run, but they should not be the main answer for a controller that needs stable positioning.
For homeowners who want a cleaner and more durable result, a dedicated outdoor controller mount is typically the best fit. A properly designed mount keeps the controller aligned, reduces movement, and speeds up installation because you are not improvising on a ladder. That is exactly why product-specific accessories exist. PrintWorks 3D focuses on mounts built for the real dimensions and installation challenges of Govee systems, which matters when you want the finished setup to look intentional instead of patched together.
Weather exposure: what actually matters
When people ask how to mount Govee controllers outside, they often mean one deeper question: will it hold up? The answer depends less on a single material claim and more on the total setup.
Direct sun adds heat. Heavy rain tests water pathways. Freeze-thaw cycles expose weak adhesives and brittle plastics. Wind creates repeated movement that loosens poor mounting choices. No controller mount fixes every environmental factor by itself, but good placement and secure fastening reduce the stress significantly.
It also helps to think about drip direction. If water regularly runs down the wall and directly over the controller body or into cable junctions, that location is working against you. Moving the mount a few inches can make a real difference. Under a lip, behind trim, or on the side of a structural member is often better than the most obvious flat face.
Don’t seal it so tightly that service becomes a problem
Homeowners sometimes overcorrect and build a setup that is hard to access later. If you need to reset the controller, inspect a connection, or replace a component, the mount should allow that without disassembling half the install.
A permanent-looking install is good. A permanently trapped controller is not. The sweet spot is a secure mount with reasonable access to buttons, ports, and cable connections.
Common mistakes when mounting Govee controllers outside
Most controller issues come from a few repeatable mistakes. The first is hanging the controller from its own wires. Even if it stays up at first, that strain adds up. The second is using a mount that does not actually fit the controller body, which creates pressure points or wobble. The third is choosing the fastest location instead of the best one, usually because it is close to the outlet.
Another common mistake is ignoring aesthetics until the end. Your controller does not have to be front-and-center, but if it is visibly crooked, surrounded by slack wire, or mounted with mixed hardware, the whole lighting system looks less finished. A well-mounted controller should blend into the install and feel like it belongs there.
A cleaner install usually lasts longer
There is a practical reason clean installs perform better. When the controller is mounted squarely, the cable path is controlled, and the connectors are not under strain, fewer things can shift. That means fewer call-backs to your own ladder, fewer intermittent issues, and less frustration when weather changes.
This is especially true on permanent outdoor lights where homeowners expect year-round reliability, not just a setup that survives one season. A polished result comes from planning the controller with the same care as the visible lights.
When it makes sense to upgrade your mounting hardware
If your current plan involves double-sided tape, a generic electrical strap, or "I’ll hide it behind this," it is worth pausing. Outdoor controller mounting is one of those small details that either saves time now or costs time later.
An upgrade makes sense when the stock setup does not fit your surface well, when the controller needs a more stable orientation, or when you want a mount designed for weather-aware exterior use. It also makes sense if you are already investing in permanent lighting and do not want the controller to be the part that looks temporary.
The best outdoor installs are not complicated for the sake of being complicated. They are thought through. Choose a stable surface, keep the controller protected but accessible, avoid cable strain, and use mounting hardware that matches the job. When you get that part right, the whole system feels more secure from day one and a lot less annoying six months later.
If you are standing on a ladder wondering where that controller should go, the right answer is usually the one that looks a little more deliberate and a lot less improvised.
Share:
How to Install Govee Peak Lights Right
8 Best Accessories for Govee Roof Peaks