

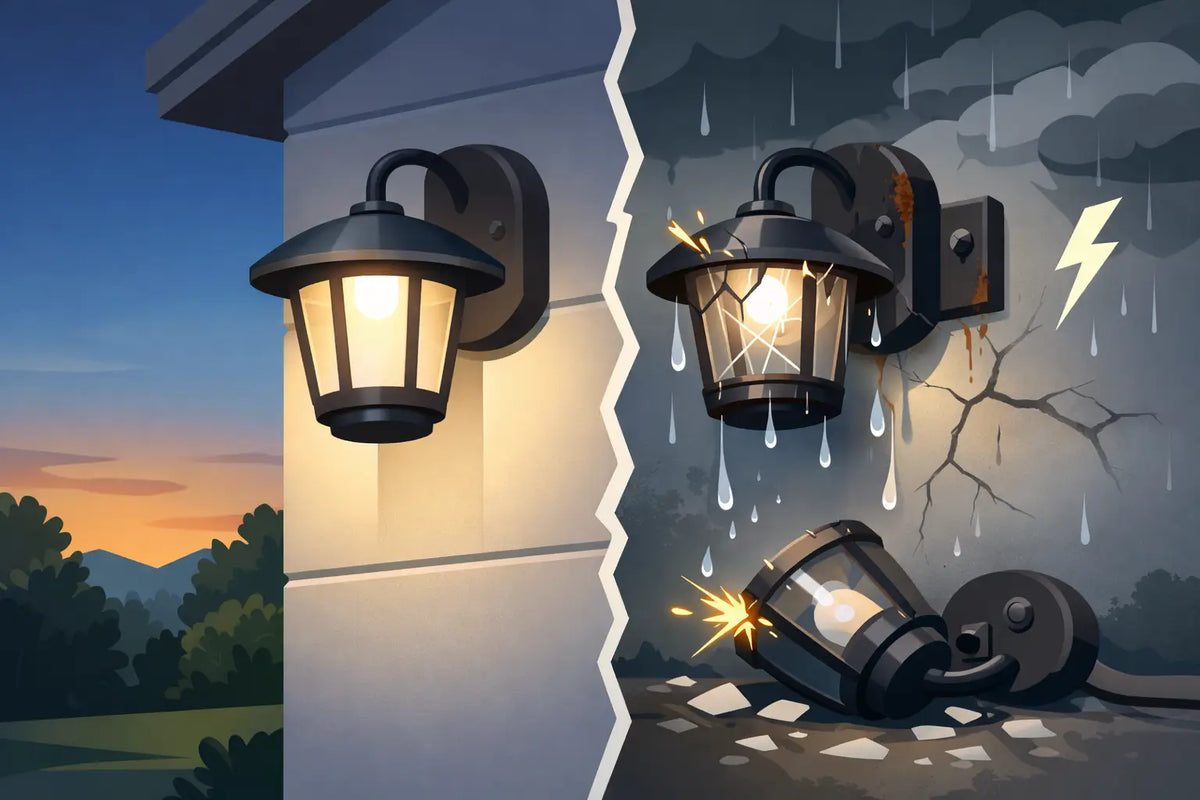
A permanent outdoor lighting install can look perfect on day one, then start pulling away from the soffit after the first hot week, heavy rain, or freeze-thaw cycle. If you are asking, why are outdoor light mounts failing, the answer is usually not the lights themselves. It is the mounting plan, the surface, and hardware that was never meant to carry a long-term exterior load.
For Govee permanent outdoor lights, clean alignment and reliable attachment matter just as much as color effects. A mount that shifts even slightly can change light spacing, point LEDs in the wrong direction, create a visible droop in the wire run, and turn a polished roofline into a recurring ladder project.
Why Are Outdoor Light Mounts Failing?
Most failed mounts fall into one of three categories: adhesive failure, material failure, or installation failure. Often, more than one is happening at once. Factory adhesive can be useful for initial placement, but it is not always enough to serve as the only structural support for a permanent installation exposed to sun, moisture, temperature swings, and cable tension.
The location makes a major difference, too. A protected vinyl soffit under a wide overhang is a much easier environment than an exposed fascia board, gable peak, or metal trim that receives direct afternoon sun. The best mounting approach depends on the light series, the building material, the cable path, and how much weather the installation will see.
Adhesive is carrying more than it should
Adhesive pads work best on clean, smooth, dry surfaces. Real exterior surfaces are rarely ideal for long. Dust, pollen, oxidation, oils, chalking paint, and texture all reduce the bond. Even a surface that feels clean can have enough residue to weaken adhesion over time.
Weight and tension compound the problem. Each individual light module is light, but a complete run includes wire, connectors, extensions, and directional changes. When the cable pulls downward or sideways, the adhesive pad is no longer simply holding a light in place. It is resisting a continuous peeling force.
This is why a run may hold for months and then suddenly begin separating in a few spots. The adhesive did not necessarily fail all at once. One weak point lifted, transferred more load to the next light, and started a chain reaction.
Heat, cold, and moisture are working against the mount
Outdoor mounts live through conditions that indoor clips never see. Heat can soften some adhesives and cause materials to expand. Cold can make certain plastics less forgiving. Moisture can enter tiny gaps behind an adhesive pad or around a fastener, then freeze and expand in colder climates.
UV exposure is another long-term factor. Materials that are not selected for exterior use can become brittle, fade, warp, or crack after sustained sunlight. A mount may look fine from the ground while its tabs or screw points are slowly losing strength.
Weather-resistant durability is not just about surviving rain. It means holding shape, maintaining grip, and resisting degradation through repeated seasonal changes. That matters most on rooflines and peaks, where replacement is inconvenient and access can be risky.
The Surface May Be the Real Problem
Not every exterior surface gives a mount the same chance of success. Before blaming the clips, inspect the material they are attached to.
Painted wood can be reliable when the paint is sound, but failing paint creates a weak layer between the mount and the structure. The hardware may stay intact while the paint itself peels away. Vinyl soffit is common and clean-looking, but it can flex and expand with heat. Mounts need to fit that profile securely without deforming the panel.
Aluminum and steel trim can be excellent mounting surfaces, yet they require careful fastener selection and thoughtful placement. A screw that is too long, too aggressive, or placed near an edge can distort thin material. Textured stucco, rough masonry, and deeply grooved siding are more complicated still. Adhesive contact is limited, and a flat mount may bridge high spots instead of sitting firmly against the wall.
Mount geometry affects light quality
A mount is not only a holder. It sets the position and aiming angle of every light. When a light is too close to the wall, the effect can look harsh and cramped. When it hangs too low or angles outward, the scallops may be uneven and the wiring becomes more visible.
This is especially noticeable on peaks, gables, and corners. Stock mounting options may work reasonably well on a straight, flat soffit but become awkward where the roofline changes direction. For these locations, a purpose-built mount that matches the surface and light profile can keep modules evenly spaced and consistently aimed.
A clean installation also needs controlled cable routing. Loose wire can pull on light modules, catch wind, trap water and debris, or distract from the lighting display. Supporting the cable separately where needed reduces strain on every mounted light.
Common Installation Mistakes That Create Early Failures
The fastest installation is not always the most permanent one. Rushing surface prep or relying entirely on adhesive may save time at first, but it often creates a repair job later.
These are the mistakes that show up most often:
- Installing on dusty, damp, oxidized, or recently washed surfaces before they are fully dry.
- Using adhesive alone on long runs, corners, peaks, or areas with cable tension.
- Pulling wire tight between lights instead of allowing a small amount of controlled slack.
- Using generic clips that do not fit the specific Govee light body, cable size, or mounting surface.
- Spacing mounts inconsistently, causing uneven light direction and concentrated stress points.
- Choosing hardware that is not suited to sun exposure, exterior moisture, or seasonal temperature changes.
How to Build a Mounting Plan That Lasts
Start with a dry fit before removing adhesive backing or drilling. Lay out the light path, identify every corner and change in elevation, and verify that controller and power connections can reach their intended locations without stretching cables. This is the time to solve awkward transitions, not after the lights are hanging.
Clean the mounting surface thoroughly, then let it dry completely. If you are using adhesive as part of the installation, press each light firmly and give the bond time to set according to the product guidance. Avoid installing when the surface is excessively cold, wet, or hot enough to make adhesive soft and slippery.
Next, add mechanical support where the installation needs it most. Straight runs may need less reinforcement than corners, steep gables, exposed fascia, cable transitions, and areas near connectors. Keep the wire supported without pinching it. A cable should not be tight enough to tug a light out of alignment when temperatures change.
For homeowners installing Govee systems, product-specific mounts remove much of the guesswork. PrintWorks 3D designs mounts around the actual shape and placement needs of Govee Permanent Outdoor Lights, including Pro, Non-Pro, Prism, Light Curtain, and controller setups. The practical advantage is a more secure fit without trying to make a one-size-fits-all clip work in a location it was not designed to handle.
Inspect before minor issues become major repairs
A quick seasonal check can prevent a single loose mount from affecting an entire run. Look for lifted adhesive edges, shifted light modules, sagging wire, cracked clips, loose fasteners, or discoloration that suggests material wear. Pay special attention after major storms and after the first stretch of extreme summer heat or winter cold.
If one section begins to move, correct it promptly. Replacing or reinforcing one mount is far easier than removing and reinstalling a long section of lights after multiple points have failed. Do not simply press a lifting adhesive pad back into place if the surface is dirty or the bond is already compromised. Clean the area and add the support needed for the location.
A Permanent Lighting System Needs Permanent Support
Outdoor lights are an investment in curb appeal, holiday displays, game-day color, and everyday convenience. The mounting system determines whether that investment remains clean and reliable or becomes another exterior maintenance task.
Take a close look at the first light that starts to shift. It is usually telling you something useful about surface condition, cable tension, weather exposure, or the limits of the hardware holding it. Fix that cause now, and your next evening light show is far more likely to stay exactly where you aimed it.
Share:
Guide to Permanent Outdoor Light Mounting
How to Install Controller Mounting Bracket