

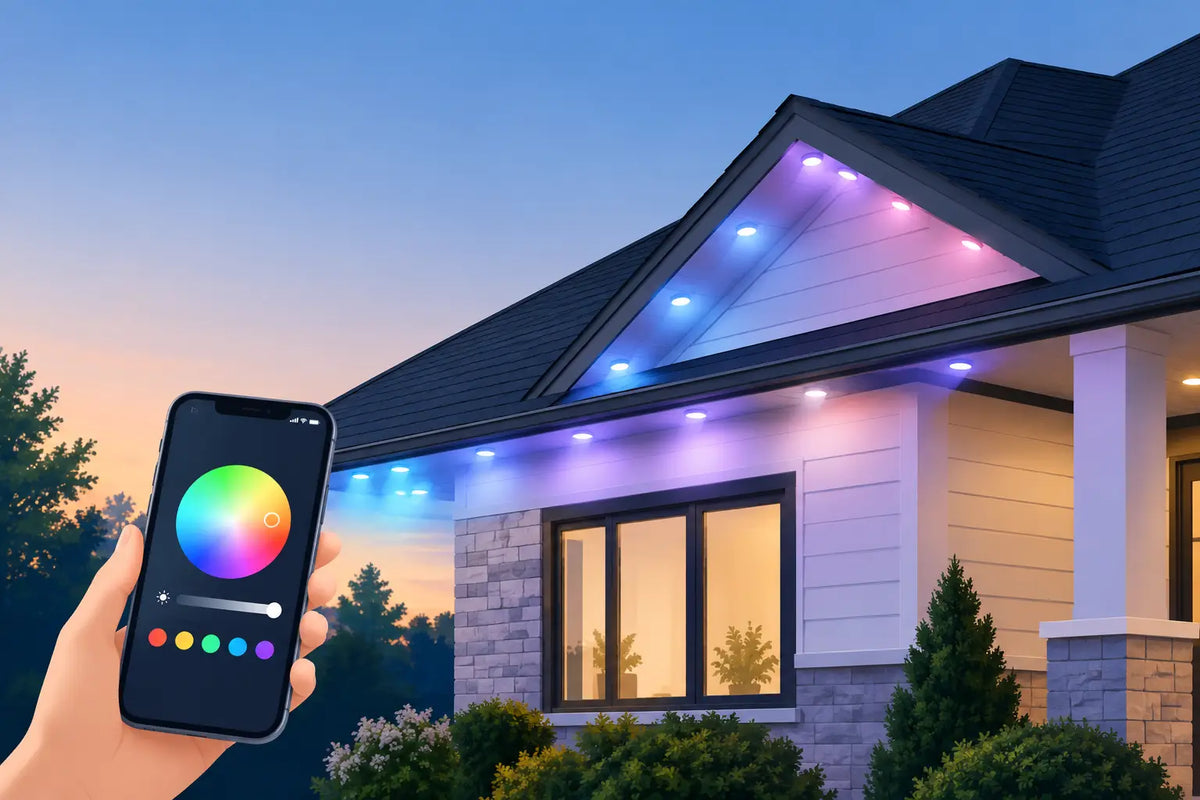
A Govee roofline retrofit example usually starts with a frustrating discovery: the lights are up, but the installation does not look or feel permanent. A few factory clips may be lifting. Spacing may change around corners. The cable may sag where the soffit steps back. The lighting itself still works, but the roofline needs a better mounting plan.
That is where a retrofit earns its value. Instead of removing a complete Govee system and starting over, you improve the connection between the lights and the home. The goal is simple: keep every light aligned, secure the wiring where it needs support, and create a finished look that holds up through changing weather.
What This Govee Roofline Retrofit Example Fixes
Picture a typical two-story home with permanent outdoor lights installed under the front eaves. The straight runs look acceptable from the driveway, but the peak and garage return tell a different story. Several lights sit at slightly different distances from the wall, two adhesive-backed locations have started to release, and the wire makes a visible dip near a soffit transition.
The homeowner does not need new lights. They need purpose-built mounting points that fit the existing surface and the specific Govee light system. A retrofit replaces the weak links in the installation while preserving the investment already on the home.
For this type of project, the most visible improvement comes from controlling position. Each puck should point in the same direction and sit at a consistent offset from the wall. When the lights are evenly placed, the wash of color across the siding looks intentional instead of irregular. The difference is especially noticeable when using white light for everyday curb appeal.
The second improvement is retention. Outdoor adhesives can be useful during placement, but they are not always the best long-term answer for changing temperatures, moisture, textured soffits, or areas with wind exposure. A properly fitted mount provides a physical connection that helps keep the light where it belongs.
Start With the Roofline, Not the Mount
Before ordering retrofit parts, walk the entire run from the controller outward. Look at the home from the ground in daylight, then again after dark with the lights on. This makes it easier to separate cosmetic issues from actual mounting problems.
Pay close attention to corners, gables, fascia returns, porch ceilings, and places where one building material meets another. These are the areas where a standard mounting approach often stops fitting cleanly. A flat soffit run may need one style of mount, while an angled gable or a recessed trim detail may call for a different solution.
Measure the mounting surface and note what the light is currently attached to. Vinyl soffit, aluminum, painted wood, fiber cement, and composite trim all present different conditions. The right retrofit is not just about holding a light. It must also provide the clearance, orientation, and fastening method that make sense for that specific roofline.
A few details are worth recording before you get on the ladder:
- The Govee product version, since Pro, Non-Pro, Prism, and Light Curtain systems use different components.
- The width and depth of the soffit or trim where each light will sit.
- Any loose lights, cable dips, uneven runs, or locations where adhesive has failed.
- The route of the power and controller cables, including areas that need added support.
A Practical Retrofit Plan for an Existing Install
A clean retrofit is usually done in sections. Start at the most visible problem area, confirm that the mounting approach gives the right light position, then repeat it across the remaining run. This keeps the project manageable and lets you verify alignment before every mount is installed.
1. Remove Only What Needs to Change
If an existing light is secure and perfectly aligned, there may be no reason to disturb it. Focus on lights that have shifted, released, or sit unevenly. Carefully free the puck from failed adhesive or a temporary clip without pulling on the cable. The wire and connectors are part of the lighting system, not a handle for removing components.
If old adhesive remains on the surface, clean it off thoroughly. A mount installed over residue may not sit flush, which can put the light out of alignment from the start. Use a surface-safe cleaning method and allow the area to dry before fitting new hardware.
2. Set Consistent Light Position
This is where a retrofit changes the appearance of the entire installation. Choose a repeatable position under the soffit or along the trim, then maintain that position from one puck to the next. A simple reference line, measured edge distance, or temporary spacing guide can help.
Do not assume the previous placement was correct just because the lights are already installed. Older runs are often inconsistent because installers worked around clips, seams, ladders, and difficult corners as they went. A retrofit is the opportunity to correct that drift.
For a steep gable, confirm the mount holds the light at the desired angle. For a flat soffit, make sure the puck is not pushed so close to the wall that the light pattern becomes narrow or uneven. The best distance depends on the Govee model, the height of the eave, and the surface you want to illuminate.
3. Secure the Cable Without Over-Tensioning It
A roofline can look clean at night while still showing loose cable during the day. Support the wire at transitions, near corners, and before or after areas where it changes direction. Avoid pulling the cable tight enough to put stress on the light connectors. The goal is controlled routing, not a stretched line.
This is also the time to address the controller and power connection. A controller left hanging near an outlet can turn a polished lighting project into an exposed weak point. A fitted controller or power mount keeps components organized, reduces cable strain, and makes future access easier.
4. Test Each Section Before Moving On
Turn the system on after completing a section. Check that every puck illuminates, the wire has enough slack, and the spacing looks consistent from normal viewing distance. Testing as you go is far easier than climbing back up to troubleshoot an entire roofline later.
Use both a bright white scene and a saturated color scene during the check. White light reveals uneven placement and inconsistent wall wash. Color effects make crooked pucks, gaps, and poorly routed wire easier to spot around corners and peaks.
Where Retrofit Mounts Make the Biggest Difference
Straight, protected soffit runs are often forgiving. Complex roofline features are not. The highest-value places to upgrade are usually the spots where the factory option has the least surface area or the greatest exposure.
Gables need reliable orientation because each light follows an angle rather than a level plane. Corners need controlled cable routing so the wire does not pull a puck out of position. Recessed soffits may need mounts that bring lights to a consistent plane, rather than leaving them buried behind trim. And locations near outlets benefit from dedicated support for controllers and power supplies.
This is why product-specific accessories matter. A generic clip can hold something in place, but it may not fit the puck diameter, mounting geometry, or cable path of the Govee system. PrintWorks 3D designs retrofit-friendly mounting accessories around those real installation details, with weather-resistant materials and options made for different Govee light styles.
Avoid These Common Retrofit Shortcuts
The fastest fix is not always the longest-lasting one. Adding more adhesive to a failed location may work temporarily, but it does not correct an uneven surface, poor light angle, or cable tension. Similarly, forcing a mount onto a surface it was not designed for can create a clean look on day one and a loose connection later.
Avoid mixing spacing by eye across long runs. Minor differences become obvious when the lights are on, especially along a garage or front facade. Do not place fasteners where they can damage hidden wiring or compromise the roof system. If a location is difficult to reach safely, plan for the right ladder setup or ask a qualified installer for help.
A retrofit should make maintenance easier, not bury every component behind permanent fixes. Keep access to connectors, controllers, and power supplies in mind. You may never need to reach them often, but you will appreciate clear access if you do.
The Result Is a Roofline That Looks Finished
The best roofline retrofits do not call attention to the mounting hardware. From the street, people notice even light spacing, clean lines, and color effects that follow the shape of the house. In daylight, the wiring and pucks look organized rather than improvised.
If your Govee lights are functioning but the installation has started to sag, shift, or look uneven, you do not have to accept it as the finished result. Start with the problem section, match the mount to the surface and light style, and build outward from there. A few well-planned upgrades can turn an almost-right install into one that looks built to stay.
Share:
Non-Pro Mounting Guide for Clean, Secure Govee Lights
Govee Peak Mounts for Clean Roofline Lighting