

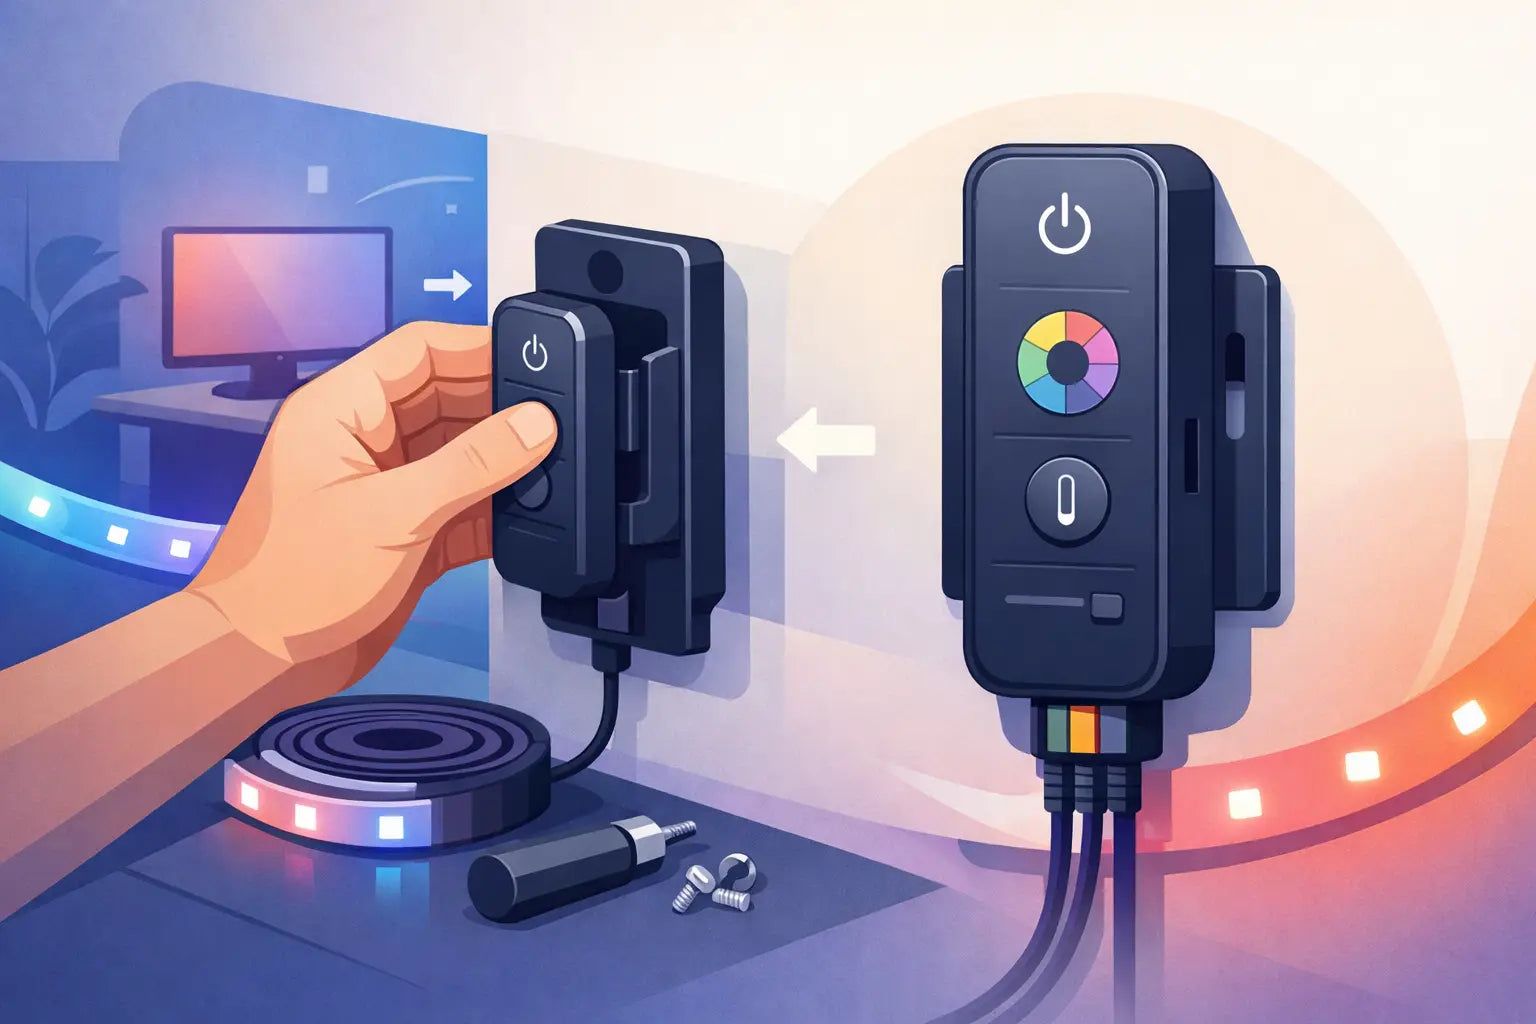
You usually notice the controller mount problem after the lights are up. The roofline looks clean, the spacing is dialed in, and then there is one loose, awkward piece of hardware left to place somewhere it does not quite belong. A custom govee controller bracket solves that exact issue by giving the controller a secure, intentional home instead of turning it into an afterthought.
For homeowners installing permanent outdoor lighting, that small detail matters more than it seems. The controller is where power, access, and usability meet. If it is mounted in the wrong spot, you can end up with visible slack, a poor weather position, hard-to-reach buttons, or strain on the wiring. A purpose-built bracket fixes those problems before they become part of the finished look.
Why a custom govee controller bracket matters
Stock mounting options tend to be generic by design. They are made to work well enough across a wide range of setups, but permanent exterior lighting is not a generic setup. Rooflines vary. Soffits vary. Fascia boards vary. Access points, outlet locations, and cable paths all change from one home to the next.
That is where a custom bracket earns its place. Instead of forcing the controller into a compromise position, the bracket is designed around the actual shape of the unit and the real conditions of outdoor installation. You get better fit, better support, and a cleaner finished appearance.
There is also the issue of movement over time. Outdoor hardware deals with heat, cold, moisture, and vibration. Even a mount that feels acceptable on day one can start to shift, loosen, or look uneven after a season of weather. A bracket designed specifically for the controller and mounting surface gives you more confidence that the install will stay put.
What makes a good controller bracket
A good bracket starts with fit. The controller should sit securely without excessive play, but it also should not be so tight that installation becomes a fight. That balance matters because outdoor installs are rarely done in perfect shop conditions. You are usually on a ladder, working overhead, managing wires, and trying to move quickly without sacrificing alignment.
Material choice matters just as much. For exterior use, the bracket needs to hold its shape and resist weather exposure. A brittle or low-grade part can crack during installation or degrade over time, especially in areas with strong sun or wide seasonal temperature swings. When a mount is intended for permanent lighting, durability is not a bonus feature. It is the baseline.
The bracket should also respect access. Some homeowners want the cleanest possible concealment. Others want easier reach for maintenance or resets. Neither approach is wrong. It depends on where the controller is being mounted and how often you expect to interact with it. The best design takes that trade-off into account instead of pretending every install has the same priorities.
The real installation problems this solves
A custom govee controller bracket is not just about holding the controller. It solves several installation headaches at once.
The first is placement. Without a purpose-built bracket, many installers end up improvising with screws, adhesive pads, zip ties, or mixed hardware. That can work temporarily, but it often leaves the controller hanging at an odd angle or positioned in a spot that looks unfinished. A dedicated bracket helps create a more deliberate, built-in appearance.
The second is wire management. The controller sits at an important junction in the system, so poor placement tends to create cable clutter fast. If the bracket is designed with the product dimensions and routing path in mind, you can reduce visible slack and avoid unnecessary tension on the connections.
The third is weather exposure. No bracket can change the environment, but it can help you mount the controller in a more protected orientation. That matters when you are trying to avoid direct water collection, reduce stress on entry points, and keep the overall install more serviceable.
The fourth is retrofit convenience. Many homeowners are not starting from scratch. They already have lights installed and want to improve the weak points. A bracket that works well in retrofit scenarios can save a lot of frustration because you are not tearing down a mostly finished system just to fix one annoying component.
Where to mount the controller for the best result
There is no single perfect location for every home, but there are some clear patterns. Most homeowners want the controller close enough to the power source to keep cable routing clean, while still placing it where it is somewhat shielded from direct exposure. Under soffits and along fascia-adjacent surfaces are common choices because they offer a balance of concealment and access.
If you place the controller too far out in the open, it may be easier to reach, but it can also become visually distracting. If you bury it too deeply, the install may look cleaner, but future access becomes harder. The right answer depends on how visible that section of the home is, how often you expect to interact with the system, and how tidy the cable path can be made.
This is one reason custom hardware outperforms one-size-fits-all options. The bracket should help you work with the home’s architecture instead of forcing a placement that only exists because the hardware gave you no better choice.
A custom govee controller bracket should match the rest of the system
The controller mount is a small part of the project, but it should not feel separate from the rest of the installation. If your light mounts are secure, aligned, and built for exterior use, the controller bracket should meet the same standard. Otherwise, the weakest-looking part of the install ends up right where cables, power, and visibility all come together.
That consistency matters visually, but it matters even more in performance. Permanent outdoor lighting works best when every mounting point is designed with the same goal: hold alignment, handle the elements, and reduce callbacks to the ladder. A controller bracket that follows that same philosophy helps the whole system feel complete.
For DIY homeowners, that means fewer improvised fixes. For anyone trying to protect the investment they already made in Govee lighting, it means the support hardware finally matches the product on the house.
What to look for before you buy
Not every bracket marketed for outdoor lighting is truly specific enough to deliver a clean result. Before buying, look closely at whether the mount is made for your controller model and your type of installation. Generic compatibility claims can sound convenient, but they often lead right back to the same fit and placement problems you were trying to avoid.
It is also worth paying attention to the design philosophy. A well-made bracket should be engineered for actual use, not just shaped to hold the part in a product photo. That means stable mounting geometry, weather-ready material, and a setup that makes sense for real-world installation angles.
If you are replacing a poor factory solution or cleaning up an existing install, retrofit friendliness is a big advantage. Hardware that can be added without major disassembly saves time and reduces the chance of disturbing lights that are already positioned correctly.
This is exactly where specialized maker brands stand apart. PrintWorks 3D focuses on mounts built around the real installation pain points homeowners run into, especially on permanent outdoor Govee systems. That kind of product specificity usually shows up in the details - cleaner fit, easier placement, and fewer compromises once you are on the ladder.
The difference between temporary and finished
A lot of outdoor installs work in the short term. Fewer look finished. The difference is usually not the lighting itself. It is the hardware choices behind the scenes.
When the controller is mounted with a proper bracket, the system feels planned. Cables route more cleanly. The controller sits where it should. Access makes sense. The install looks less like a workaround and more like part of the home.
That is the real value of a custom controller mount. It takes one of the easiest pieces to overlook and turns it into one less thing to worry about during installation and one less thing to fix later.
If your goal is a permanent lighting setup that looks clean and stays secure through the seasons, the controller deserves the same level of attention as every other mount on the run. A better bracket is a small upgrade, but it is often the one that makes the whole job feel done right.
Share:
8 Best Accessories for Govee Roof Peaks
Govee Mount Fit Problems Solved