

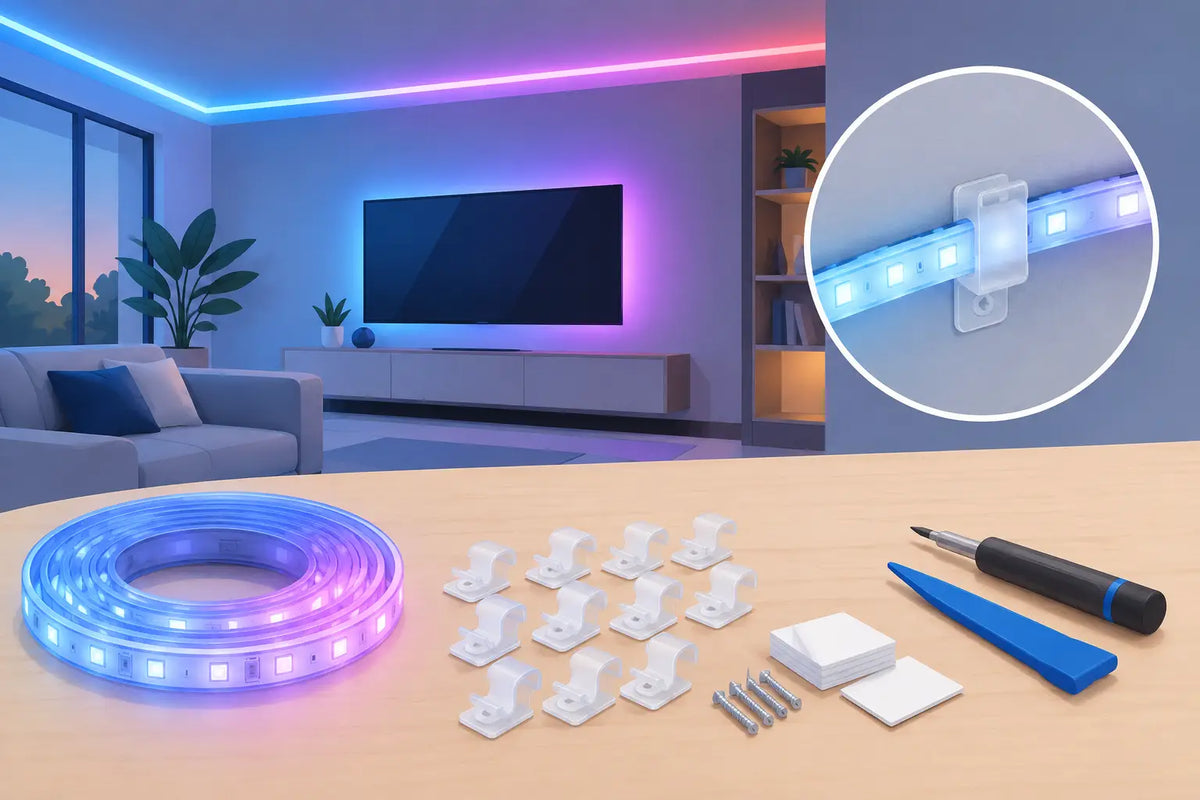
A permanent outdoor lighting install can look finished or frustrating based on one detail: how well each light stays positioned after the ladder comes down. This Non-Pro mounting guide is built for homeowners installing Govee Non-Pro outdoor lights who want straight runs, consistent light direction, and a mounting setup that holds through heat, rain, wind, and seasonal temperature changes.
The factory adhesive can be useful during placement, but it should not be the only thing responsible for keeping a long roofline installation in place. Purpose-built mounts add the mechanical support that helps protect your layout, reduce sagging, and keep every light pointed where it belongs.
Why Non-Pro Lights Need a Thoughtful Mounting Plan
Non-Pro outdoor light installations often run across long sections of soffit, fascia, trim, and gables. That means a small alignment mistake near the first light can become much more noticeable 30 or 40 feet later. A mount gives each light a defined position rather than asking adhesive to carry the full load over time.
The goal is not simply to make the lights stay up. It is to create an installation that looks intentional from the street. Consistent spacing, a repeatable setback from the wall, and uniform light direction all affect the final effect. When the lighting pattern is even, the house looks cleaner whether you are using warm white for everyday curb appeal or animated color scenes for holidays.
Mounts also make planning easier around corners and transitions. Instead of adjusting each puck by eye while working on a ladder, you can establish a reliable pattern and follow it across the run.
Confirm Your Non-Pro Light Version Before Ordering
Govee product names can look similar, but housings, cable routing, and mounting dimensions can vary between lighting generations. Before selecting mounts, verify the exact outdoor light system you own or plan to install. Check the product packaging, order details, light shape, and the way the cable exits each module.
A mount designed for one light style may not fit another correctly, even if both are called permanent outdoor lights. A proper fit matters because a loose mount can let the light shift, while an overly tight fit can make installation harder than it needs to be.
If you are replacing an older install, inspect a few existing lights before ordering. Look for differences in housing thickness, cable position, or the mounting surface itself. This is especially useful when an addition was installed at a different time than the original system.
PrintWorks 3D designs product-specific mounting accessories to solve this fit problem, but compatibility should always be confirmed before you start the job.
Plan the Full Run Before You Mount Anything
The fastest way to create extra work is to begin mounting without a plan for the controller, extensions, corners, and final light position. Lay out the system on the ground first when possible. This gives you a clear view of cable lengths and helps identify where a run may need to change direction.
Start by deciding where the controller and power connection will live. Choose a protected location that remains accessible for troubleshooting and future adjustments. From there, trace the route up to the first light and across every section of the roofline. Account for downspouts, trim changes, porch ceilings, peaks, and any area where the cable may need a cleaner path.
Mark your intended mounting line with a pencil or painter's tape. On a soffit, the most polished result usually comes from keeping every light the same distance from the exterior wall. That setback determines how the light washes down the siding. Test a short section before committing to the entire home, because deeper placement creates a broader wash while placement closer to the wall produces a tighter, more defined pattern.
Non-Pro Mounting Guide: Install for Alignment First
Dry-fit mounts and lights at ground level
Before heading up the ladder, insert a few lights into their mounts on the ground. You should understand how the light seats, where the cable exits, and which direction the mount needs to face. This small step prevents upside-down placement and keeps you from forcing a component while balancing overhead.
Organize the mounts in installation order. If your roofline has multiple turns, group the hardware by section so you are not searching through parts once you are in position.
Prepare the mounting surface
Clean mounting areas before installation. Dust, pollen, oxidation, cobwebs, and surface oils reduce adhesive performance and can interfere with a flush-mounted result. Use a suitable surface cleaner, let the area dry completely, and avoid mounting on wet trim.
Inspect the material as well. Smooth, solid soffit and trim provide the most predictable results. Textured wood, brittle vinyl, uneven fascia, and heavily weathered surfaces may require more care when choosing screw locations. If you are unsure whether the substrate will hold a fastener securely, test in an inconspicuous area first.
Set a reference line and mount the first section
Your first few lights establish the standard for the whole installation. Measure the setback from the wall, mark it clearly, and use that measurement repeatedly rather than relying on visual judgment. A simple spacer block or marked tape measure can keep the position consistent.
Install the first mount, seat the light, and step back to check the angle. Then install the next few mounts before continuing down the roofline. Looking at a short completed section from the ground makes it easier to catch a crooked line early.
Once the first section looks right, repeat the same measurement and orientation across the rest of the run. Work methodically. Speed matters less than avoiding a layout you will notice every night.
Support the cable without pulling it tight
The cable should follow the route cleanly without hanging loosely or being stretched under tension. Leave enough slack at turns and transitions to avoid strain on connectors and light housings. A tight cable can pull on a light over time, especially where temperatures swing between hot afternoons and cold winter nights.
Keep cable routing neat, but do not pinch or sharply bend it. At peaks, corners, and long drops, plan support points so the wire stays controlled and does not become the weak point in an otherwise secure installation.
Handle Corners, Peaks, and Uneven Trim Carefully
Straight soffit runs are usually simple. Corners and gables need more attention because the mounting plane can change quickly. Do not assume the same position will produce the same lighting effect after a turn. Install one or two lights around the transition, power on the system, and check the result from the ground before finishing the section.
For a gable, keep the pattern visually centered. Depending on the length of the run and light spacing, the final layout may not land perfectly at both ends. In that case, prioritize a balanced appearance over forcing the last light into an awkward position.
Uneven trim creates another trade-off. You may be able to follow the trim exactly, but that can make light direction inconsistent. Alternatively, you can preserve a straight visual line and accept small variations in the distance to the trim. For most homes, the cleaner line wins from the curb.
Build for Weather, Not Just Installation Day
Outdoor mounts need to perform after months of sun exposure, moisture, wind, and temperature movement. Choose mounts made from material intended for exterior conditions, and use hardware appropriate for the mounting surface. A secure mechanical connection is particularly valuable on high, exposed rooflines where repairs are inconvenient.
Check that each light is fully seated and that no wire is rubbing against a sharp edge. Keep connections protected according to the lighting system's instructions, and avoid placing the controller or power components where standing water, heavy runoff, or direct weather exposure can create unnecessary risk.
After the first rain or major temperature shift, walk the property and inspect the installation. You are looking for lights that have rotated, mounts that have loosened, or cable sections that need better support. Catching a small issue early is far easier than correcting a full section later.
Common Non-Pro Mounting Mistakes
Most problems come from rushing the layout, not from the lights themselves. Mounting by eye can create a wavy line. Depending only on adhesive can lead to dropped or shifted lights over time. Pulling the cable too tight adds stress where you least want it. Skipping surface prep gives even a quality mounting solution less to hold onto.
Another common mistake is treating every section of the home the same. A protected porch soffit and a wind-exposed second-story gable do not face identical conditions. Use the same clean layout standard throughout, but give exposed areas the extra attention they deserve.
If a light appears dimmer, points in the wrong direction, or creates an uneven wash, check its seating and orientation before assuming there is an electrical issue. Small physical adjustments can make a major difference in the nighttime result.
A well-mounted Non-Pro system should disappear into the architecture during the day and create an even, confident lighting effect after dark. Take the extra time to measure the first section, support the cable correctly, and choose mounts that fit your exact lights. Your roofline will show the difference every night you turn them on.
Share:
Pro versus Non-Pro Mounting: What Fits Best?
Govee Roofline Retrofit Example That Looks Clean