

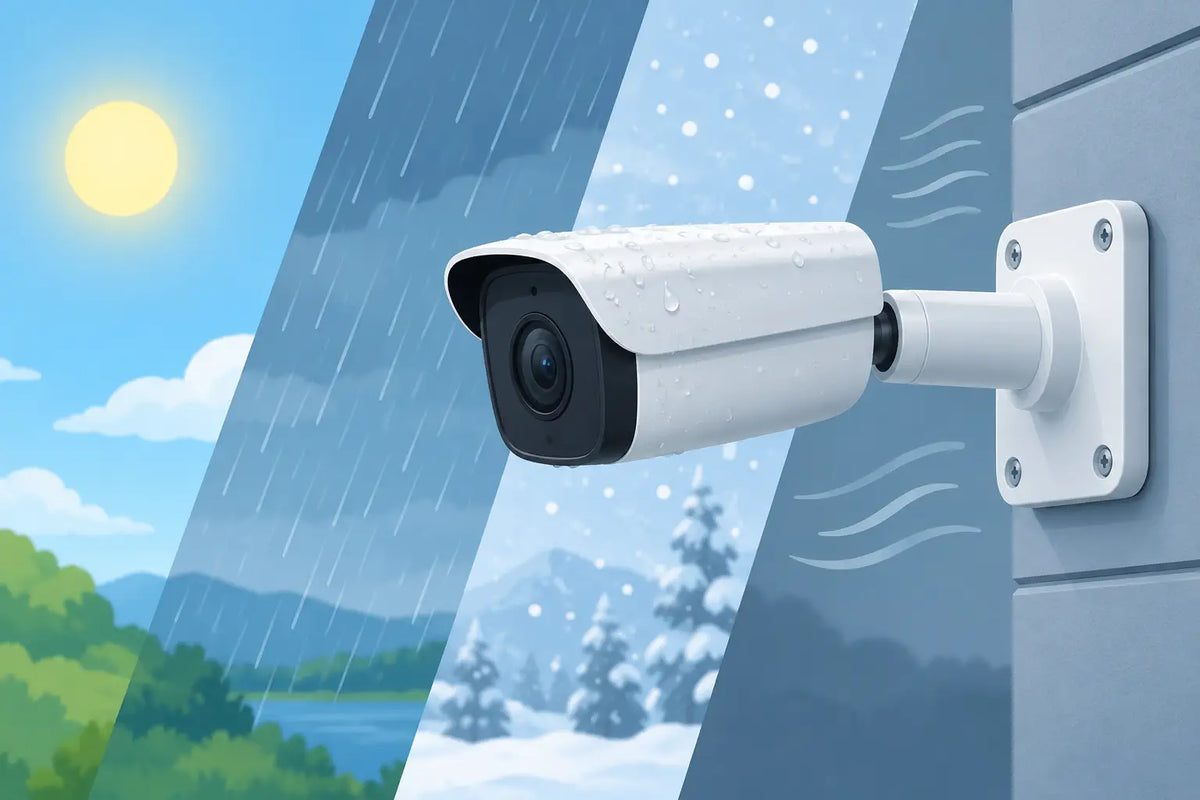
A permanent outdoor lighting install can look perfect on day one and start slipping, fading, or cracking after one hard season. The difference often comes down to the mounting hardware. Understanding what makes outdoor mounts weather resistant helps you choose parts that keep your Govee lights straight, secure, and clean-looking through heat, rain, wind, and winter temperature swings.
Weather resistance is not one feature stamped onto a product. It is the result of the right material, a shape that sheds water, a secure fit, and installation details that reduce stress on every part of the system. A mount can look substantial in your hand but still fail outside if any one of those elements is overlooked.
What Makes Outdoor Mounts Weather Resistant?
A weather-resistant outdoor mount is designed to handle long-term exposure without becoming brittle, loosening, deforming, or allowing water to collect where it should not. For permanent exterior lights, that means the mount must hold its position while dealing with direct sun, humidity, rainfall, freezing conditions, wind movement, and the expansion and contraction of the surface beneath it.
The best mounts are purpose-built for the specific light and mounting location. A generic clip may grip a cable or light body well enough at first, but a loose fit allows vibration and shifting. Over time, that movement can affect light spacing, alignment, adhesive performance, and the finished appearance of your roofline or gable.
Material selection matters first, but it is only part of the equation. The mount design and installation method determine whether that material performs as intended outside.
UV-Stable Materials Handle the Sun Better
Sun exposure is one of the most demanding conditions for exterior plastic parts. Ultraviolet rays can gradually break down materials that are not intended for outdoor use. The first signs may be color fading or a chalky surface. Eventually, the mount can become stiff, brittle, and more likely to crack when it is bumped or tightened.
Outdoor mounts should be made from materials selected for UV resistance and long-term temperature performance. This is especially relevant on south- and west-facing elevations, where direct afternoon sun can heat dark trim, gutters, and siding well above the ambient air temperature.
Not every 3D-printed material belongs outdoors. Material choice should account for the climate, the mounting surface, and how much direct sun the installation receives. A mount that performs well in a shaded soffit may need greater heat resistance on a sun-exposed metal fascia. PrintWorks 3D designs its mounting accessories around these real installation conditions rather than treating every exterior location the same.
Color can also play a small role. Dark-colored mounts may absorb more heat in full sun, while lighter colors can be a practical choice for bright trim. The right material still matters more than color, but both are worth considering when you want a truly permanent result.
Heat and Cold Create Different Stresses
High heat can soften lower-grade plastics and cause them to creep under load. This does not always mean a mount melts. More often, it slowly changes shape, loosens its grip, or no longer holds the light at the intended angle.
Cold brings the opposite problem. Some plastics become less flexible in freezing temperatures, making them more susceptible to cracking if a wire is pulled, a ladder brushes the mount, or the building materials shift. A weather-resistant mount needs enough stability for heat and enough toughness for cold. That balance is why outdoor material selection cannot be an afterthought.
Water Management Is Designed Into the Shape
Rain does not have to pour directly into a mount to cause trouble. Wind-driven moisture can reach the underside of eaves, settle in recessed areas, and remain trapped against a surface long after the weather clears. A well-designed outdoor mount avoids pockets where water can pool.
Good geometry helps water drain and air circulate. Open or vented areas can prevent moisture from being held against the cable or mounting surface. Smooth transitions and practical clearances make it less likely for debris, leaves, or ice to build up around the mount.
For Govee permanent outdoor lights, the goal is not to make every individual mount watertight like an electrical enclosure. The light system itself has its own weather rating and sealing requirements. The mount's job is to support the light without creating a moisture trap, pinching wires, or directing water toward connection points.
The Mount Should Protect Alignment, Too
Water resistance also means holding the intended light position after repeated wet-dry cycles. When a mount loosens or shifts, lights can tilt away from the wall or soffit, creating uneven wall-wash effects and an inconsistent pattern at night.
A secure, product-specific cradle keeps the light body positioned consistently. This is especially valuable around peaks, corners, and gables, where gravity and cable tension can pull a universal mount out of alignment. Clean spacing is not only an aesthetic detail. It reduces strain on individual lights and creates the polished, permanent look most homeowners want.
A Secure Fit Reduces Wind and Vibration Damage
Wind loads are easy to underestimate. Even if the lights are tucked beneath an eave, gusts can move cables and create repeated vibration. Small movement at the mounting point adds up over months and years.
A properly fitted mount holds the light or cable firmly enough to control movement without crushing it. That fit is a major advantage of mounts made for a specific Govee product line. The dimensions, wire path, and retention features can be designed around the actual component instead of asking a generic clip to do several jobs poorly.
Fastener options matter here as well. Adhesive can be useful for clean, low-visibility installation, but adhesive performance depends heavily on surface preparation, temperature, texture, and the condition of the substrate. On rough, dusty, chalking, or uneven surfaces, mechanical fastening may offer more dependable long-term holding power.
The best choice depends on where you are mounting. A smooth aluminum soffit, painted wood fascia, vinyl trim, and masonry surface all behave differently. Do not assume one installation method fits every surface on the house.
Hardware Must Match the Environment
A strong plastic mount can still be undermined by the wrong screw or fastener. Exterior hardware should resist corrosion, especially in wet climates, coastal areas, and regions that use road salt during winter. Rusting hardware can stain trim, weaken over time, and make future adjustments difficult.
When screws are used, they should be sized correctly for the mount and the mounting surface. Overtightening can distort a plastic part or split wood trim. Undertightening allows movement. The goal is a snug, secure attachment that does not put unnecessary stress on the mount.
Be mindful of the surface behind the trim, too. A screw that holds well in solid wood may not perform the same way in thin vinyl or aluminum. If you are unsure what is behind the mounting location, test a small, less visible area and choose a fastening method appropriate for that material.
Installation Practices That Preserve Weather Resistance
Even high-quality mounts need a careful install. Start with a clean, dry surface. Remove dust, pollen, oxidation, loose paint, and residue before applying adhesive or placing mounts. Adhesive applied to a dirty soffit is not a material problem - it is a preparation problem.
Plan the light layout before committing to the first mount. Check the spacing, direction, cable routing, and locations of controllers or power components. Avoid pulling cables tight between mounts. Leave natural routing room so changing temperatures do not place constant tension on the wire or connectors.
Pay extra attention to transitions: corners, steep roof peaks, cable turns, and spots near downspouts. These are the places where generic hardware often forces awkward compromises. A dedicated mount can keep the system supported without kinking the cable or leaving a light aimed in the wrong direction.
If your area sees extreme weather, inspect the installation after the first major season. Look for loose fasteners, shifting lights, cracked mounts, or cable sections rubbing against sharp edges. A quick inspection can catch a small issue before it affects a larger section of the display.
Weather Resistance Is About the Whole Installation
The strongest outdoor mount cannot compensate for damaged cables, poorly sealed electrical connections, or lights installed outside their intended use. Think of the mount as one part of a complete exterior system. It should work with the light's weather rating, the building surface, the cable path, and the local climate.
That is also why product-specific accessories are worth considering for a permanent light project. They remove guesswork from fit and alignment, which helps you spend less time readjusting lights from a ladder and more time enjoying the finished result.
A good outdoor mount should quietly do its job through hot afternoons, heavy rain, and cold mornings. Choose materials and mounting methods that match your home, install them with care, and your lights can keep delivering the clean, even look that made the project worthwhile in the first place.
Share:
A Guide to Govee Peak Layouts That Look Clean
3D Printed Bracket Review: Built for Govee