

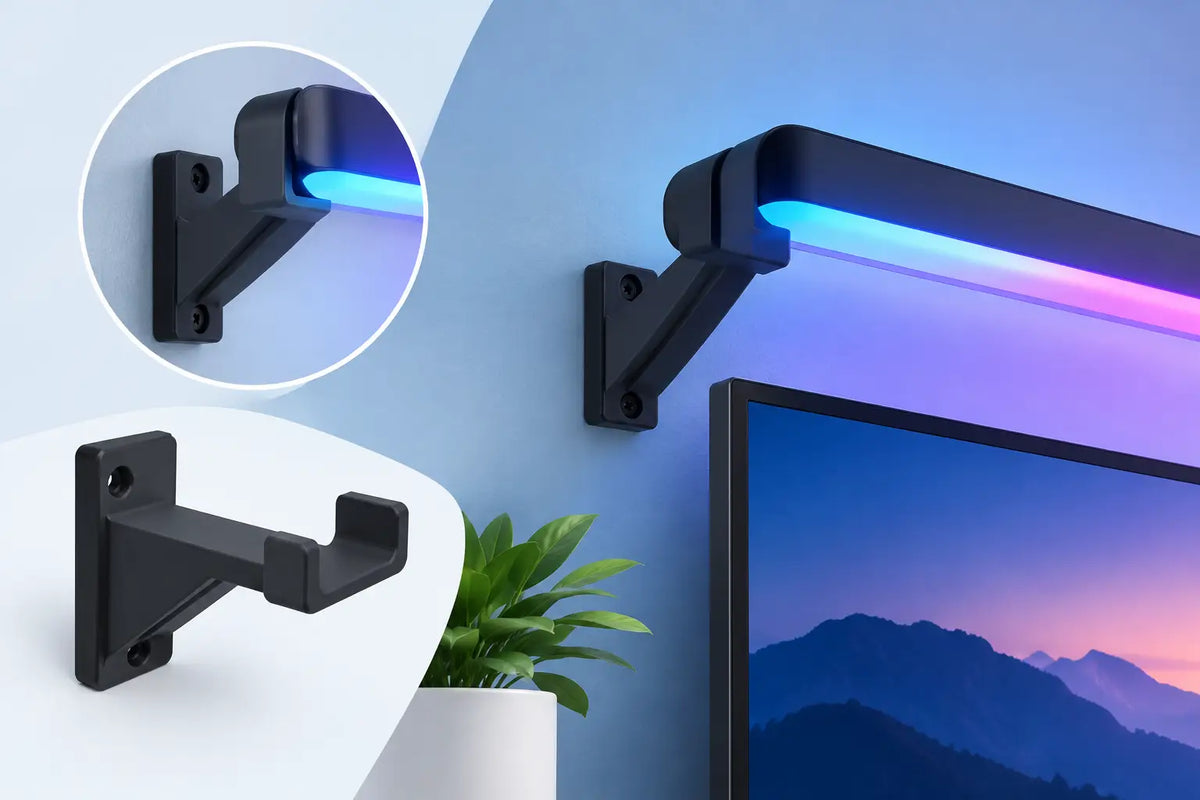
A permanent outdoor light installation can look finished or unfinished based on one small detail: whether every light stays exactly where it belongs. This 3D printed bracket review looks at what separates a purpose-built Govee mount from factory adhesive, generic clips, and improvised mounting solutions - especially once heat, cold, rain, wind, and seasonal decorating enter the picture.
For homeowners installing Govee Permanent Outdoor Lights along rooflines, soffits, peaks, gables, and trim, the bracket is not an afterthought. It determines spacing, light direction, cable management, and how much time you spend back on a ladder fixing a loose section later. The right mount should make the installation cleaner on day one and more dependable through the years that follow.
What a 3D Printed Bracket Review Should Actually Test
A useful review should go beyond asking whether a part looks good in a product photo. The real questions are straightforward: Does it fit the specific Govee light or controller it is made for? Does it install without fighting the hardware? Does it hold alignment when temperatures change? And does it create a finished appearance from the street as well as up close?
Purpose-built 3D-printed mounts have a clear advantage over universal clips because they are designed around a known shape, cable path, mounting surface, and use case. A mount for Govee Pro lights should not be treated as interchangeable with one for Non-Pro lights, Prism lights, or a Light Curtain system. Even small differences in housing dimensions, wire routing, and mounting geometry can affect fit.
That specificity matters most at difficult transitions. Straight soffit runs are usually forgiving. Peaks, corners, gables, uneven fascia, and areas near downspouts are where stock adhesive pads and generic brackets often reveal their limits. A properly designed mount helps keep each fixture aimed consistently and each wire supported instead of hanging under tension.
Fit and Alignment: The Difference You Can See
The strongest reason to choose a dedicated bracket is alignment. Permanent outdoor lights work best when each puck sits at the intended distance and angle from the house. If one light is tilted, sagging, or pushed too close to the surface, its color pattern can look uneven. A clean lighting layout depends on repeatable placement.
A well-fitting 3D-printed bracket should cradle the light body securely without requiring excessive force. It should also give the installer a predictable screw location or mounting point, so the light does not rotate while the screw is tightened. That sounds simple, but it makes a noticeable difference across a long run with dozens of lights.
For retrofits, fit becomes even more valuable. Many homeowners install Govee lights using the included adhesive, then decide later that they want a more permanent solution. Retrofit-friendly mounts allow the system to stay in place while adding mechanical support where it is needed. This can save time, reduce unnecessary cable handling, and avoid rebuilding an installation that is otherwise working properly.
There is one practical trade-off. A product-specific bracket is intentionally less universal. A mount made for a particular Govee model is not meant to fit every outdoor light on the market. For a permanent installation, that is usually a benefit, not a drawback. Exact fit is the point.
Straight Runs, Peaks, and Special Mounting Areas
Not every section of a home needs the same bracket style. Straight soffit runs may need a low-profile mount that keeps the lights tucked neatly under the edge. Gables and peaks can require a mount that holds the puck in a consistent orientation despite an angled surface. Controller and power supply mounts solve a different problem: keeping the larger components organized, supported, and off surfaces where water or clutter can become an issue.
This is where choosing mounts by installation location pays off. Instead of forcing a single clip design into every situation, use the bracket that matches the surface and component. The result is less improvising on the ladder and a more deliberate finished look.
Material Performance Outdoors
Not all 3D-printed parts are equal, and the material matters more outdoors than it does for an indoor organizer or hobby project. Exterior mounts need to tolerate sun exposure, changing temperatures, moisture, and normal movement in siding, trim, and roofline materials.
Weather-resistant filament choices are better suited to this job than basic display-focused materials. The goal is a bracket that remains stable and useful through summer heat and winter cold, rather than becoming brittle, warping, or losing its grip. Material selection should be paired with a design that has enough wall thickness and reinforcement in high-stress areas, particularly around screw holes and retention tabs.
A 3D-printed bracket will not make an unsuitable mounting surface stronger. Soft, damaged, or deteriorated wood still needs attention before hardware goes in. Likewise, a bracket cannot compensate for fasteners that are too short, incorrectly placed, or overtightened. The mount, screw, and surface work as a system.
For most exterior installations, the best approach is to pre-plan fastener locations, use hardware appropriate for the substrate, and avoid overtightening. Tight enough to secure the mount is different from crushing the part against the surface. This protects the bracket and keeps the light body properly seated.
Installation Experience: Where the Time Savings Show Up
The installation benefit of a custom bracket is not just speed during the first hour. It is the reduction in small problems that slow down a project: lights shifting while you mark holes, cable loops that have nowhere to go, controllers left resting on a ledge, or adhesive pads that need repeated pressure and perfect surface preparation.
Before heading up the ladder, lay out the components on the ground in the order they will be installed. Confirm that the bracket style matches each light system and installation area. Test-fit one bracket and light assembly at ground level. This takes a few minutes and helps prevent discovering a spacing or orientation issue after a long run is already mounted.
On the house, work from a consistent reference point and check your light spacing every few fixtures. If your roofline has trim changes or a peak, pause before that transition and confirm the next bracket orientation. Small corrections are easy before screws are installed. They are more frustrating once the wiring is routed and the lights are powered on.
For controller and power mounts, give yourself service access. The cleanest installation is not one where every component disappears completely. It is one where the system is protected, supported, and still accessible if you need to inspect a connection, reset a controller, or make a future adjustment.
Where 3D-Printed Brackets Make the Most Sense
These mounts are especially valuable when the lighting system is expected to stay up year-round. If you are putting up temporary holiday lights for a few weeks, the included options may be enough. But permanent smart lighting deserves mounting hardware that matches the investment.
They also make sense for homes where appearance matters. On a front-facing roofline, a loose wire or crooked puck is easy to spot. Dedicated brackets help create clean, even rows that look intentional in daylight, not just after dark.
PrintWorks 3D brackets are designed around those real installation demands: model-specific fit, weather-resistant durability, and a cleaner path from unboxing to a permanent-looking result. The value is not in adding plastic for its own sake. It is in replacing uncertainty with a secure, repeatable mounting method.
The Verdict on Purpose-Built Mounts
The best 3D-printed bracket is not necessarily the most complicated one. It is the one that fits the correct Govee component, supports it without stress, installs cleanly on the intended surface, and continues doing its job after the first season.
For Govee permanent outdoor light owners, purpose-built brackets are a practical upgrade over relying on adhesive alone or adapting generic hardware. They improve alignment, reduce visible clutter, and add mechanical support where outdoor installations need it most. Just make sure the mount matches your exact product version and the geometry of your home.
A few minutes spent choosing the right bracket before installation can spare you the far less enjoyable job of correcting crooked lights, unsupported cables, or loose components from a ladder later.
Share:
What Makes Outdoor Mounts Weather Resistant?
Pro versus Non-Pro Mounting: What Fits Best?