
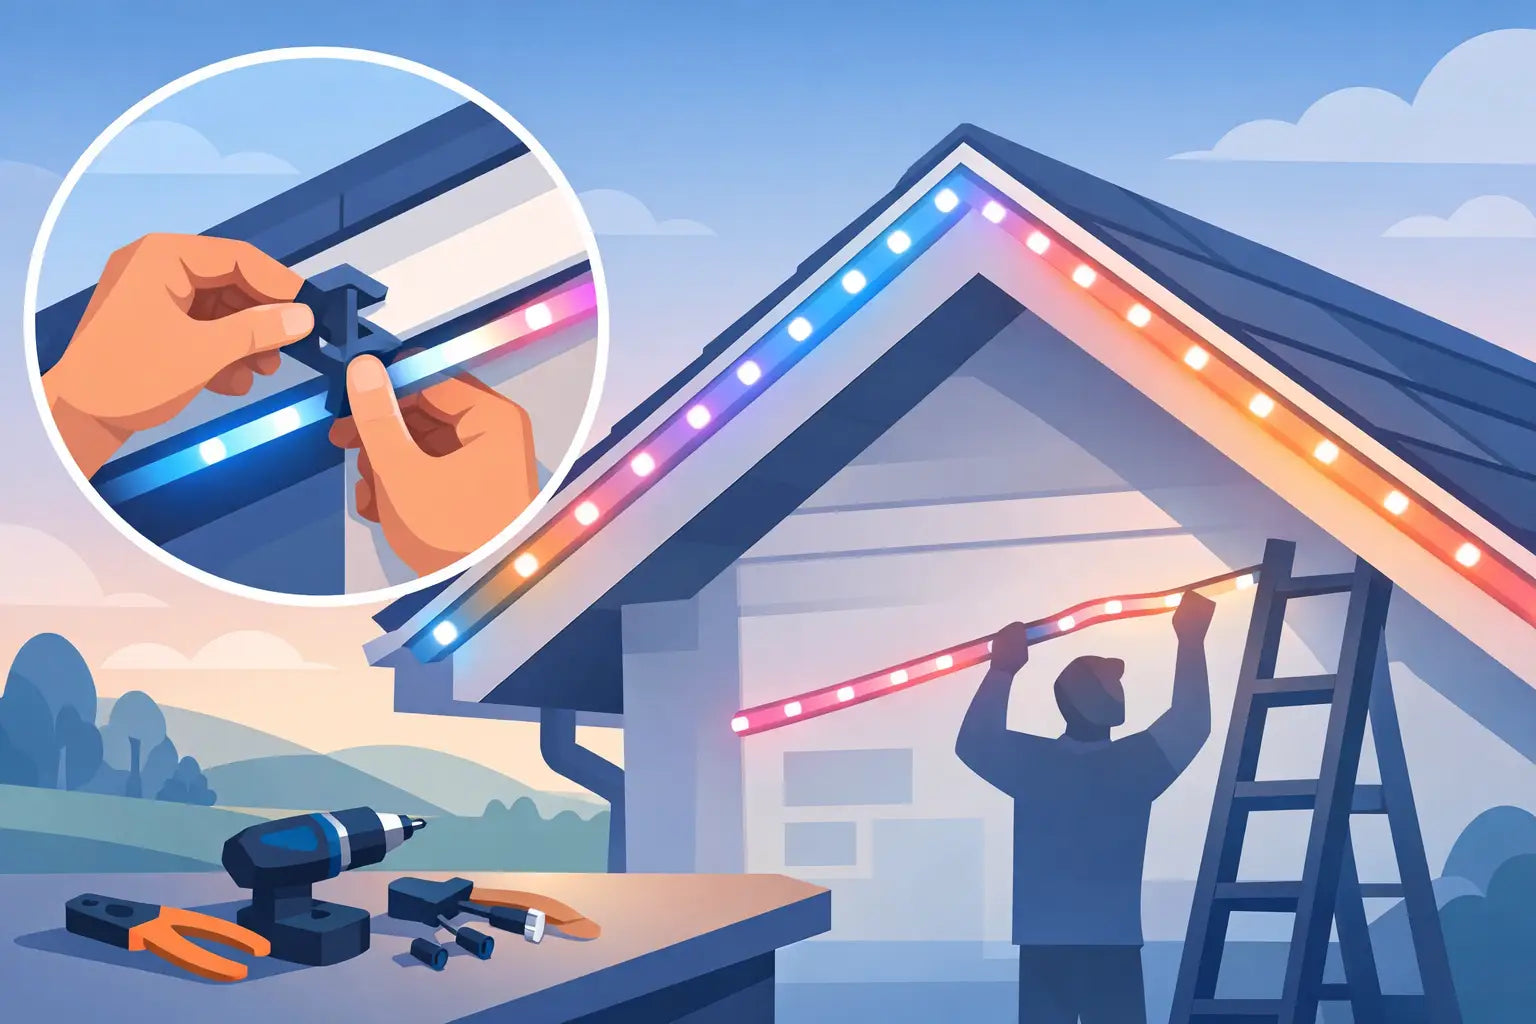
A gable run is where a clean lighting install either looks dialed in or obviously off. Peaks amplify every spacing issue, every crooked light, and every weak mounting point. If you are figuring out how to install Govee gable mounts, the goal is simple - keep your lights secure, evenly aligned, and ready to handle weather without turning the job into a drawn-out ladder session.
Gables are different from straight roofline sections because the angle changes how each light sits and how each mount needs to hold. Stock hardware can work in some places, but on peaks and angled transitions it often leaves too much room for movement, inconsistent light direction, or a finish that does not look truly permanent. A purpose-built mount makes that part easier, but good results still come down to planning, spacing, and install order.
What makes gable installs trickier than standard runs
On a straight eave, you are mostly repeating the same step from one end to the other. On a gable, the angle introduces small alignment problems that become very visible once the lights are on. If one side climbs a little tighter to the trim than the other, or if the spacing shifts near the peak, your eye catches it immediately.
The peak itself is usually the trouble spot. That is where installers tend to force a light into place, stretch wire too tightly, or break visual symmetry between the left and right sides. The best approach is to treat the peak as a focal point, not just the place where two runs happen to meet.
Surface condition matters too. Fascia, trim, soffit edges, and architectural details vary from house to house. Some give you a flat, predictable mounting area. Others require a little more patience to keep the lights aimed consistently. That is why measuring first saves so much frustration later.
How to install Govee gable mounts with less rework
Before anything goes up, lay out your lights and mounts on the ground. This gives you a chance to confirm spacing, count the sections correctly, and identify where the peak will land. If the center point is off by even a few inches, you may end up adjusting both sides while standing on a ladder, which is exactly what you want to avoid.
Start by finding the true center of the gable. Mark the peak, then measure down both sides so the layout mirrors cleanly. If your light count and spacing do not land perfectly at the ends, it is usually better to distribute minor adjustments evenly across the run rather than let one side look compressed.
Once your center is established, do a dry fit with a few mounts near the peak and a few farther down each side. This shows you whether the lights will sit at the angle you want and whether the wire path has enough slack without sagging. A dry fit takes extra time up front, but it usually saves a full round of corrections.
Tools and prep that actually help
You do not need a truck full of equipment, but a few basics make the job cleaner. A tape measure, pencil, level, ladder suited to the roofline, surface cleaner, and the right screws or fastening method for your trim are the essentials. If you are working on older exterior surfaces, inspect them first. Mounts only hold as well as the material beneath them.
Clean the install area before placing anything. Dust, oxidation, and grime can interfere with fit and overall finish, especially if you are trying to keep every mount seated evenly. A clean surface also makes it easier to mark your layout lines accurately.
It is smart to check the weather before install day. Wind turns ladder work into a hassle fast, and extreme cold can make exterior materials less forgiving. Dry, mild conditions usually give you the best control.
Installing around the peak
If you want the finished setup to look intentional, begin at the top or build outward from a clearly marked center. That keeps the peak visually balanced. Install the first mount at or just below the apex based on your layout, then mirror the placement on the opposite side.
As you work down each side, keep checking two things - the distance between lights and the setback from the edge of the trim. Consistency matters more than moving fast here. A gable line can look perfect in daylight and still show uneven output at night if the light positions drift.
Avoid pulling the wire tight between mounts. You want enough control to prevent droop, but not so much tension that the lights twist or the connectors carry stress over time. Outdoor installs expand and contract with temperature changes, so a little allowance is better than a rigid run.
If your gable has decorative trim or slight surface variations, do not assume every section should be mounted identically without checking sightlines. Sometimes a small adjustment in mount position gives a better visual line from the ground. That is one of those it-depends moments where the house design should guide the final placement.
Getting spacing and light direction right
Good spacing is not only about measurement. It is also about how the lights present from the curb. On a gable, each fixture contributes to a larger shape, so uneven intervals stand out more than they do on a straight horizontal section.
Take a step back often. After every few mounts, get off the ladder and look at the run from normal viewing distance. This helps you spot drift early, before a small alignment issue becomes a full reinstall. It is one of the simplest ways to protect your time.
Light direction matters just as much. If some lights aim too far outward while others hug the wall or trim, the final effect looks patchy. Mounts designed specifically for Govee permanent lighting help control that angle more reliably, which is a big reason many homeowners switch from factory options when working on peaks and gables.
Common mistakes that cause problems later
The first mistake is skipping layout and trying to solve spacing on the ladder. That usually leads to inconsistent placement near the top and rushed decisions at the ends. The second is treating the peak like an afterthought when it is actually the most visible point of the run.
Another common issue is fastening into weak material or weathered trim without checking integrity first. Even a well-designed mount cannot compensate for a failing surface. If the substrate is soft, cracked, or unstable, address that before install.
Over-tightening is another problem. Homeowners often assume tighter means more secure, but too much pressure can deform a mount, stress the light housing, or create misalignment. You want the mount seated firmly, not forced.
Finally, do not ignore wire management. A clean mount layout can still look unfinished if connectors and slack are left visible around the gable. Plan wire routing as part of the install, not after everything else is already fixed in place.
When a specialized mount makes the job easier
Not every section of a home needs the same hardware. Straight soffit runs are more forgiving. Gables, peaks, and architectural transitions are where fit and retention matter most. That is where specialized 3D-printed mounts earn their value - by giving each light a more secure, repeatable position on angled sections.
For homeowners who want a truly permanent look, the difference is usually noticeable right away. Better fit means cleaner alignment. Better retention means less shifting over time. And easier placement means less fiddling while you are already balancing tools and materials above ground.
That is the practical advantage of using mounts engineered for the exact light system and install challenge. At PrintWorks 3D, that focus is the whole point - solve the fit issues, reduce install frustration, and give homeowners a result that looks finished from day one.
Final checks before you call it done
Once the mounts and lights are in place, test the full run before putting tools away. Check for even light direction, stable seating, and clean symmetry from both sides of the house. Look at the gable during daylight and after dark. Some issues only show up once the lights are on.
If something feels slightly off, fix it now. Small corrections are easier before the install has fully settled and before you mentally move on to the next weekend project. A good gable install is not about rushing through it. It is about getting a result that still looks right after rain, heat, cold, and a full season of use.
The best installs usually come from slowing down at the exact points where most people hurry - the layout, the peak, and the final sight check from the ground.
Share:
Permanent Outdoor Light Accessories That Work
Guide to Govee Light Retrofitting