
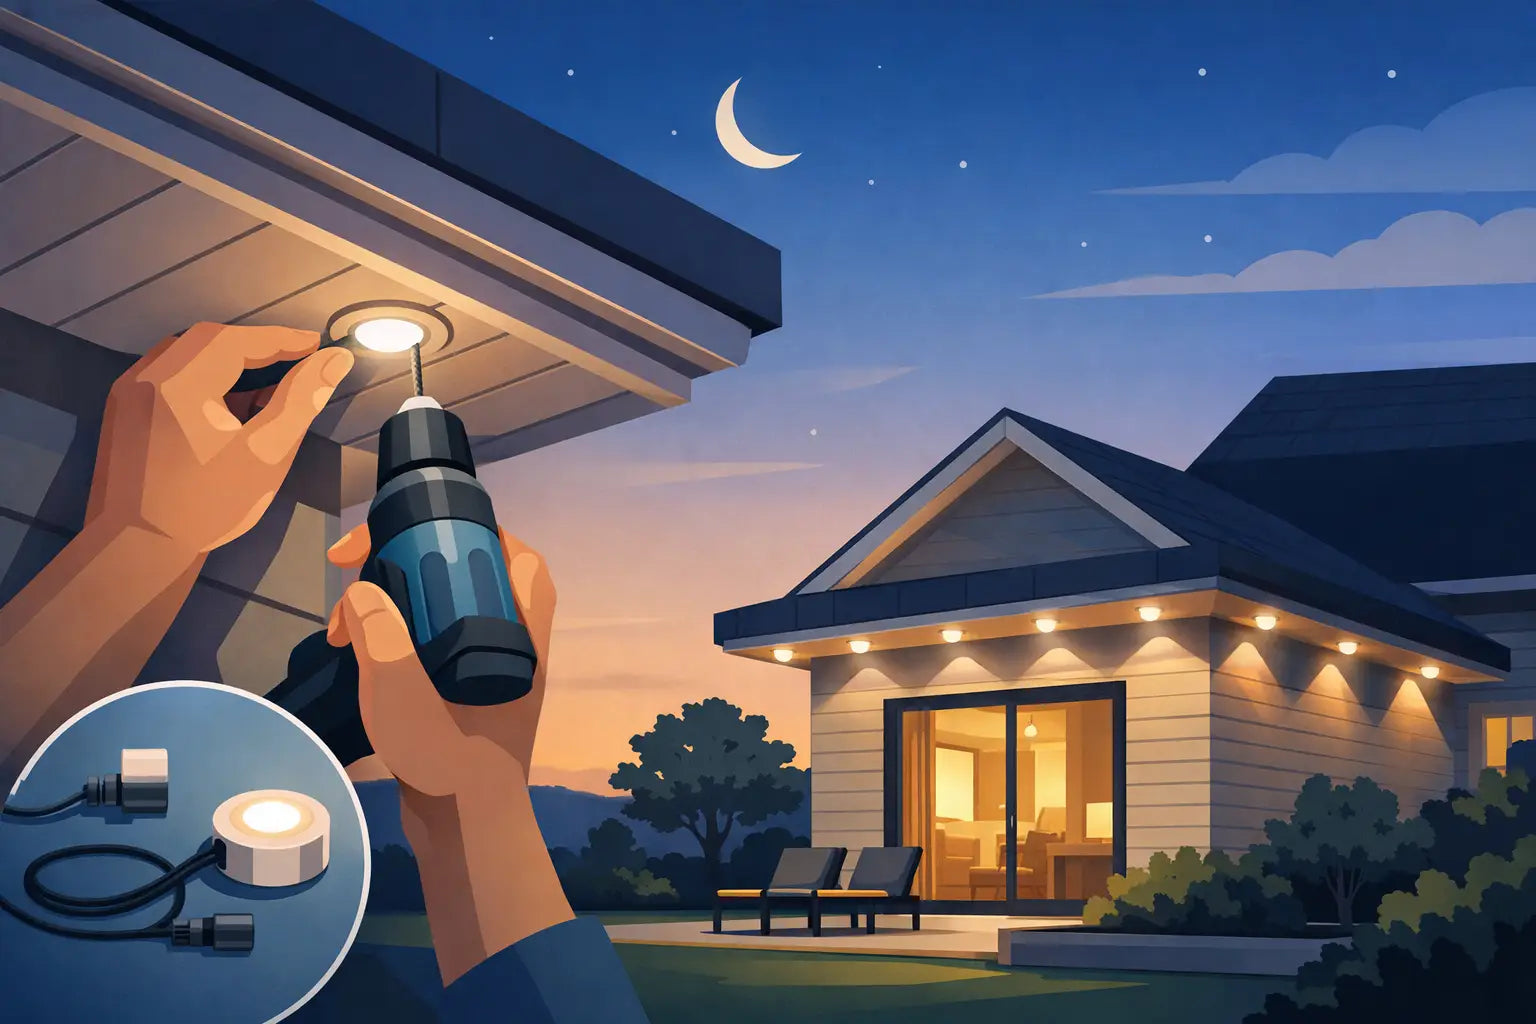
If you have ever stood on a ladder trying to line up permanent outdoor lights under a soffit with one hand and peel-and-stick backing with the other, you already know the problem. Learning how to install outdoor led lights on soffit is not just about getting power to the lights. It is about getting a straight, secure, weather-ready installation that still looks good from the street.
For most homeowners, the soffit is the right place for permanent roofline lighting because it keeps the lights tucked up, protected, and visually clean. But the install can go wrong fast if the surface is dirty, the spacing is inconsistent, or the mounting method is not built for long-term outdoor use. A neat job usually comes down to planning first and mounting second.
Why soffit installs go wrong
The biggest issue is assuming the factory adhesive or basic clips are enough for a permanent setup. Sometimes they hold for a while. Sometimes they do not. Heat, cold, moisture, dust, and textured surfaces all work against a quick install.
The second issue is layout. A soffit may look flat from the ground, but once you get close you are dealing with seams, vents, corners, outlet locations, fascia transitions, and roofline changes. If you do not map the run before you start, you can end up with odd spacing, misaligned lights, or extra wire showing where you do not want it.
That is why a good soffit install starts with three decisions: where the lights should sit, how they will be mounted, and how the power and controller will be protected.
What to check before you install
Before you mount anything, inspect the soffit itself. Vinyl, aluminum, fiber cement, and painted wood all behave a little differently. Vinyl can flex. Aluminum can transfer heat and may dent if over-tightened. Painted wood often gives you better screw retention, but old paint can flake if the surface is not prepped.
You also need to check whether your soffit is vented. If it is, you cannot just place lights or screws wherever it looks convenient. You want to avoid blocking airflow and avoid weak mounting points around vent slots.
Power planning matters too. If your outlet is far from the starting point, account for the controller location and cable routing before you place the first light. A clean install usually hides the controller and excess wire under the eave while keeping it accessible for future service.
Tools and materials that make the job easier
You do not need a truck full of tools, but the right setup saves time on the ladder. A tape measure, pencil, ladder, drill or driver, exterior-safe screws, surface cleaner, microfiber cloth, and cable management supplies are standard. If you are using a smart permanent lighting system, keep the app setup instructions nearby so you can test sections before the final cable routing is locked in.
For mounting, this is where quality matters. Purpose-built mounts give you more consistent alignment and a more durable hold than relying on adhesive alone. That is especially true on soffits that get direct sun, seasonal temperature swings, or wind-driven moisture. PrintWorks 3D designs product-specific mounts for Govee systems to solve that exact problem - a cleaner fit, better retention, and less frustration during installation.
How to install outdoor LED lights on soffit step by step
Start by cleaning the surface thoroughly. Dirt, oxidation, pollen, and chalky residue are common under soffits, even when they look clean from the ground. Wipe the full run where the mounts or lights will go and let it dry completely.
Next, mark your layout. Measure from the wall edge or fascia edge and stay consistent the entire run. That consistent setback is what keeps the lights looking straight when viewed from below and from the street. If your system has recommended spacing between light modules, follow it closely. Small errors compound over a long roofline.
Before you fasten anything, dry-fit a section. Hold a few lights or mounts in place and step back. Check visibility, angle, and spacing. Some homeowners want the light source tucked deeper under the soffit for a subtle wash. Others want it closer to the edge for stronger output. There is no single perfect position. It depends on the effect you want and the shape of the trim.
Once the placement looks right, install the mounts or clips a section at a time. Do not rush the whole run at once. Work in manageable lengths so you can keep spacing accurate and wires controlled. If you are screwing into the soffit, use the right screw length for the material and avoid overdriving. Crushing vinyl or stripping the substrate creates more problems than it solves.
After the mounts are in, seat each light securely and route the wire neatly between sections. Keep slack under control, but do not pull cables so tight that connectors are stressed. At corners and peaks, give yourself enough flexibility for clean direction changes. The goal is a finished look, not a cable under tension.
Test each section as you go. It is much easier to fix a connector issue or misaligned module before the whole roofline is finished. If a light is not responding correctly, stop and troubleshoot immediately rather than hoping it resolves later.
Getting a clean, permanent look
A strong soffit install should not look improvised. From the ground, the lights should read as intentional, evenly spaced, and visually centered along the run. The wire should fade into the background as much as possible, and the controller should be protected without being impossible to reach.
This is where retrofit-friendly mounting hardware helps. On paper, any clip that holds a light might seem good enough. In practice, fit matters. A mount designed around the actual light body helps maintain angle, spacing, and retention over time. That means fewer sagging points, fewer reattachments, and less seasonal maintenance.
It also helps to think about symmetry. If one side of the house sits a half inch farther off the edge than the other, people notice, even if they cannot explain why it looks off. Careful measuring is what separates a polished install from a weekend patch job.
Common soffit challenges and how to handle them
Corners are one of the first trouble spots. If you force a light module or cable around a tight turn, it can twist the line and throw off the spacing on both sides. It is better to slow down, set the corner intentionally, and build outward from there.
Peaks and gables can also create awkward transitions. On these runs, visual alignment matters more than exact tape-measure symmetry. Sometimes you need to slightly adjust spacing near a transition so the finished look stays balanced from the ground.
Textured or aging soffits are another issue. If the material is brittle, warped, or dirty enough that adhesion is questionable, do not rely on adhesive-only mounting. That shortcut often becomes a repair project after the first hot season or storm cycle.
Safety matters more than speed
Most mistakes happen when people try to save time on the ladder. Use a stable ladder on level ground, avoid overreaching, and move the ladder as often as needed. If the roofline is high or the slope is awkward, it may make sense to split the project over multiple sessions.
You should also avoid drilling blindly into areas where wiring may already exist. Exterior soffits can hide more than you expect, especially near garage entries, porch areas, or previous lighting locations. If you are unsure what is behind the surface, pause and inspect.
Final checks after installation
Once the full run is mounted and powered, test scenes at night. Daylight can hide alignment issues that become obvious after dark. Walk across the street, look at corners, and make sure output appears consistent across the whole soffit line.
Check every mount one more time, especially on transitions and near the start and end of each run. Confirm that the controller is protected from direct exposure and that any cable management components are secure. A few extra minutes here can save you from climbing back up next weekend.
A soffit lighting install should feel finished, not temporary. When the lights are aligned, secured with purpose-built hardware, and planned around the actual roofline, the result looks like it belongs on the house. That is the difference between simply getting lights up and installing them in a way you will still be happy with season after season.
Share:
Weather Resistant Mounts for Outdoor Lights
Roofline LED Light Mounting Brackets That Last