

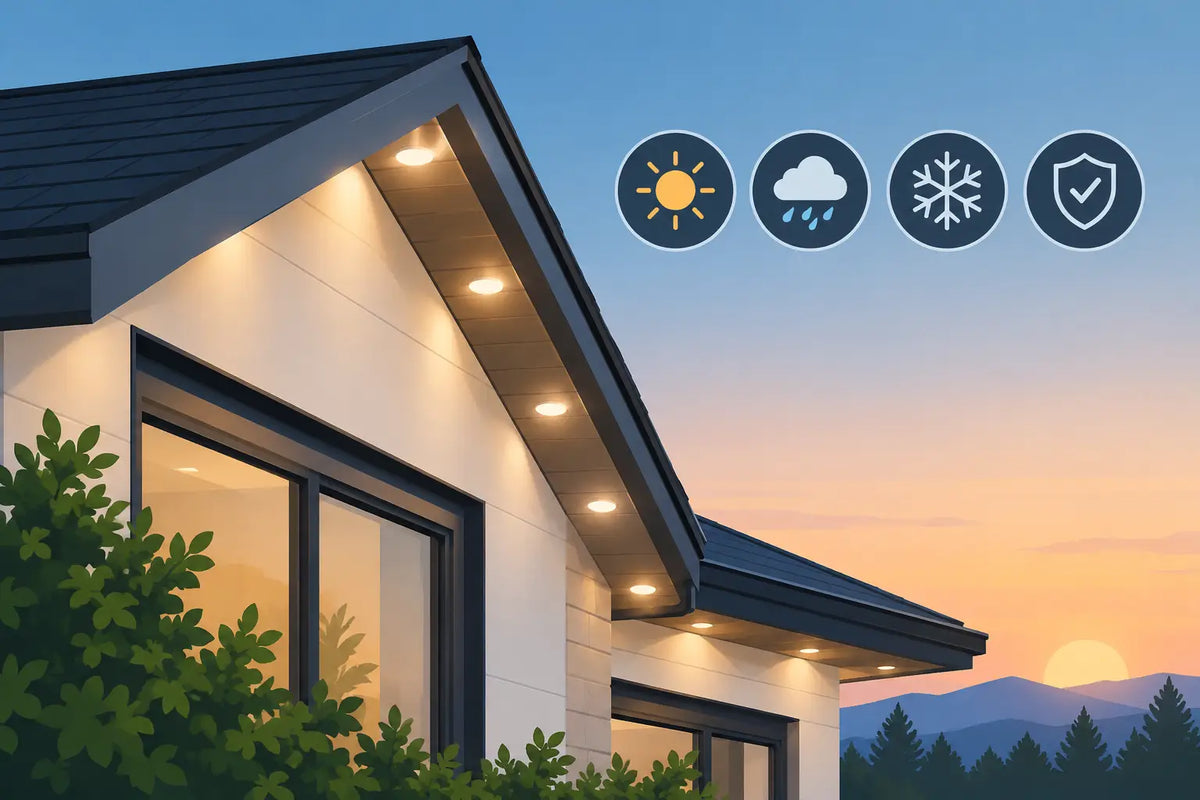
A permanent outdoor lighting install can look perfect on day one and still fail its first real test: summer heat, a hard freeze, wind-driven rain, or the repeated pull of a cable along the roofline. This guide to roofline light durability focuses on the details that keep Govee permanent lights straight, secure, and reliable long after installation day.
The lights themselves matter, but mounting is often where a roofline installation succeeds or fails. Factory adhesive can be useful on a clean, compatible surface. It is not always enough for textured soffit, uneven trim, painted wood, aging vinyl, or locations exposed to big temperature swings. A truly permanent result comes from treating every light, wire run, and mounting point as part of one system.
Start With the Roofline, Not the Light String
Before choosing mounts or climbing a ladder, look closely at the surface where the lights will sit. Soffit panels, fascia boards, drip edges, siding, brick, and trim all react differently to fasteners, adhesive, heat, and moisture. The cleanest-looking route is not always the most durable one.
A flat, solid soffit generally gives you the most mounting options. It allows lights to face downward consistently and gives clips or purpose-built mounts a stable surface to hold. Textured surfaces create a different challenge. Adhesive may contact only the raised areas, leaving gaps that collect moisture and reduce holding strength over time.
Also inspect the roofline for movement. Vinyl soffit and siding expand and contract. Older wood trim may have paint layers that are already lifting. Aluminum components can get extremely hot in direct sun. These conditions do not rule out a permanent-light installation, but they should influence your mounting method and spacing.
What Actually Determines Roofline Light Durability?
Durability is more than whether a light stays attached. A long-lasting installation keeps every fixture aimed correctly, prevents wire sag, protects connection points, and avoids damage to the home exterior. It depends on several factors working together:
- The mounting surface must be clean, dry, and structurally sound.
- The mount must fit the specific light model and roofline position.
- The material needs to tolerate outdoor heat, cold, moisture, and UV exposure.
- Wire runs need support so individual lights are not carrying cable weight.
- Installation spacing must control alignment without creating unnecessary stress.
Adhesive Is Useful, but It Has Limits
Govee permanent lights include adhesive intended to help secure the installation. On smooth, properly cleaned surfaces, it can provide a strong initial hold. For many homeowners, it is a helpful part of the install rather than the entire mounting plan.
Adhesive is most vulnerable when the surface has dust, chalky paint, oil, moisture, or texture. Temperature matters, too. Applying adhesive in very cold conditions can reduce its initial bond, while intense heat can soften some adhesives before they fully settle. If the roofline gets direct sun for most of the day, mechanical support becomes even more valuable.
For a polished permanent installation, use the adhesive as a positioning and holding aid, then add mounts designed around the light housing. That approach reduces reliance on one attachment method and makes it easier to maintain consistent spacing.
Mount Fit Controls Both Appearance and Holding Power
A generic clip may hold a wire, but it may not hold the light body in the correct direction. That difference shows up at night. If fixtures rotate, tilt outward, or sit at inconsistent distances from the wall, the lighting pattern can look uneven even when every light still works.
Purpose-built mounts are designed to support the housing where it needs support, not simply pinch a cable. For Govee systems, model-specific fit matters because Pro, Non-Pro, Prism, and Light Curtain products have different shapes and installation needs. A mount that fits correctly helps preserve beam direction, keeps the fixture from shifting, and makes the finished roofline look intentional.
This is also where retrofit-friendly mounting pays off. If adhesive has begun to fail on an existing installation, you do not necessarily need to remove and replace the entire system. Adding properly fitted mounts can reinforce the lights you already own while improving alignment.
Choose Materials for the Conditions at Your Home
Outdoor mounts live in a tough environment. They face UV exposure, rain, snow, humidity, temperature swings, and vibration from wind. Material quality is not a cosmetic detail. It determines whether a mount stays stable and whether it continues to look clean against the home.
Weather-resistant 3D-printed mounts can be an effective option when they are designed for exterior use and built for the exact product they support. The advantage is precision: a well-designed mount can match the contour of the light body and provide a secure attachment point without forcing the fixture into an awkward position.
Your climate should shape your expectations. In hot, sunny regions, UV resistance and heat tolerance deserve extra attention. In northern climates, the concern is repeated freeze-thaw cycling and the brittleness that can affect unsuitable materials. Coastal homes need to account for salt air and persistent moisture. No single mounting method is perfect for every home, which is why a product-specific, weather-ready solution is better than an improvised clip.
PrintWorks 3D designs mounting accessories around these real installation conditions, with the goal of giving Govee lights a secure fit that supports a cleaner, more permanent result.
Support the Cable Between Fixtures
A roofline can have every light mounted securely and still look unfinished if the cable sags between them. Cable management is durability management. Unsupported wire moves in wind, pulls on light connections, and creates visual waves that stand out during the day.
Pay special attention to long spans, corners, peaks, and transitions between architectural surfaces. These areas often need additional support because the cable changes direction or carries more tension. Do not pull wire so tight that it is under constant strain. Instead, keep it tidy with enough slack for normal expansion and movement.
Controller and power supply placement also deserve planning. Keep components protected from standing water and positioned so connections are not bearing the weight of the cable. A supported controller mount can prevent a heavy component from hanging by its cord, which is a common source of unnecessary strain.
Install for Straight Lines, Not Just Fast Results
The most durable installation begins with accurate layout. Mark your intended light path before mounting anything. Stand back from the house and check how the line will look from the street, especially around garage doors, gables, and roof peaks. A few minutes of planning can prevent an entire row from looking uneven.
Install a short test section before committing to the full run. Turn on the lights after dark and confirm the direction, spacing, and wall-wash effect. This is particularly helpful when choosing between a tighter or wider setback from the exterior wall. The right distance depends on the effect you want, the width of the soffit, and the design of your Govee lights.
Use consistent spacing, but do not force a pattern that fights the architecture. A small adjustment near a corner is usually less noticeable than an overstretched cable or a fixture mounted at an odd angle. On peaks and gables, secure the transition points carefully so the wire follows the roofline without pulling fixtures out of alignment.
Avoid These Shortcuts
Rushing surface prep is one of the most expensive shortcuts because it can lead to remounting work later. Wipe away dirt and residue, let the surface dry completely, and avoid attaching mounts to damaged paint or loose trim.
Do not rely on cable tension to hold lights in place. Do not use a mount that only partly fits the fixture. And do not wait until a light begins to droop before adding support. Once a fixture shifts, it can place added stress on adjacent lights and connections.
Check the Installation After the First Season
Permanent does not mean ignored. A quick visual inspection after major weather changes can catch small problems before they become ladder work. Look for lights that have rotated, mounts that have shifted, cable sections that are hanging lower than before, and connection points exposed to water or strain.
Most checks take only a few minutes from the ground. If one section needs attention, address it early rather than waiting for multiple attachment points to fail. Keeping spare compatible mounts on hand can make a simple repair fast and keep the rest of the system untouched.
A roofline lighting system should feel permanent because it is thoughtfully supported, not because you hope the original adhesive holds forever. Build for your home’s surface, climate, and architecture, and your lights can stay secure, aligned, and ready for every season.
Share:
How to Hide Outdoor Light Wires Cleanly
How to Route Govee Cables for a Clean Install