If you are searching for how to install Govee Prism mounts, you are probably already past the fun part of buying the lights and into the part where the stock setup starts fighting back. Uneven spacing, weak adhesive, awkward rooflines, and the simple reality of working on a ladder can turn a clean exterior lighting project into a slow, frustrating install. The good news is that Prism mounts are built to fix those problems by giving each light a more secure, consistent position.
Prism mounts are especially useful when you want a polished permanent look along soffits, fascia boards, peaks, and gables. They help keep light direction consistent, improve hold over time, and make the finished result look intentional instead of improvised. A good installation is not just about getting the lights up. It is about making sure they stay aligned through heat, cold, wind, and rain.
What to know before you install Govee Prism mounts
Before you start attaching anything, confirm that your mounts match your specific Govee light system. Govee has multiple outdoor lighting versions, and fit matters. A mount designed for one light style may not seat correctly on another, which can affect alignment and holding strength.
Next, look closely at the surface where you plan to install. Prism mounts perform best on sound, clean mounting surfaces. Painted wood, aluminum trim, vinyl soffits, and other common exterior materials can all work, but condition matters. If the surface is chalky, dirty, damp, or peeling, even a well-designed mount will not perform the way it should.
This is also the point where planning saves the most time. Measure your run, identify power and controller locations, and decide where direction changes happen. Rooflines are rarely as simple as they look from the ground. Corners, peaks, and changing eave depths all affect spacing and wire routing.
Tools and prep for a cleaner install
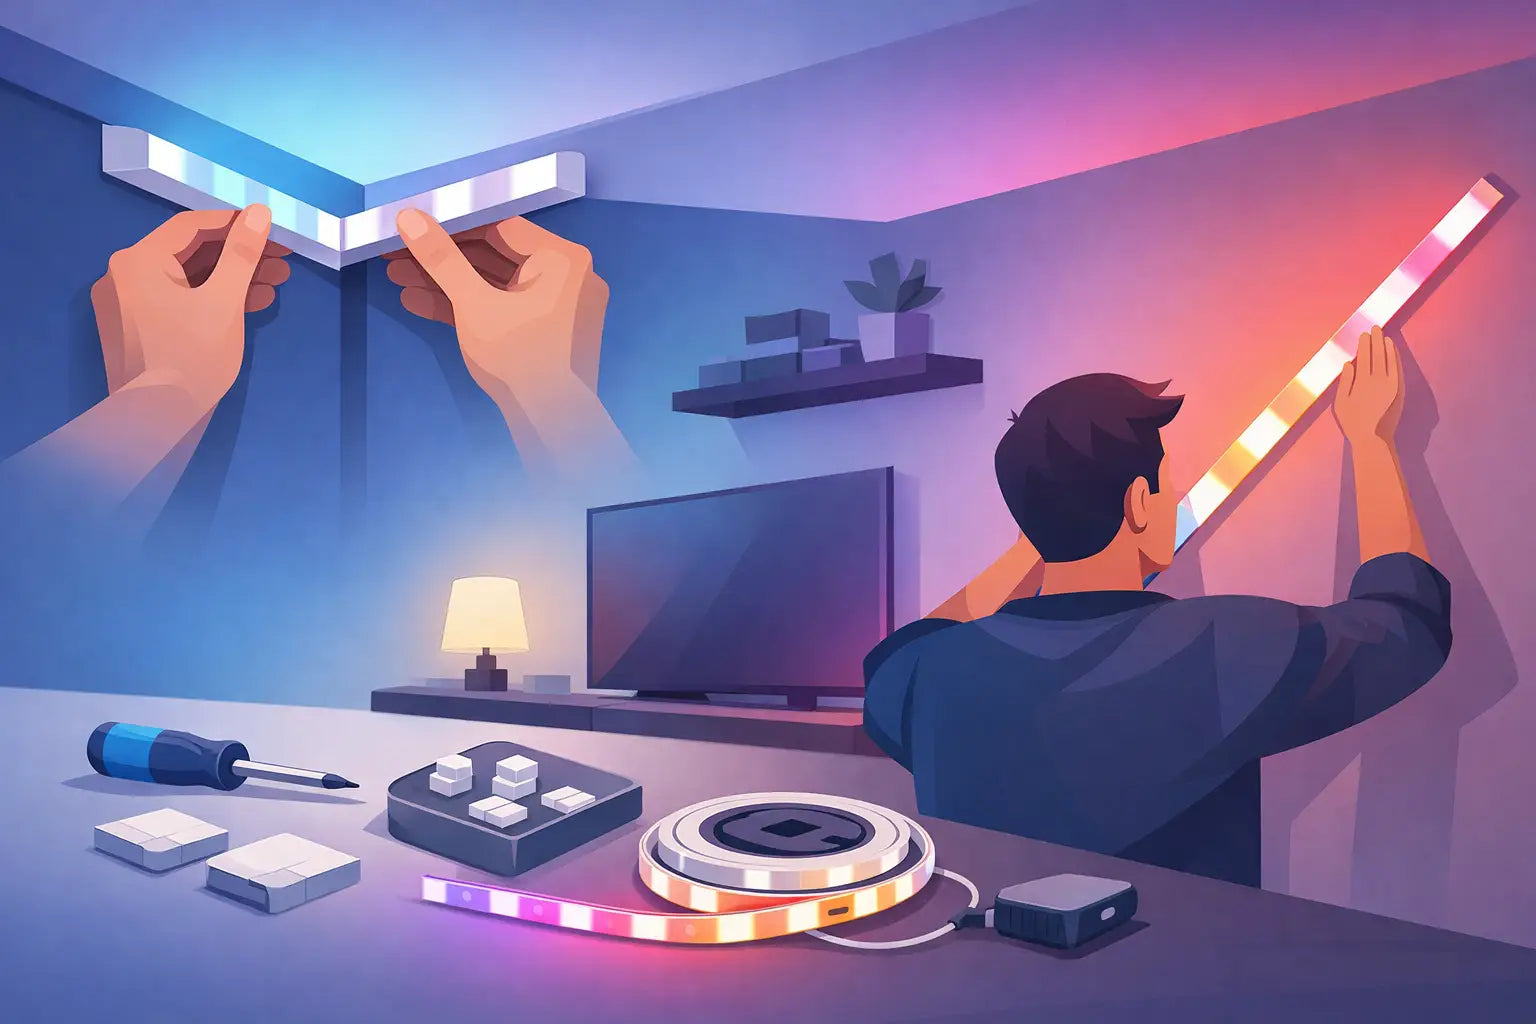
You do not need a complicated tool kit, but you do need the right basics. Most homeowners can handle the job with a ladder, measuring tape, pencil, surface cleaner, microfiber cloth, and the fasteners or adhesive method appropriate for the mount and surface. If your install uses screws, keep a driver ready and avoid overdriving them into softer materials.
Surface prep is the step people rush, and it is usually where problems start. Wipe away dust, pollen, oxidation, and residue first. If the area has been exposed to weather for a while, a simple pass is often not enough. Clean it thoroughly, let it dry fully, and only then begin layout. Mounting over dirt or moisture creates a weak bond and can lead to shifting later.
Temperature matters too. If you are installing in extreme cold or extreme heat, adhesive behavior and material flexibility can change. In mild conditions, you will usually get the easiest fit and the most predictable results. If weather is working against you, slow down and give each step more care.
How to install Govee Prism mounts step by step
Start by dry-fitting a small section before committing to the full run. Hold a few mounts in place, check the light fit, and step back to see the angle and spacing from the ground. This is the easiest time to catch layout issues.
Once you are happy with the position, mark your mounting points lightly. Keep your spacing consistent across the run. Even small variations become obvious when the lights are on at night, especially on long straight sections. Prism mounts help create uniformity, but they still need a consistent layout to look their best.
Attach the first few mounts and insert the lights as you go, rather than mounting everything first and hoping the run lines up later. Working in smaller sections lets you verify fit, wire slack, and light direction before repeating the pattern. It also reduces the chance of reaching the end of a run and finding that your spacing drifted.
When securing each mount, use enough pressure to seat it properly, but do not force the light into place. If something feels off, stop and check alignment. A proper-fit mount should hold the light securely without making installation feel like a fight. If you are using screws, tighten them until the mount is secure and stable, then stop. Over-tightening can distort the mount or damage the mounting surface.
Keep an eye on wire management as you move along. The cleanest installs treat the wiring as part of the visual finish, not an afterthought. Avoid leaving unnecessary slack where it can sag or become visible from the street. At the same time, do not pull the wiring so tight that you create stress at the connections. A little controlled slack is better than tension.
At corners, peaks, or transitions, expect to make small adjustments. This is normal. Exterior architecture is rarely perfectly square, and trying to force perfect spacing through an imperfect section can make the whole run look worse. The better approach is to preserve the overall visual rhythm while adapting slightly where the structure requires it.
Placement tips that make Prism mounts look better
The best-looking installs usually are not the ones with the fastest install time. They are the ones where placement was thought through before the first mount went up. Light position under the soffit affects both the daytime appearance and the nighttime beam pattern.
If the mounts are too close to the outer edge, the lights can become more visible than you want during the day. If they are too far back, the nighttime effect may lose some of the architectural wash that makes permanent lighting look sharp. The sweet spot depends on your home’s trim depth, soffit width, and how pronounced you want the lighting effect to be.
Uniform orientation matters just as much as spacing. If one section points slightly differently from the rest, your eye will catch it immediately once the lights are on. That is one of the biggest benefits of a purpose-built mount. It helps maintain consistent angle and presentation across the full run, which is hard to do with makeshift methods.
Common installation mistakes to avoid
The most common mistake is treating every section of the house the same. Straight soffits, tight corners, and tall peaks do not install the same way. What works on one run may need adjustment on the next.
Another mistake is skipping the test fit. A few minutes spent confirming fit and placement can save a full reinstall later. Homeowners also get into trouble when they rely on rough visual spacing instead of measured layout. It may look close enough from the ladder, but once the lights are on, inconsistency shows.
There is also a trade-off between speed and finish quality. If your goal is simply to get the lights up before the weekend, you can move fast and accept minor imperfections. If your goal is a permanent, clean-lined installation, it pays to move slower, check each section, and treat alignment as part of the job rather than a bonus.
When installation gets tricky
Some homes are straightforward. Others have layered trim, inconsistent overhangs, textured mounting surfaces, or hard-to-reach rooflines that make the job more technical. In those cases, the right mount design matters even more because it helps reduce improvisation.
Retrofit installs can also take more patience than new installs. If you are replacing a previous mounting method, inspect for leftover adhesive, surface damage, or spacing patterns that do not match your new layout. Starting fresh often gives a better final result than trying to reuse a flawed pattern just to save time.
If a section feels questionable while you are on the ladder, trust that instinct. Rechecking one row is much easier than redoing an entire elevation later. A secure fit, clean line, and consistent beam pattern are worth the extra pass.
Final checks after you install Govee Prism mounts
When the full run is mounted, test the system before calling it done. Check that every light is seated correctly, every section is aligned, and the wiring sits the way you intended. Then step back during daylight and again after dark. You are looking for two different kinds of finish quality - how clean the hardware looks on the house and how even the lighting effect looks once powered.
A solid Prism mount installation should feel stable, look intentional, and hold up through the seasons. That is the difference between a temporary-looking setup and a permanent exterior upgrade. If you want the lights to look like they belong on the house, not just attached to it, careful installation is what gets you there.
Share:
How to Secure Outdoor Light Controllers
Permanent Outdoor Light Accessories That Work