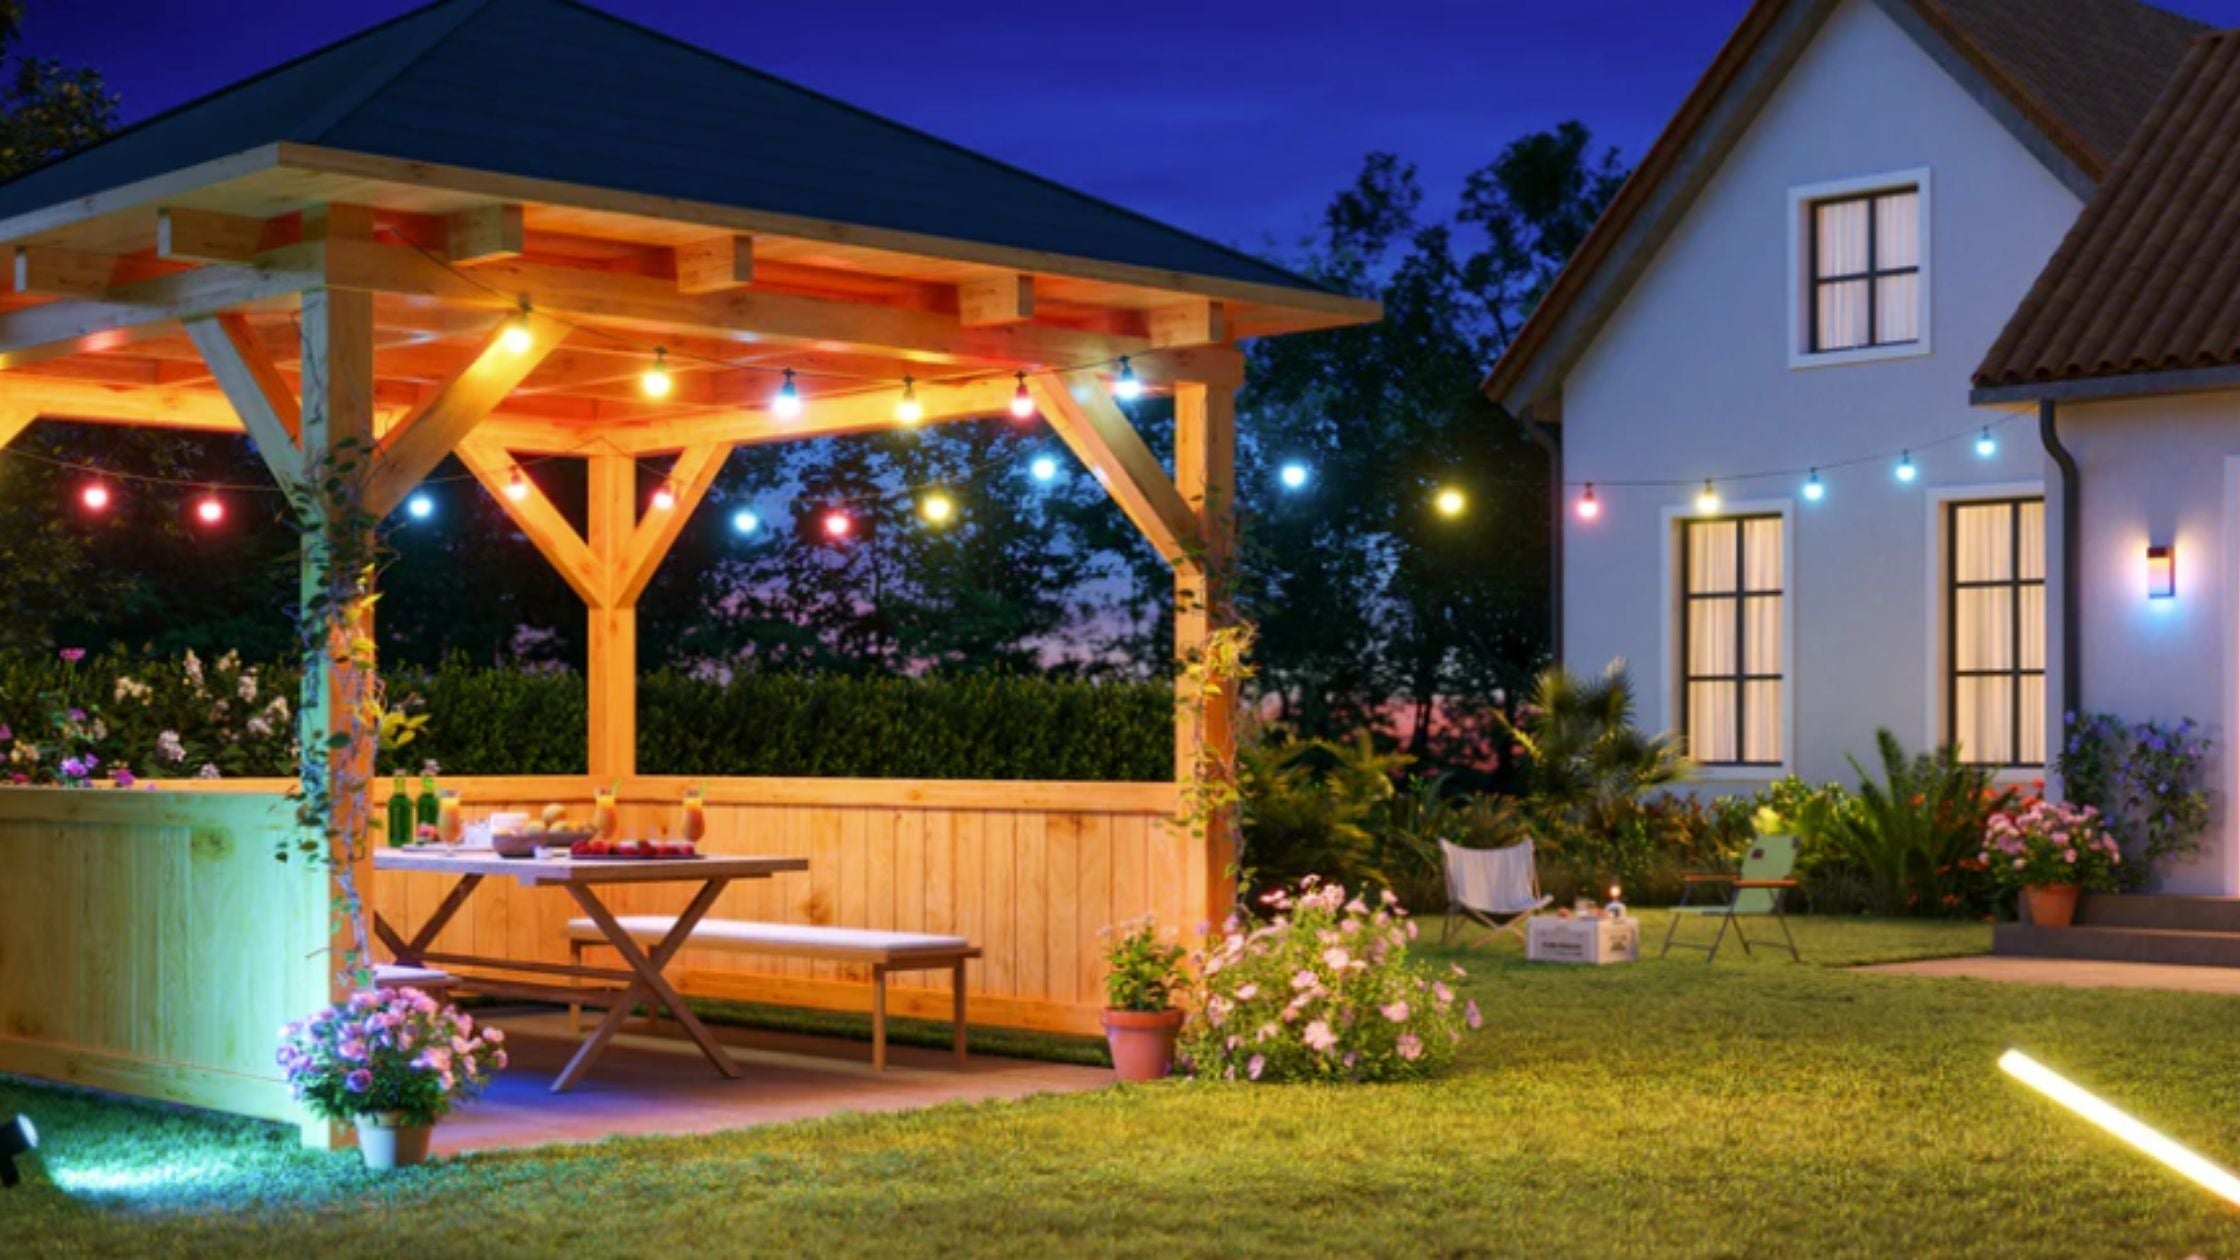
Outdoor lighting has become more than just a way to brighten up spaces—it’s now a way to create an inviting atmosphere, add security, and showcase your home’s unique style. One of the most common questions homeowners ask today is: How do I properly installgovee permanent outdoor lights without professional help? In this guide, we’ll walk through everything step by step so you can set them up confidently.
According to a recent survey, 65% of homeowners say outdoor lighting improved both their home’s safety and appearance. That’s why investing in a reliable lighting system makes a noticeable difference.
What makes Govee Permanent Outdoor Lights worth installing?
Govee permanent outdoor lights stand out because they are built for durability, weather resistance, and long-lasting performance. Unlike temporary decorative lights, they stay installed year-round, saving you time and effort during holidays or backyard gatherings.
These lights also connect seamlessly to smart controls, giving you full customization for brightness, color, and effects. Many users ask whether installation is complicated, but the good news is—it’s easier than you think once you have the right tools and guidance.
What tools and materials should I prepare before starting?
Before you begin, having all the tools ready will save you time. Here’s a quick checklist:
-
Measuring tape
-
Drill and screws
-
Govee lights mounting bracket (essential for secure attachment)
-
Ladder for higher areas
-
Weatherproof extension cord
-
Govee pro peak mount or NON-PRO outdoor LED mount, depending on your setup
Always check your chosen surface first. Smooth surfaces like soffits or wooden trims work best, while uneven brick may require additional support.
How do I choose between the Govee Pro Peak Mount and NON-PRO options?
A common confusion among homeowners is whether to use the Govee Pro Peak Mount or the NON-PRO LED mount. The difference mainly comes down to coverage and angle:
-
Govee Pro Peak Mount: Ideal for rooftops, peaks, and angled structures. It keeps lights aligned neatly along edges without sagging.
-
NON-PRO outdoor LED mount: Better for straight lines like fences or soffits. It’s simpler to install if your house design doesn’t have sharp peaks.
If you’re still unsure, check out a detailed Govee Mount Comparison to see side-by-side differences before deciding.
What’s the step-by-step process for installing the lights?
Here’s a breakdown of the process many DIY installers follow:
-
Measure and Plan – Use a tape measure to figure out how many strands you’ll need. Mark corners and edges for placement.
-
Install Mounting Brackets – Attach your Govee lights mounting bracket or chosen mount along the planned line. Make sure they are evenly spaced.
-
Attach Lights – Snap the Govee outdoor lights into the brackets securely. Double-check alignment before moving to the next section.
-
Connect Power – Plug into a weatherproof extension cord and hide any exposed wires for safety.
-
Test Functionality – Open the Govee app, connect your lights, and test color and brightness.
-
Fine-Tune the Look – Adjust angles, spacing, and app settings until you’re satisfied.
Can I install Govee outdoor lights on uneven surfaces?
Yes, but you’ll need extra care. Uneven brick or stone walls can make mounting tricky. In these cases, use strong adhesive strips rated for outdoor use along with the brackets. Many homeowners also secure the wires with outdoor-safe clips for additional support.
For backyard setups, like fences or pergolas, it’s even easier—simply align the lights along edges for a clean look. If you’re considering upgrading your outdoor space, explore guides like Backyard Govee Lights for design inspiration.
How do I protect the system against weather damage?
Since outdoor conditions can be harsh, weatherproofing is essential. Here are a few tips:
-
Always mount lights under eaves or roof overhangs where possible.
-
Use a drip loop in the cable to prevent water from flowing into connectors.
-
Apply silicone sealant on open connections for added protection.
-
Store extra lights and mounting pieces indoors during extreme winters.
By following these steps, you extend the life of your setup significantly.
Do I need professional help for installation?
Most homeowners can install Govee outdoor lights without hiring a professional. The kits are designed for DIY use, and the app guides you through the pairing process. However, if you’re uncomfortable using a ladder or drilling near rooftops, it may be safer to get help.
The real advantage is that once installed, the lights are hassle-free and controlled entirely through your smartphone or voice assistants.
Light Up Your Home with Confidence
Installing Govee permanent outdoor lights doesn’t have to be intimidating. With the right preparation, mounts, and setup, you can transform your home into a bright, welcoming space that works year-round. Whether it’s for festive seasons or daily use, these lights add value, beauty, and safety to your property.
If you’re ready to explore more smart lighting solutions and accessories, visit PrintWorks 3D for expert insights and helpful resources tailored to your needs.
Key Takeaways:
-
Plan before installing: Measure and choose the right mounting system.
-
Select the correct mount: Use the Govee pro peak mount for angled roofs and the NON-PRO LED mount for flat surfaces.
-
Install carefully: Proper spacing and secure brackets ensure long-lasting alignment.
-
Weatherproof smartly: Protect cables and connections against water.
-
DIY-friendly: Most homeowners can install without professional help.
FAQ’s:
Q1. Can I use Govee permanent outdoor lights on both wood and brick surfaces?
Yes, they can be installed on both, but the brick may need stronger anchors or adhesive support compared to wood.
Q2. Do Govee outdoor lights work with smart home systems?
Yes, they are compatible with Alexa, Google Assistant, and the Govee app for easy control.
Q3. What’s the difference between the Govee lights mounting bracket and adhesive tape?
The bracket provides a stronger and more reliable hold, while adhesive tape may lose grip over time in extreme weather.
Q4. Is the NON-PRO outdoor LED mount durable for long-term use?
Yes, it’s built to withstand outdoor conditions and is ideal for flat surfaces like soffits and fences.
Q5. Can I extend my system if I need more lights later?
Yes, most models allow extensions, but always check the manufacturer’s limit to avoid overload.
Share:
Govee Pro Peak Mount vs. NON-PRO LED Mount: Which Outdoor Lighting Setup Is Best?