
If you have ever tried to line up permanent outdoor lights from the top of a ladder while factory clips shift, peel, or sit unevenly under the soffit, you already know why a solid govee pro mount installation guide matters. The difference between a clean, permanent-looking install and a frustrating weekend usually comes down to fit, spacing, and how well the mount handles real outdoor conditions.
This guide is built for homeowners who want the lights to look straight, stay put, and hold up through heat, rain, wind, and seasonal use. The goal is simple - get a secure installation that looks intentional from the street and does not turn into a maintenance project a few months later.
What makes a good Govee Pro mount installation guide
A good install guide does more than tell you where to stick each light. It helps you think through placement before you climb, so you are not making alignment decisions one section at a time. With permanent outdoor lighting, small inconsistencies become very visible once the lights turn on at night.
The best approach starts with three priorities: stable mounting, consistent spacing, and clean light direction. If one of those gets ignored, the finished result can look wavy, patchy, or crooked even if the system technically works.
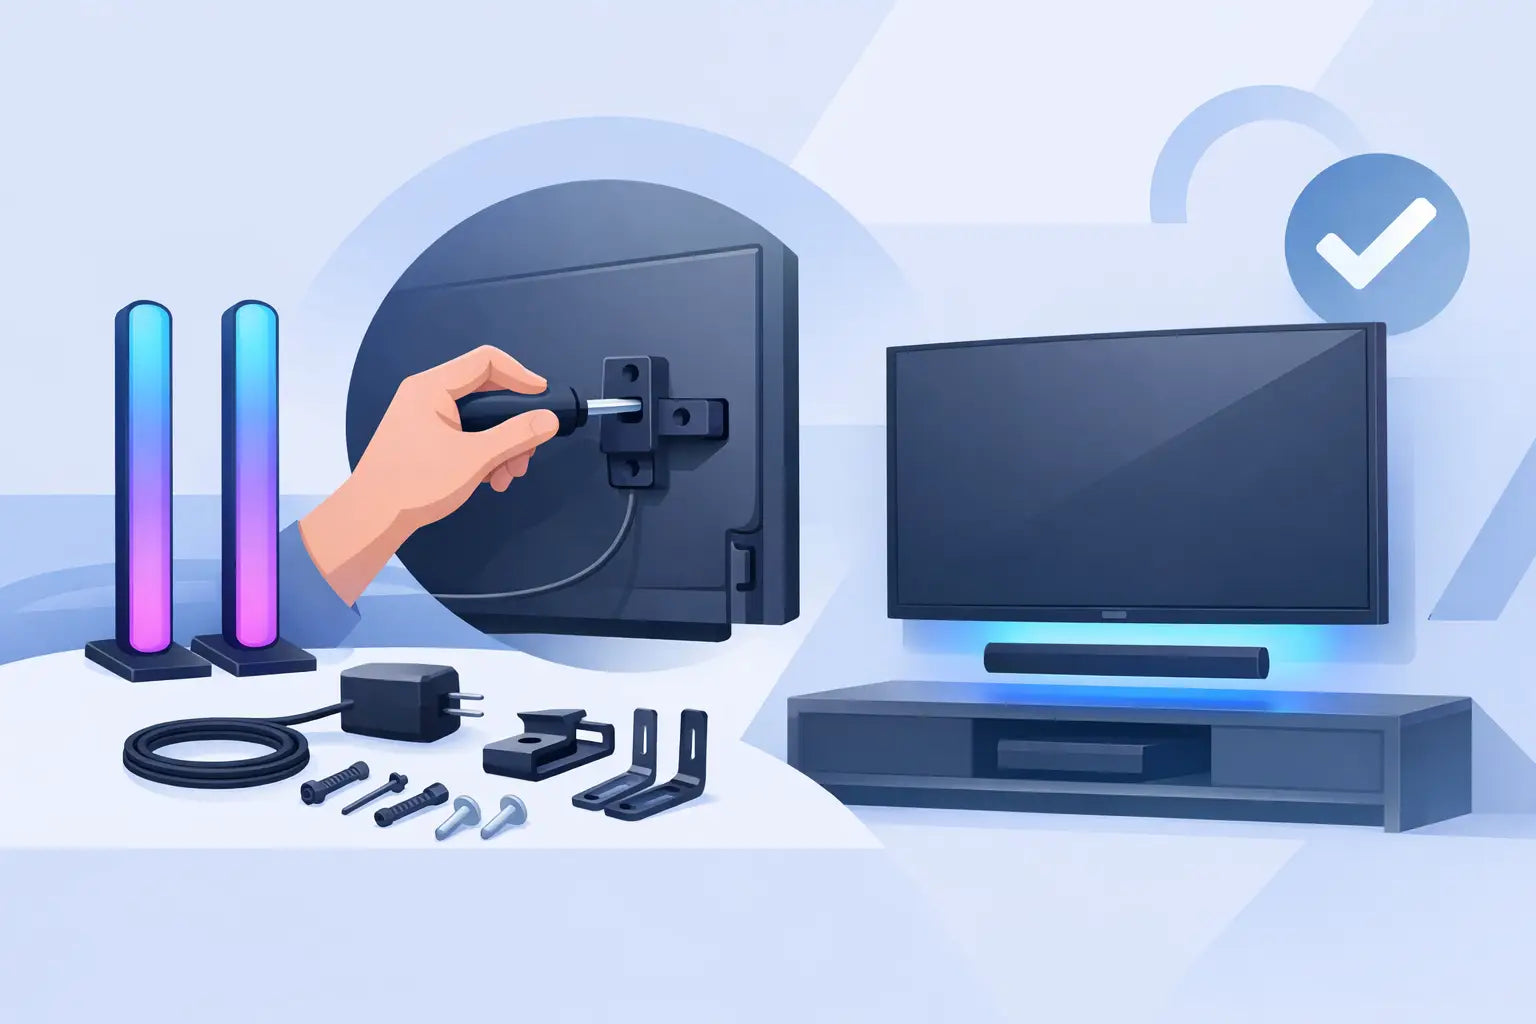
Mount choice matters here. Adhesive-only installs can work in ideal conditions, but soffit texture, dust, humidity, and temperature swings all affect long-term hold. A purpose-built Pro mount gives each light a more secure seat and helps keep the angle consistent across the full run. That is especially useful on long rooflines, peaks, and gables where visual alignment matters most.
Before you start your Govee Pro mount installation guide setup
Start on the ground, not on the ladder. Unbox everything, identify your roofline sections, and decide where the power supply and controller will live. If you skip this part, most installation delays show up later when a connector lands in the wrong spot or a section ends a few feet short.
Measure each run and note transitions like corners, fascia changes, downspouts, and peaks. You do not need engineering drawings, but you do need a plan. Permanent outdoor lights look best when the layout follows the architecture cleanly, not when the strand gets forced to fit as you go.
Take a close look at the mounting surface too. Aluminum soffits, painted wood, vinyl, and composite trim all behave a little differently. Some are smooth and forgiving. Others flex, collect dust in grooves, or make it harder to maintain a perfectly straight line. That does not mean you cannot get a strong result. It just means prep becomes more important.
Before installation, make sure the surface is dry and clean. Wipe away dirt, chalky residue, cobwebs, and oils. Even when using a secure mount system, a dirty surface can throw off placement or reduce how well the setup seats against the soffit.
Planning spacing and light direction
This is the part homeowners often rush, and it is where the final look is won or lost. The lights need to sit at a consistent distance from the wall line or fascia edge so the wash effect looks even. Too close, and the lighting can appear harsh or overly concentrated. Too far, and the effect can soften more than you want.
There is no single perfect measurement for every house. It depends on soffit depth, wall color, roofline height, and the look you prefer. A brighter, tighter scallop may look great on a modern facade. A softer spread can work better on wider soffits or more traditional homes. The smart move is to test one short section before committing to the full run.
When you test, step off the ladder and check it from the driveway or street. What looks straight from two feet away can look uneven from fifty. Nighttime performance is what matters, so if possible, power up the section and confirm the beam pattern before continuing.
Installation step by step
Begin at the power side and work outward. That gives you a fixed starting point and reduces the chance of having to backtrack later. If your controller location is already finalized, use that as the anchor for your first section.
Set the first mount carefully. This piece establishes the line for everything that follows. If it is crooked, every light after it will either repeat the mistake or force you to compensate as you go. Use the soffit seams, trim line, or a chalk reference if needed to keep the run visually straight.
As you continue, install mounts in sequence rather than attaching all lights first and trying to correct alignment afterward. A mount-first approach keeps spacing more controlled and helps you spot small drift before it compounds over twenty or thirty feet.
Press each light into place so it seats fully in the mount. You want a secure fit without twisting the wire or putting stress on the connection points. If something feels forced, stop and check orientation. A clean install should feel repeatable, not improvised.
At corners and transitions, slow down. These are the sections where even a strong product can look sloppy if the angle changes too abruptly. Depending on the architecture, you may need to slightly adjust positioning to maintain visual consistency. That is normal. The goal is not rigid perfection by tape measure. It is a straight, balanced appearance from the ground.
For peaks and gables, work from a clear centerline or from matched outer reference points. Symmetry matters more in these areas because the eye naturally notices imbalance. If one side climbs at a slightly different rate than the other, it will show.
Common mistakes that cause rework
The first mistake is trusting the surface without cleaning it. Exterior trim collects more residue than most people realize, especially near vents, road-facing sections, or older painted areas. Starting dirty often leads to slipping, misalignment, or weak contact.
The second is failing to test a section before full installation. You may think you know the right setback distance, but architectural features can change how the light throws. A five-minute test can save hours of moving hardware later.
The third is rushing line control. Many installs start straight and slowly drift because the installer begins following panel variation instead of the intended reference line. Soffits are not always perfectly uniform. Your eye reads the finished light run, not the panel imperfections.
Another common issue is overhandling wires during placement. Permanent lights are built for outdoor use, but repeated twisting, pinching, or tension at the wrong angle is never ideal. Keep cable paths relaxed and intentional.
When conditions change the install
Not every home gives you an easy, flat soffit and a simple rectangle. Some homes have mixed materials, narrow overhangs, steep peaks, or trim details that interrupt a standard rhythm. That does not mean the project gets harder than it is worth. It just means your mount strategy needs to match the structure.
If you are dealing with older wood, textured surfaces, or retrofit conditions where the original hardware did not perform well, a more purpose-built mount system makes a bigger difference. That is one reason homeowners look for solutions designed specifically for Govee Pro lights rather than trying to adapt generic clips.
Weather matters too. If you are installing in very cold conditions, materials can feel less forgiving and adhesives generally become less cooperative. In extreme heat, surfaces may be easier to work with, but you still need to avoid rushing because softened materials can shift before everything is fully set. Mild, dry conditions are usually the easiest window for installation.
Why a better mount changes the result
A permanent lighting system should look like part of the house, not an afterthought hanging under it. Better mounts help create that finished look because they control orientation, reduce sagging, and keep spacing more consistent over time.
That also affects maintenance. If a mount is designed for the specific light it carries, installation tends to go faster and troubleshooting later tends to be simpler. You spend less time fighting fit issues and less time getting back on the ladder to fix movement after the season changes.
For homeowners who want a cleaner install with less guesswork, that is the real value. PrintWorks 3D focuses on that exact problem - giving Govee users mounting hardware built for durability, alignment, and easier installation in the real conditions homes actually have.
Final checks before you call it done
Once the full run is installed, step back in daylight and again after dark. Look for spacing consistency, clean transitions, and even light wash across the facade. If one section draws your eye for the wrong reason, fix it now while the full install is still fresh in your mind.
Then check cable slack, controller placement, and any areas where trim changes direction. A good permanent light setup should feel secure and look tidy from every common viewing angle. Not perfect in a laboratory sense - solid, straight, and built to stay that way.
If you approach the project with a clear layout, the right mount, and a little patience at the start, your lights stop feeling like a temporary add-on and start looking like they were always meant to be there.
Share:
Roofline LED Light Mounting Brackets That Last
Best Govee Non Pro Light Mounts