

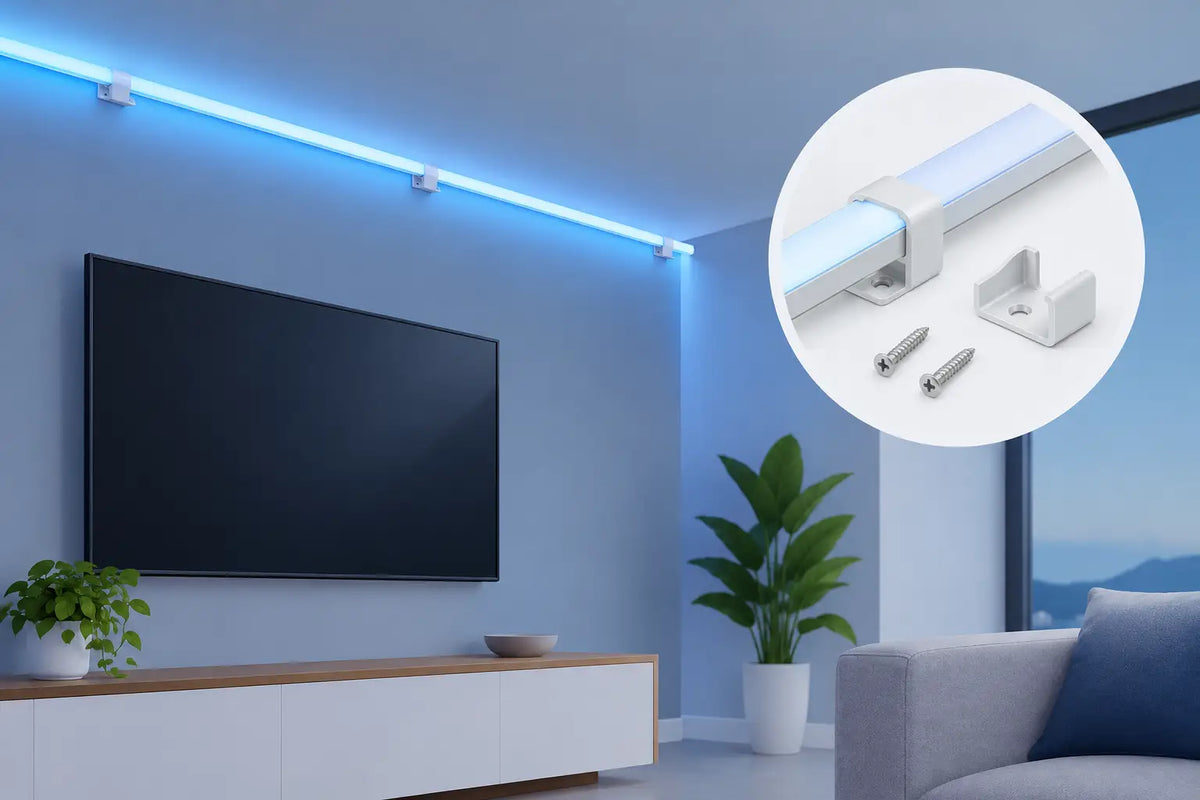
A permanent light installation can look polished for years, or start looking uneven after the first season. The difference often comes down to the mounting method. Govee brackets give each light a defined, secure position instead of asking adhesive to carry the full load through heat, cold, moisture, and changing surfaces.
For homeowners installing permanent outdoor lights along soffits, rooflines, gables, and trim, purpose-built mounts turn a good lighting product into a finished installation. They help maintain spacing, keep lights aimed consistently, and reduce the time spent correcting a crooked run from a ladder.
Why Govee Brackets Make a Noticeable Difference
Most outdoor lighting kits include adhesive mounting options for a reason: they are quick and convenient. On a clean, smooth surface in mild conditions, adhesive can be useful. But exterior installations are rarely that simple. Painted wood, textured soffit, vinyl, aluminum, uneven trim, dust, humidity, and summer heat can all affect how well tape performs over time.
A bracket adds mechanical support. Instead of relying only on an adhesive bond, the light sits in a mount designed around its shape and mounting position. That support matters most on long runs, exposed rooflines, and areas where a loose light would be difficult to reach later.
The visual benefit is just as important. Permanent lights are meant to look intentional during the day, not only impressive after dark. Consistent light placement creates a cleaner line under the soffit and a more even lighting pattern at night. When one puck twists or sags, it can change the direction of the beam and make the entire run feel unfinished.
Brackets also make retrofits practical. If your lights are already installed with factory tape but a few sections are lifting, you do not necessarily need to remove and replace the entire system. Retrofit-friendly mounts can reinforce problem areas, restore alignment, and help protect the installation you have already invested time in.
Choose Brackets That Match Your Govee System
Not every Govee light has the same housing, wire path, or mounting geometry. A mount that fits one series may not position another correctly. The right bracket should be made specifically for your product line, not treated as a one-size-fits-all clip.
For permanent outdoor light systems, check whether you have a Pro or Non-Pro version before ordering. The housings may look similar at a glance, but even small differences in size and shape affect fit. A proper mount should hold the puck securely without forcing it, pinching the wire, or leaving excessive movement once installed.
Prism-style lights and Light Curtain systems need their own mounting approach as well. Their placement, cable routing, and viewing angle differ from standard permanent outdoor pucks. Using a product-specific mount helps preserve the intended effect while keeping the hardware organized.
Do not overlook the controller and power supply. These components deserve a planned mounting location rather than being left to hang near an outlet or rest on a surface where water, debris, or cable tension can become a problem. Dedicated power and controller mounts help create a more protected, serviceable setup.
The best choice depends on your installation surface and your long-term plan. If you are putting lights on a smooth, sheltered soffit, a straightforward screw-mounted bracket may be all you need. If you are working around trim transitions, angled sections, or a difficult gable, specialized mounts can save considerable trial and error.
Plan the Layout Before You Climb
Good mounting starts on the ground. Lay out the lights and brackets before installation so you can understand spacing, wire direction, and where each run will begin and end. This is especially helpful when a roofline includes corners, short returns, peaks, or obstructions such as downspouts.
Start by identifying the controller location and the nearest appropriate power source. From there, map the cable path to avoid unnecessary slack. A tidy installation has enough room for natural cable movement, but not so much extra wire that loops hang below the soffit or bunch at corners.
Next, inspect the mounting surface. Remove dirt, oxidation, and loose paint before positioning lights. Even when brackets are screw-mounted, a clean surface helps you mark accurately and keeps the finished line looking better. If your exterior is older or uneven, expect to make small adjustments rather than assuming every section will match perfectly.
Before drilling, hold a few lights in place and step back from the curb. Check the line from more than one angle. A layout can appear straight when viewed directly below but look uneven from across the driveway. Taking five minutes to check the sightline is much easier than moving hardware after every light is installed.
Installation Details That Prevent Future Frustration
Use the mounting method appropriate for your surface. Wood trim and solid soffit material may accept screws directly, while other materials can require a different fastener or pilot hole. Do not overtighten. The goal is to secure the bracket firmly without cracking the mount, stripping the fastener, or damaging the exterior material.
Keep the light orientation consistent from the first bracket to the last. Small changes in angle can produce noticeably different light patterns, particularly on walls, columns, and gables. If your system is designed to cast light a certain distance from the home, maintain that placement as closely as the architecture allows.
Pay attention to wire routing as you go. Route cables cleanly behind or alongside the mounting line where possible, and avoid sharp bends, stretched connectors, or sections that can rub against metal edges. A bracket should support the light without creating pressure on the cable.
For corners and transitions, work slowly. These are the places where homeowners often try to force a standard spacing pattern, only to end up with a light that sits too close to an edge or a wire that looks pulled tight. It is better to make a deliberate adjustment than to create a weak point that needs attention later.
After a section is mounted, power it on before moving farther down the line. Confirm that every light works, the color output is consistent, and the aiming looks right. Troubleshooting while the connections remain accessible is far easier than diagnosing an issue after the entire system has been secured.
When Adhesive Still Has a Place
Brackets do not mean adhesive has no value. In some installations, factory tape can help hold a light in position while you align and secure the mount. It can also provide an extra point of contact on smooth, clean surfaces.
The trade-off is that adhesive performance depends heavily on surface preparation and weather exposure. It may be enough for a protected interior display or a temporary setup. For an exterior installation you expect to leave in place through changing seasons, brackets provide the confidence that tape alone may not.
This is not about adding hardware everywhere without a reason. It is about matching the mounting solution to the job. A short, sheltered run may need less reinforcement than a long roofline exposed to direct sun, wind, rain, and winter temperature swings.
A Cleaner Install Is Easier to Maintain
The real advantage of purpose-built mounting hardware shows up after installation day. Lights stay in their intended positions, cables remain more organized, and individual components are easier to inspect if something needs attention. That matters when the system is twenty feet above the ground.
At PrintWorks 3D, product-specific mounts are designed for homeowners who want their Govee lighting to look permanent because it is mounted that way. A precise fit, weather-resistant durability, and an installation process that makes sense on a ladder can remove much of the guesswork from the project.
Before your next outdoor lighting install, look beyond the lights themselves. A well-chosen bracket is a small part of the system, but it can be the part that keeps the whole roofline looking straight, secure, and ready for every season.
Share:
How to Route Govee Cables for a Clean Install
Outdoor LED Cable Routing Guide for Clean Installs